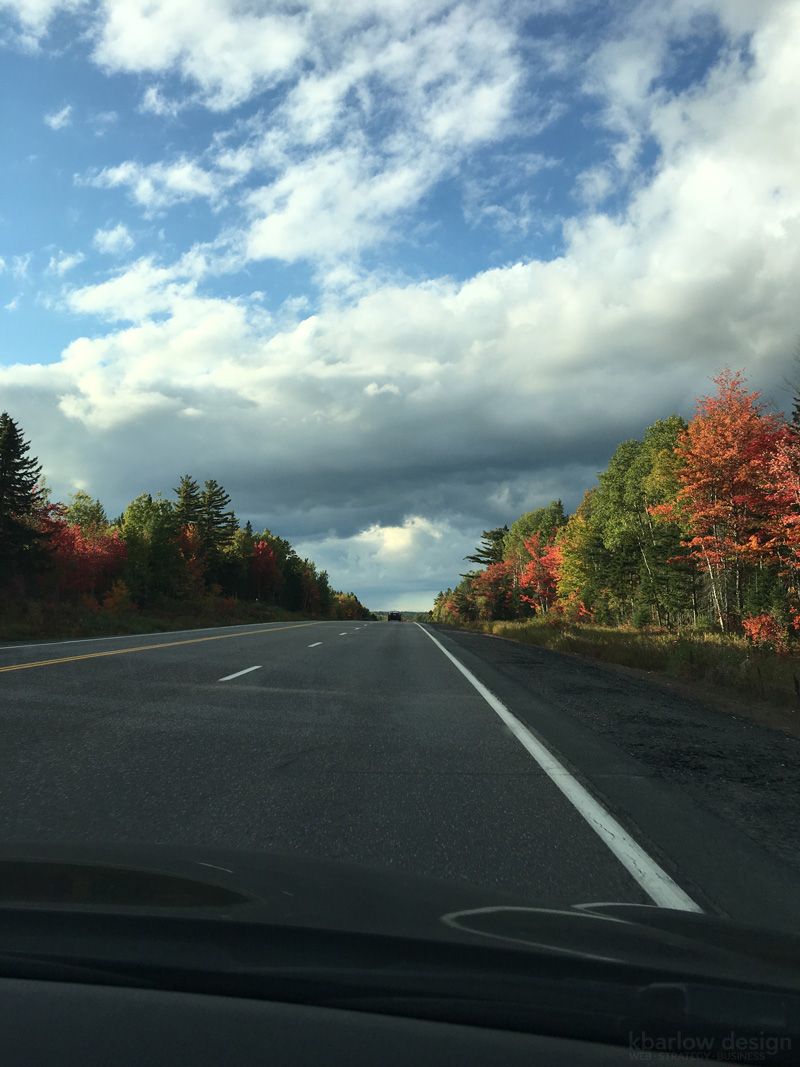
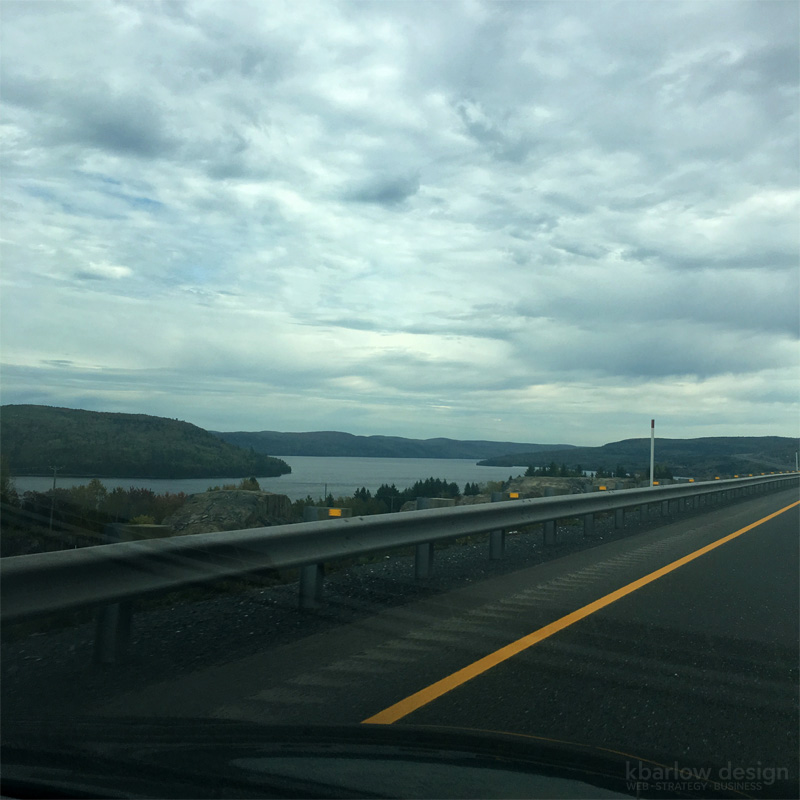
No filter needed. This was quite the sight… ⛈
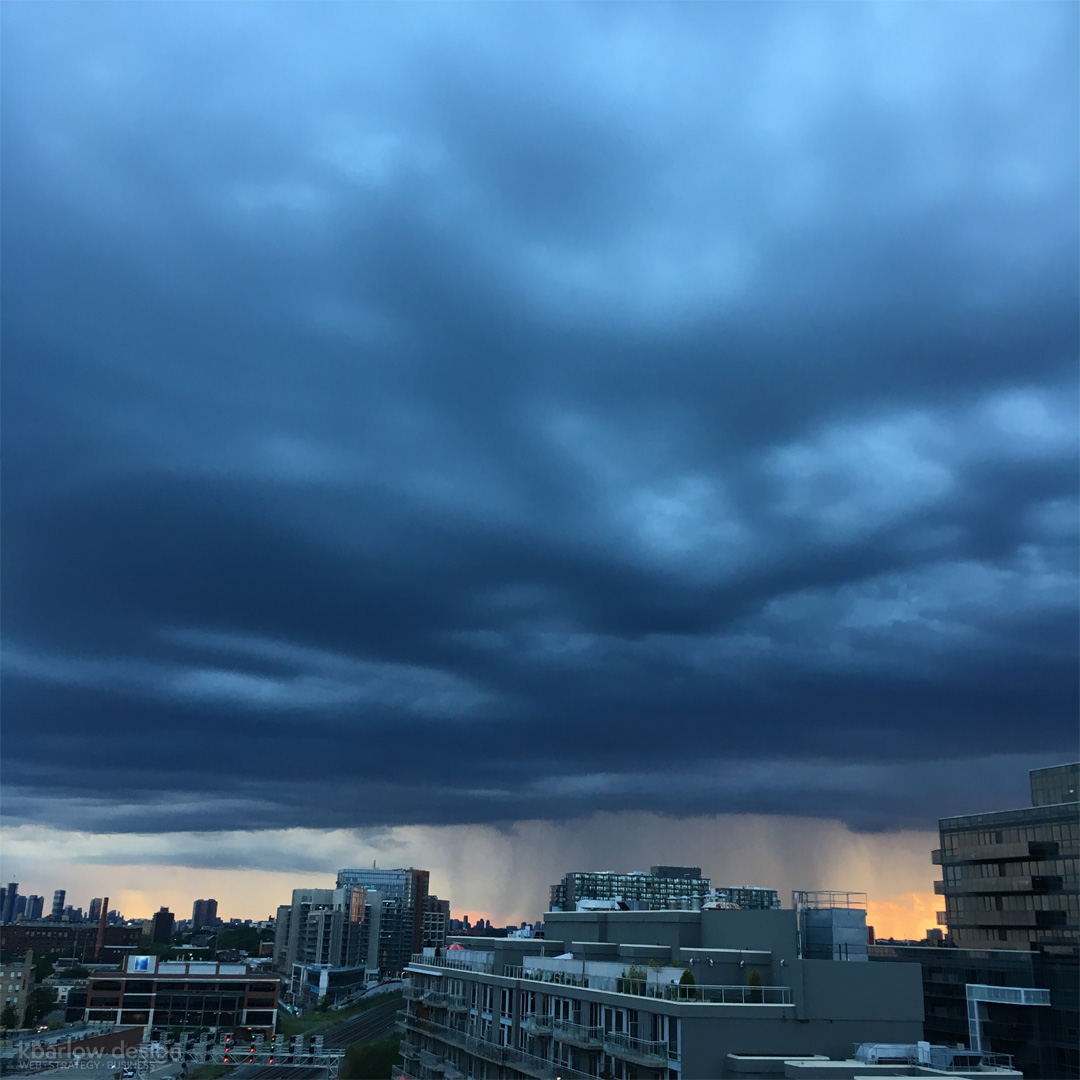

No filter needed. This was quite the sight… ⛈
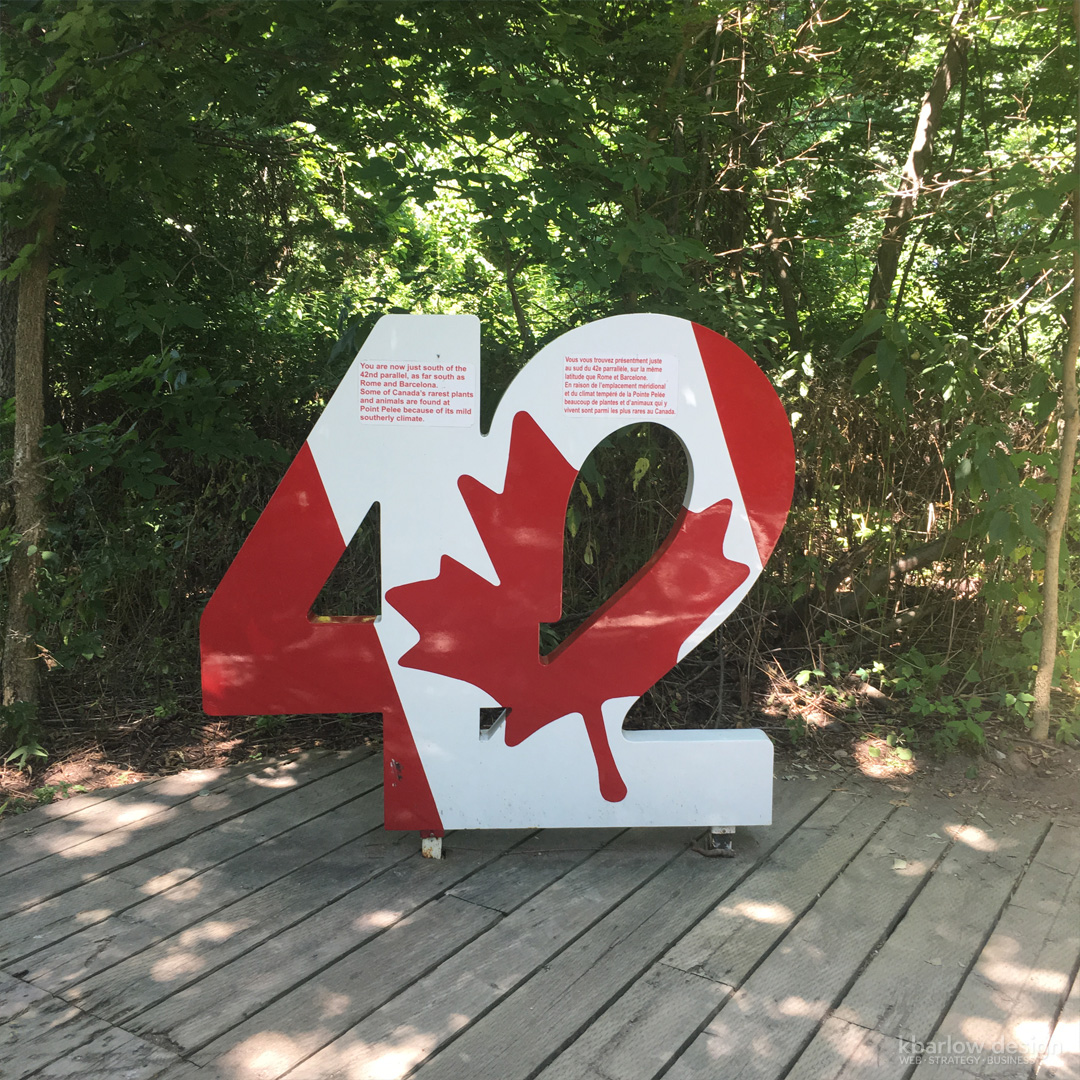
I’ve been wanting to visit Point Pelee for a while now, so when the timing worked out to take a couple of days to visit this area, I jumped on it! Unfortunately we booked right in the middle of a heat wave, so it meant less exploring than we’d hoped, but we still managed to see a lot (and sweat a lot!)
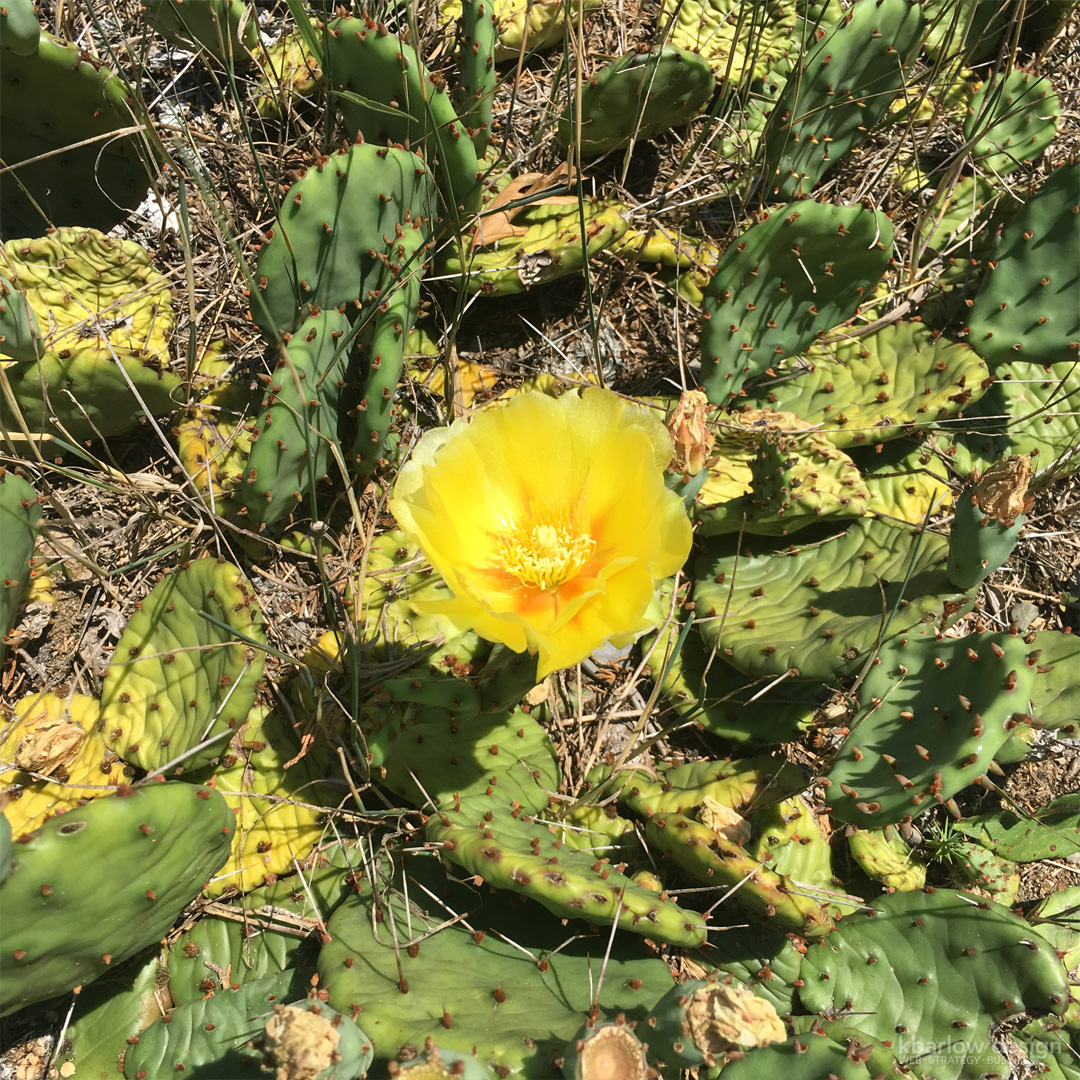
Our first day we drove in to Point Pelee National Park straight from the GTA, no breaks! We were excited to get out to the park and see the beaches and the scenery. We headed for the point, and decided to hike from the visitor’s centre instead of taking the shuttle. It was only 2.5km, but we didn’t take into consideration the heat (and flies!). Optimistic, we started off on the beach, but with the sun beating down on us, and the heat wave making the temperatures feel like 44C, it was too much, so we switched to a forest footpath. We saw some patches of prickly pear cactus which was really neat – but the stable flies and deer flies were driving us insane, so we went to the road.
We made it to the point, and checked out the beach area around it. They have extremely dangerous rip currents around the point, so no swimming or even wading is allowed in case you fall. We were just completely done from the sun and heat so we took the shuttle back. It was bliss.
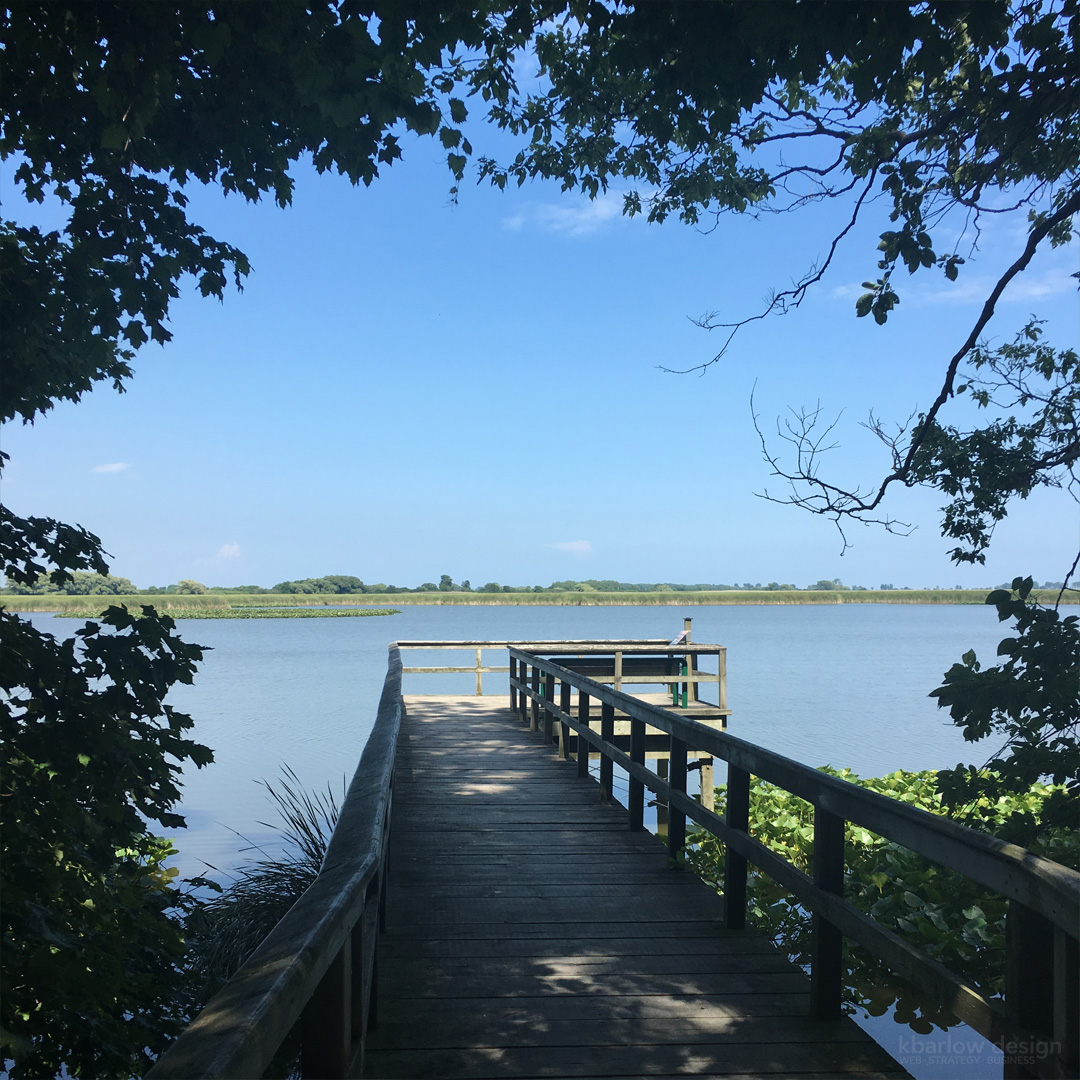
We started back towards our AirBnb cottage, but stopped at this lookout on the way out of the park. You could hear “SHLURP” every so often as the bass sucked bugs off the top of the water from between the lily pads.
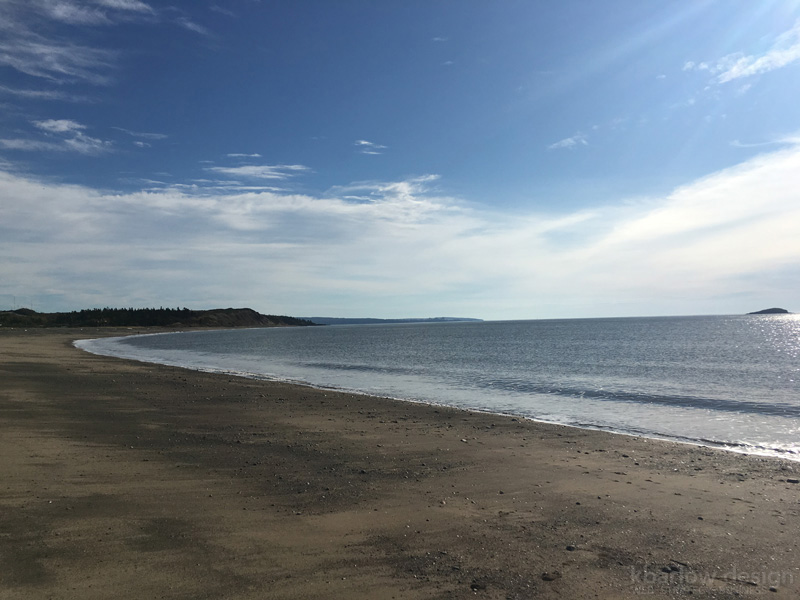
We got settled in at the cottage, had a bite to eat (and discovered a family of raccoons were living in the attic), and walked down the road to check out the nearby beach. Unfortunately recent storms had washed a lot of it away, so we hopped back in the car to see what else we could find, and found Seacliff Beach – a big park with a huge sand beach.
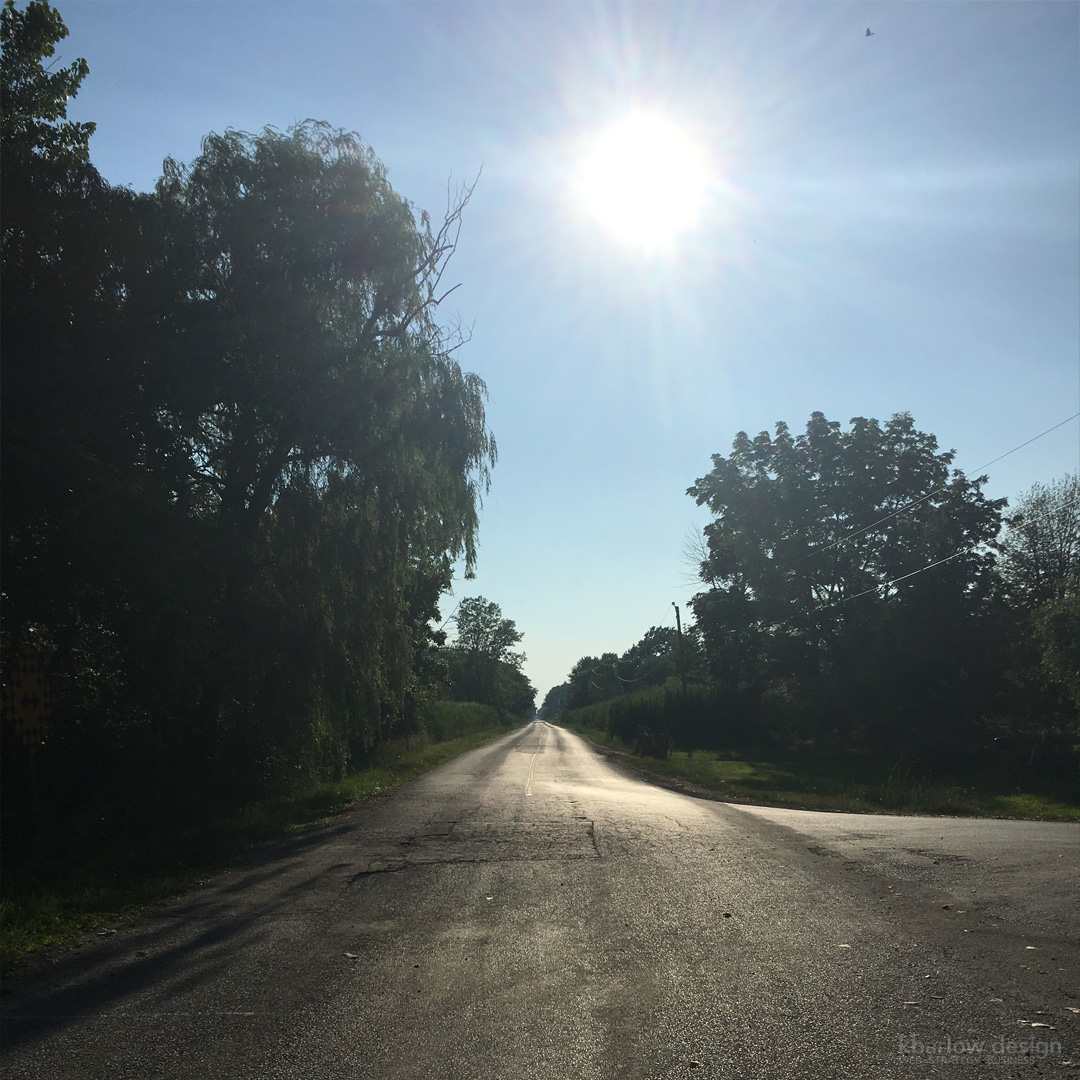

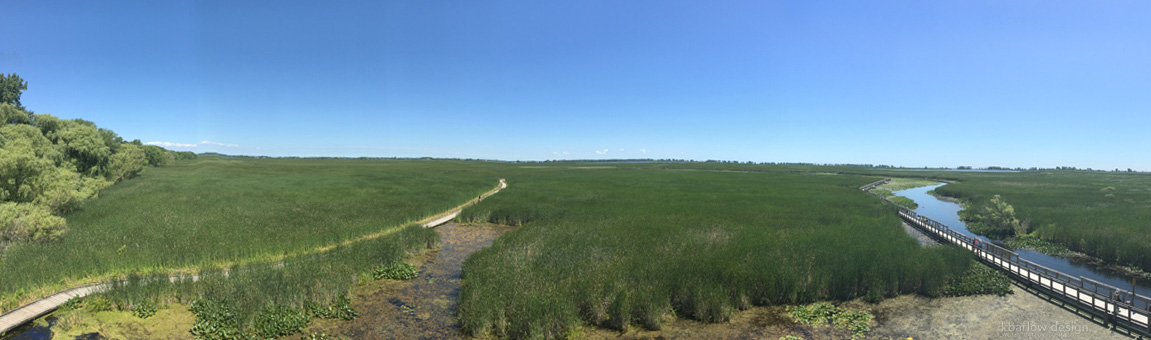
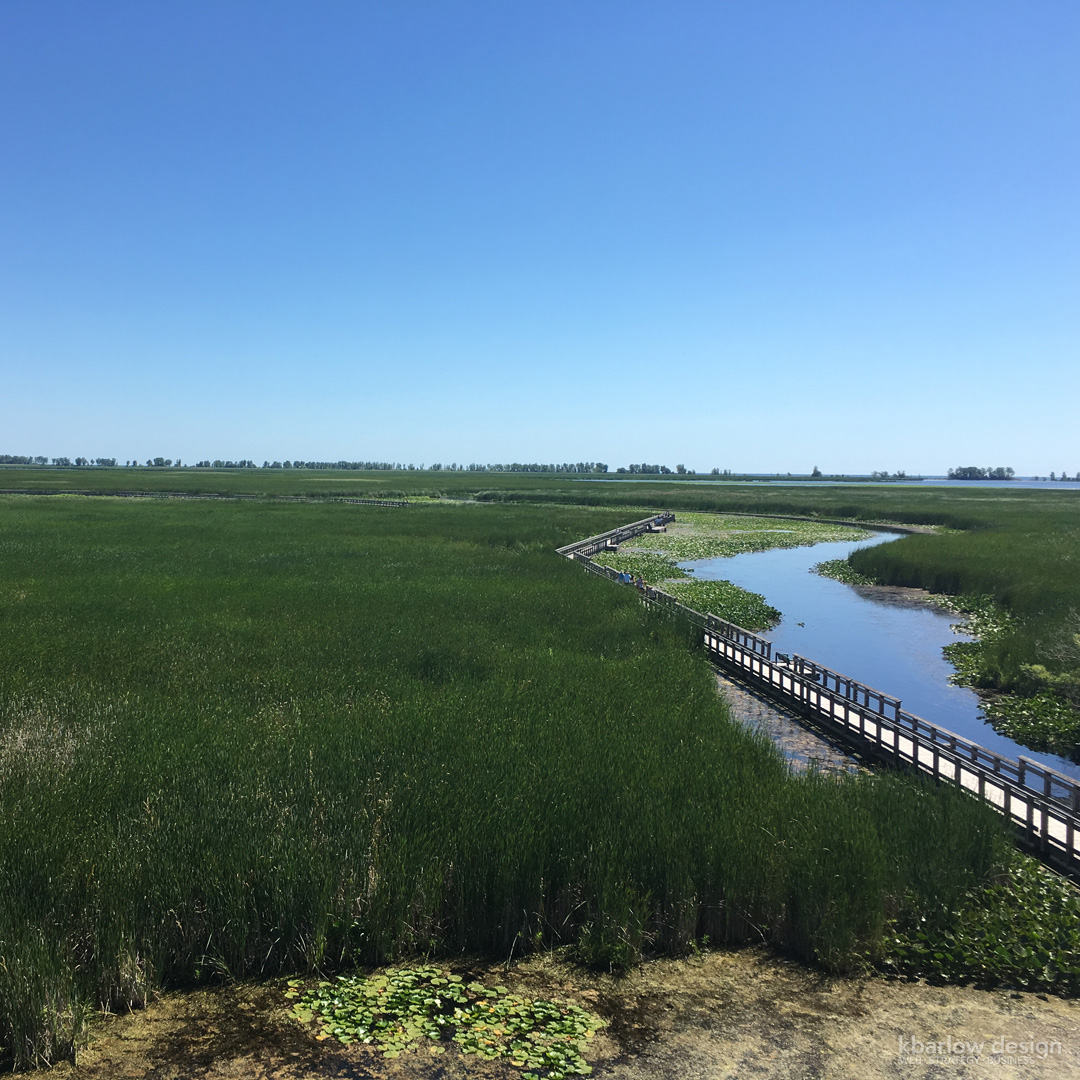
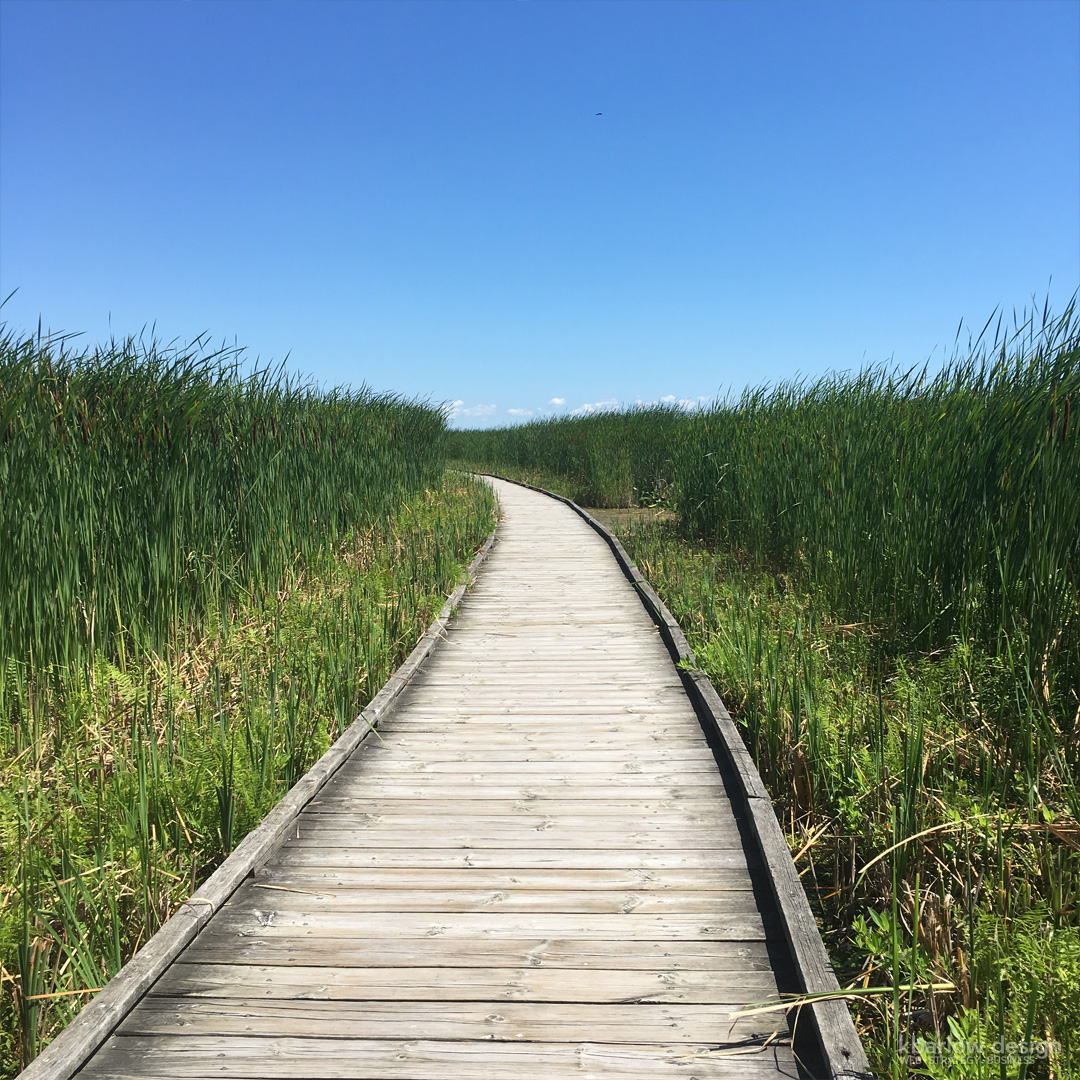
The next day we decided to hike Hillman Marsh Conservatory. The hike would be about 5km, but it was two degrees cooler than yesterday (felt like 42C), so we foolishly went for it… Thankfully there was some shade from trees here or there, but it was still way too long of a hike for the heat.
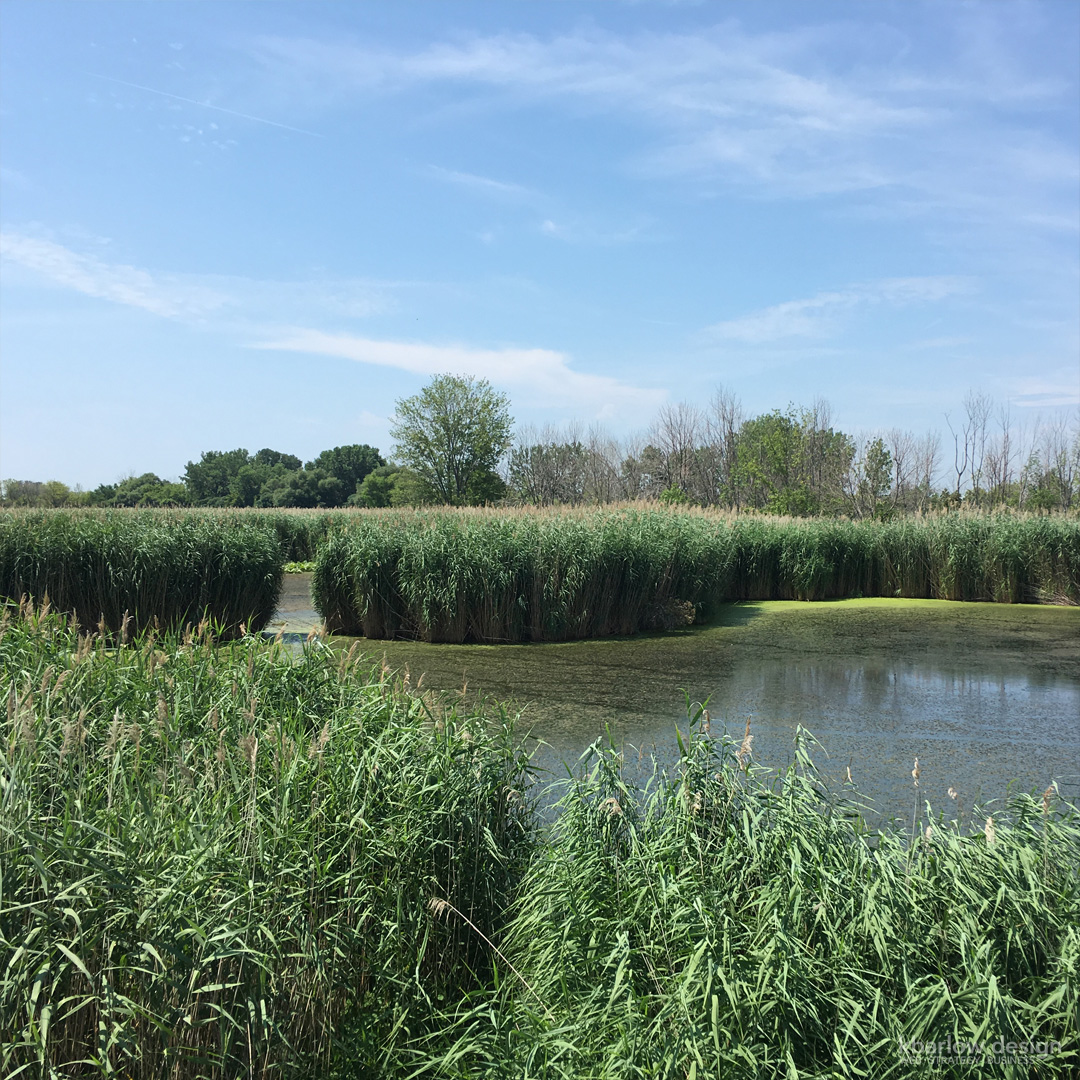
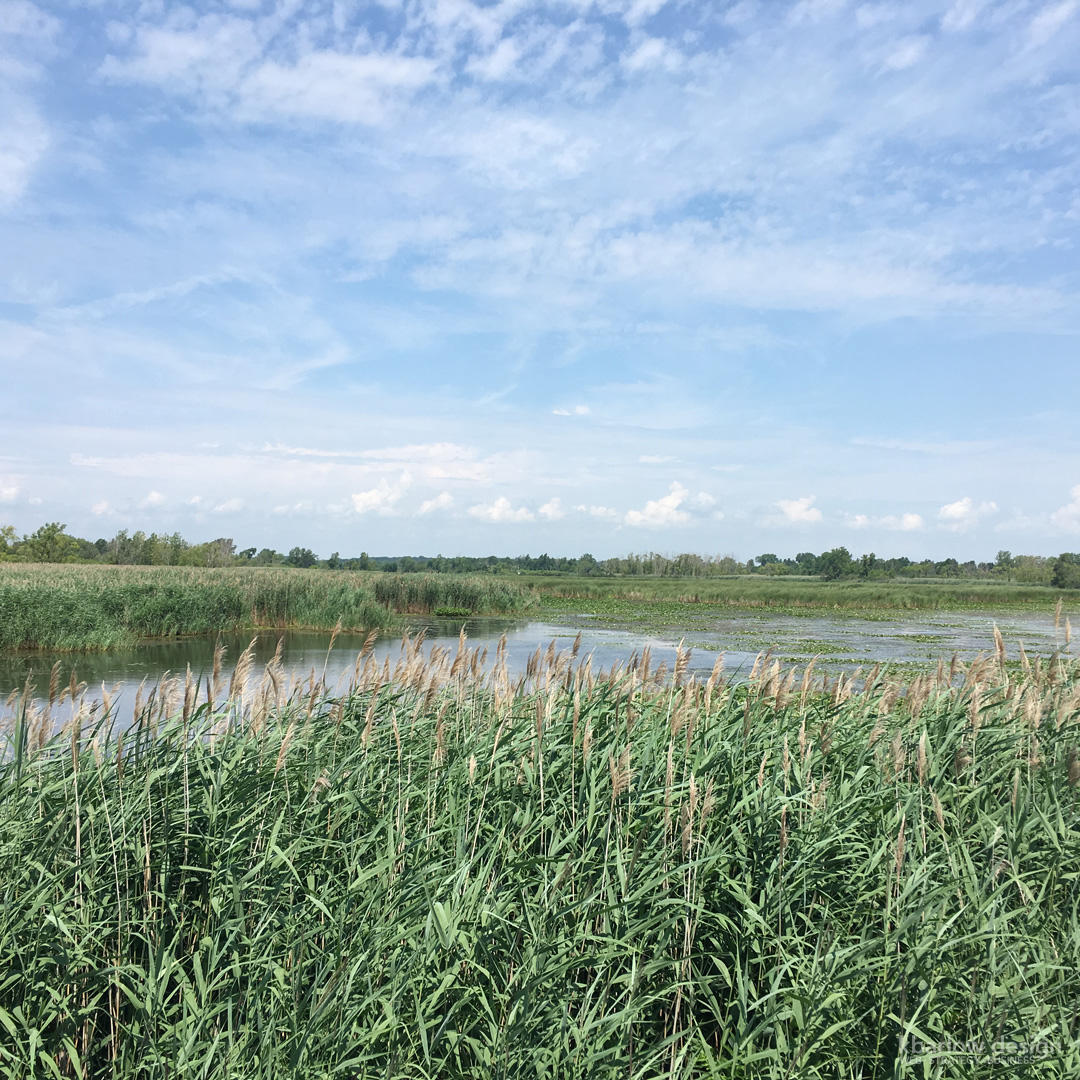
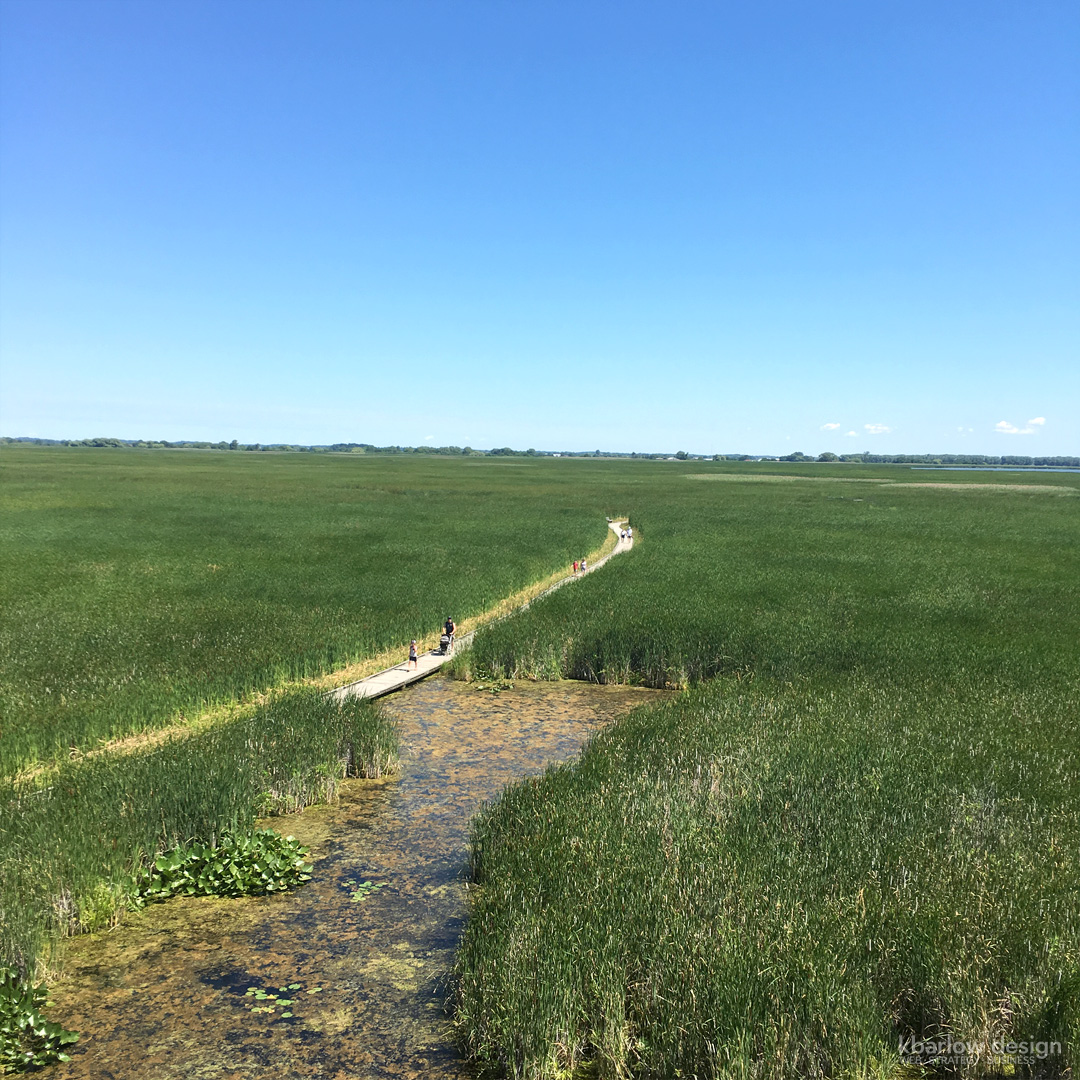
Partway through there was a lookout tower we climbed. I’ve never seen marsh grasses as tall as these, had to be at least 10 feet high! The photos make it look like we’re not a full story up in the air! We looked out over the marsh, and realized we were only halfway into the hike… (the white dot about the centre of the image was where we started)
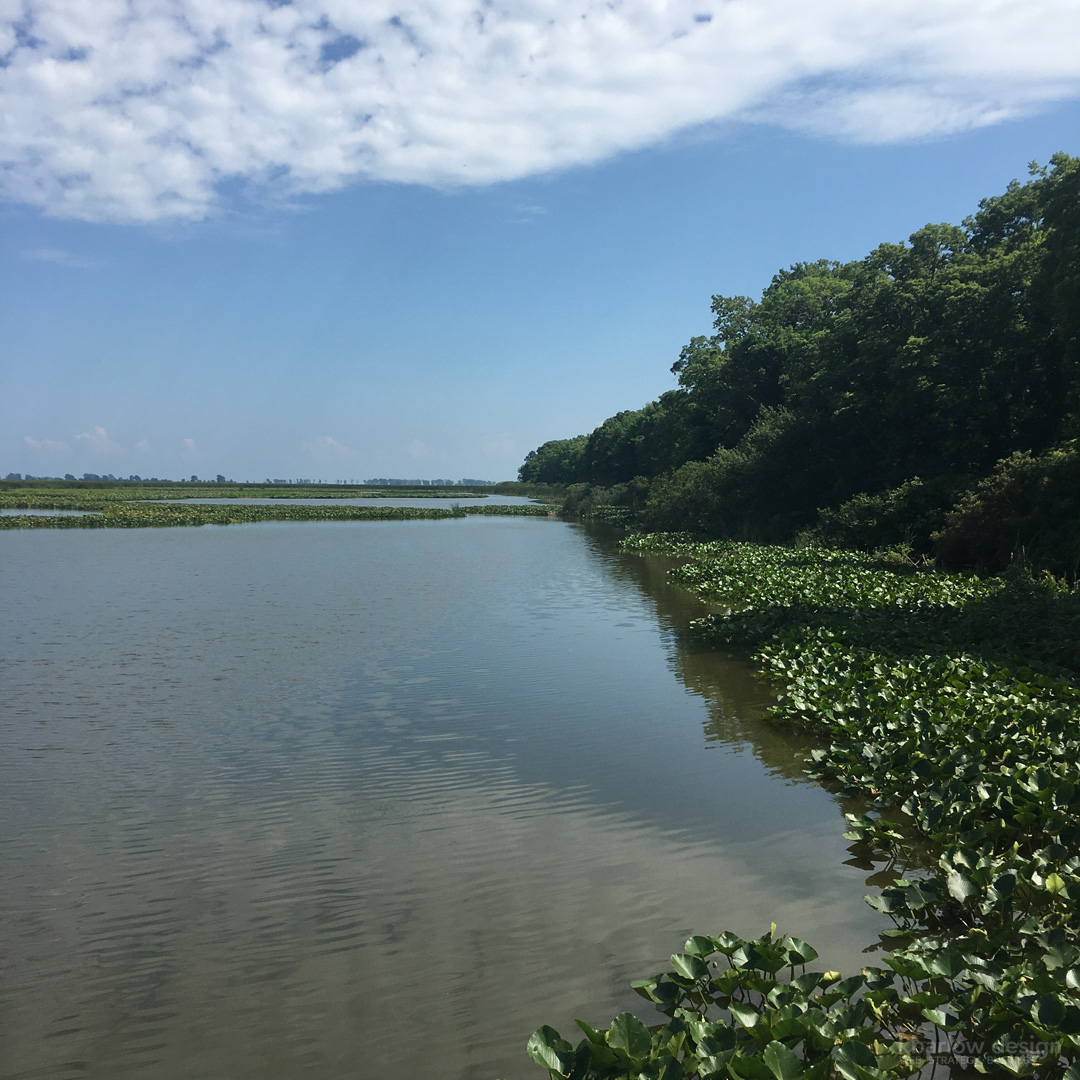
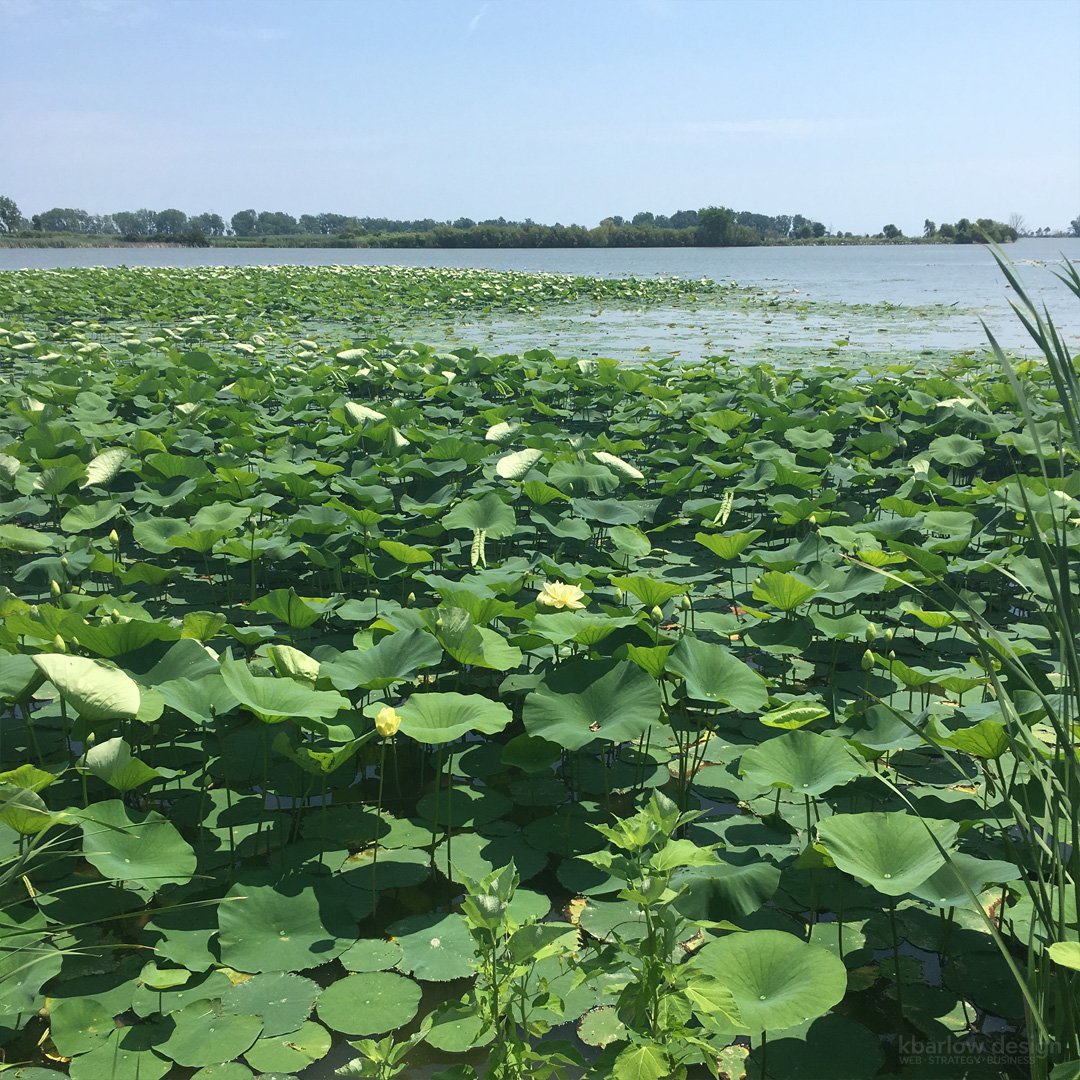
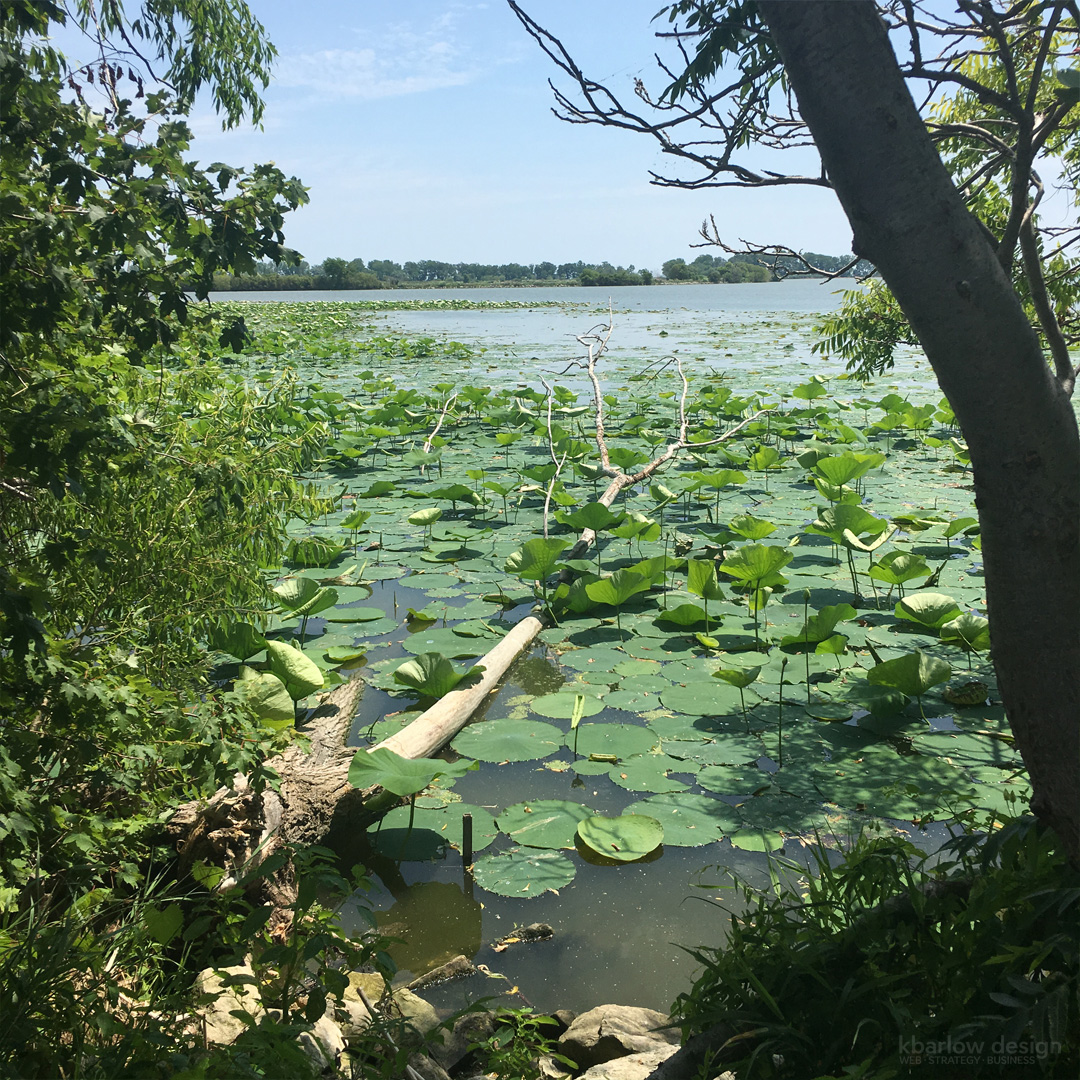
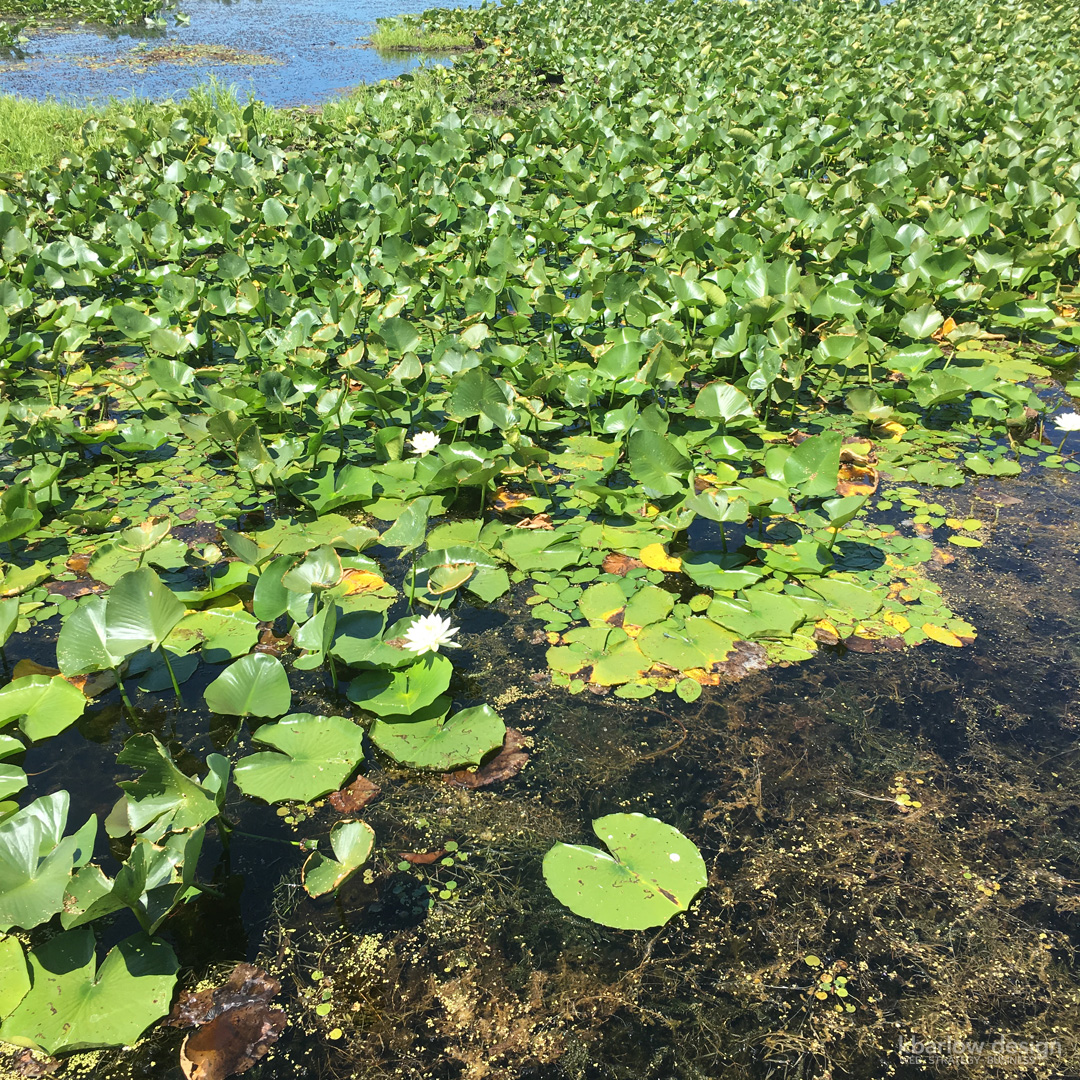
Onwards through the marsh, we hiked and saw the biggest lilypads I’ve every seen in my life – they had to be 2 feet across! The flowers were beautiful and the size of a football! We also got to see a bunch of bobolinks, and other marsh birds.
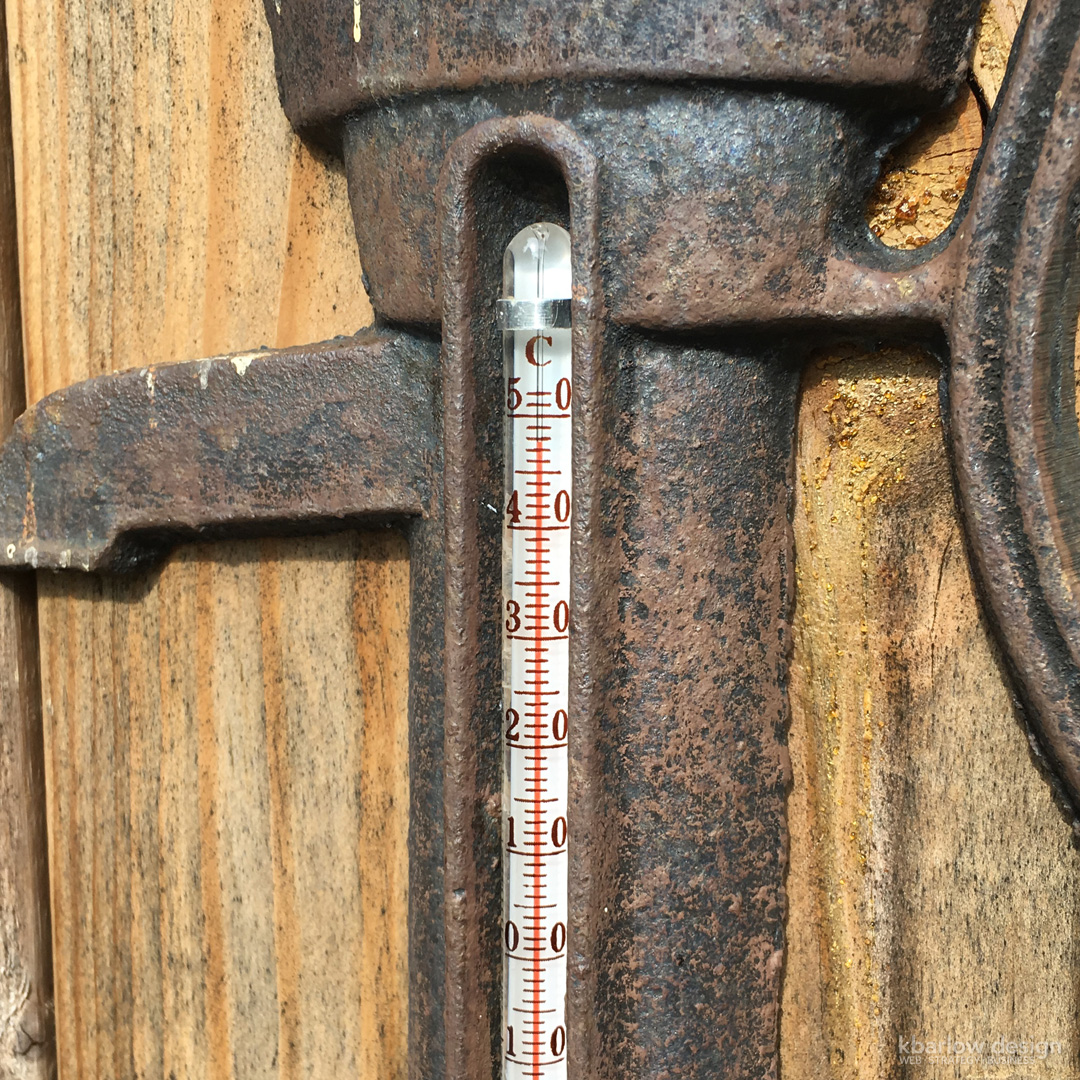
When we got back to the cottage, we realized we really overdid it in the sun, so we took a couple of hours to rest in the air conditioning… but not before seeing the temperature! Oops!
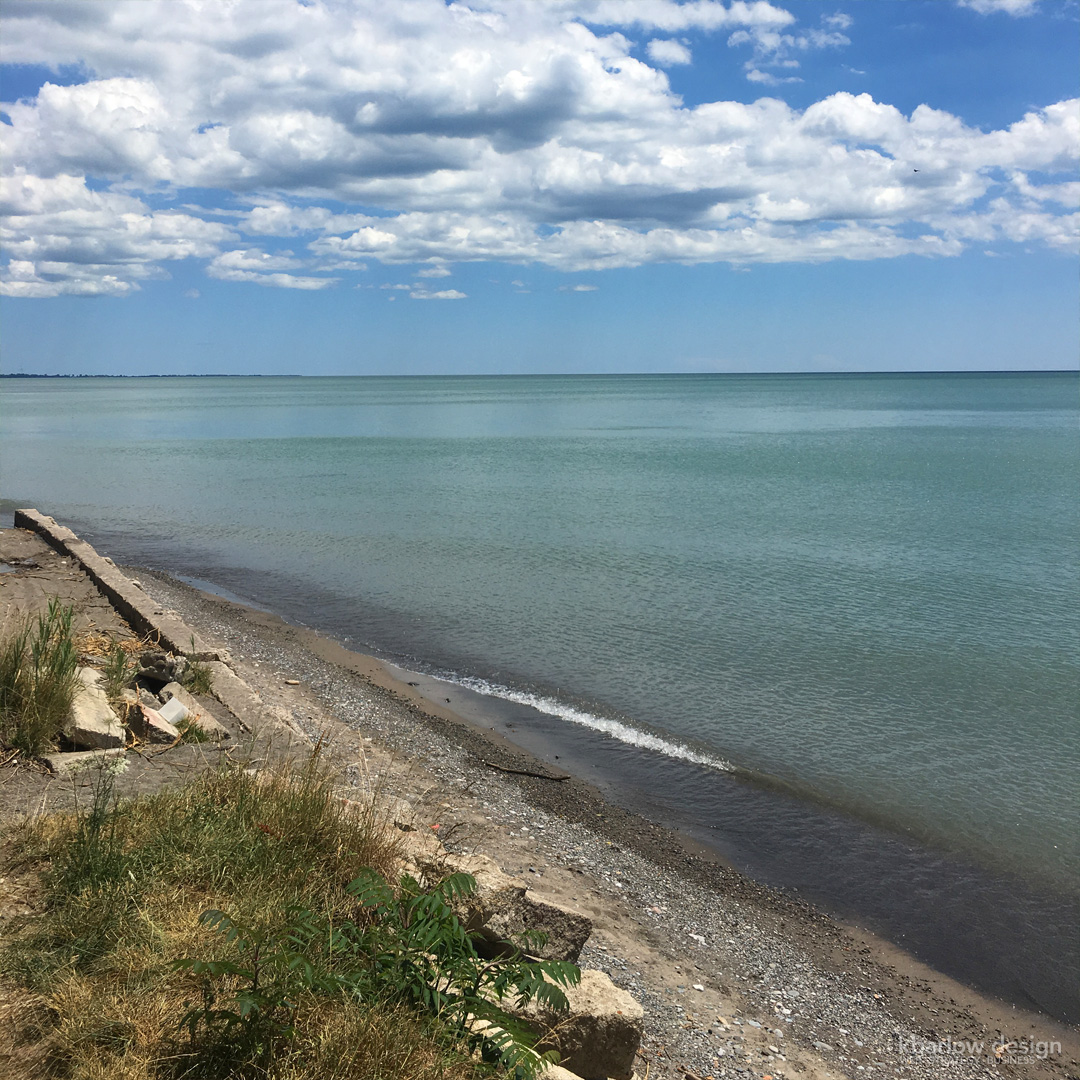
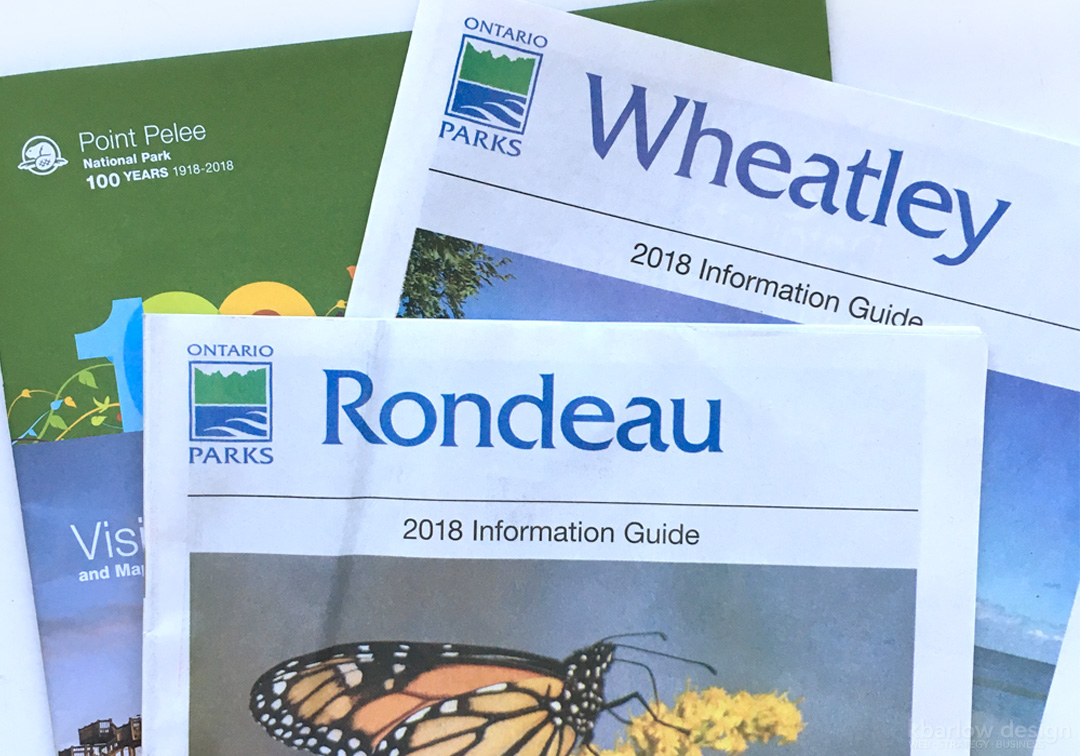
After cooling down, we headed out to Wheatley Provincial Park. It was beautiful, and we had a nice walk along the beach, but it was still too hot, so we didn’t spend as much time there as we would have had it been cooler. I definitely have a better idea of how to plan a future trip to the area though, so it was still worth it!
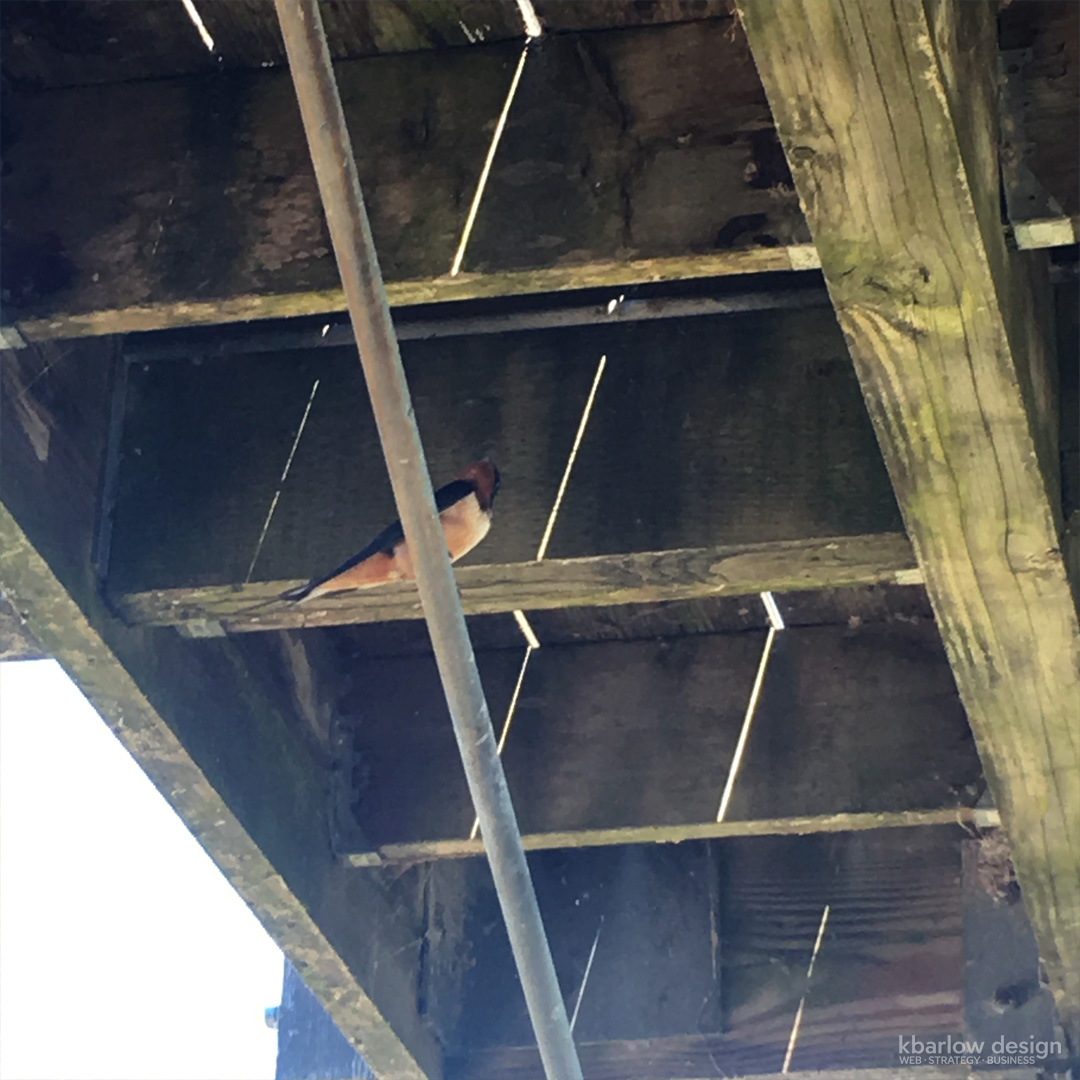
On our last day, we decided to go back to Pelee National Park so we could do the marsh walk (1km), and thankfully it was much, much cooler (30C), because the whole marsh walk is in direct sun. There were swallows everywhere! It was so neat to see them flying around and catching bugs, and flying in/out of their nests – which were everywhere!
We headed out and on our way home, taking Talbot Trail instead of the 401, and stopping at any beaches we found along the way, or had promise via Google Satellite.
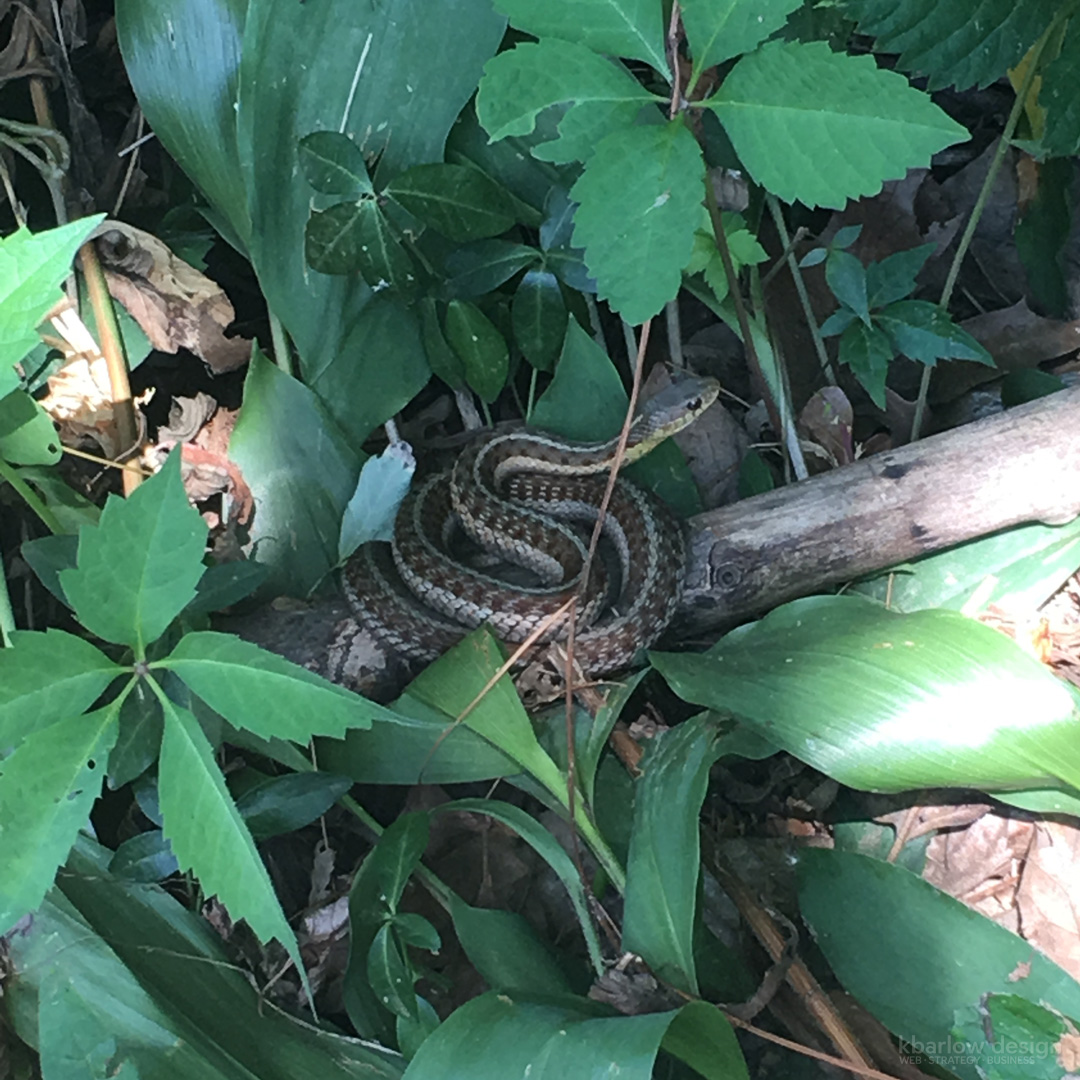
Since Rondeau Provincial Park was on the way, we figured we might as well add another checkmark to our parks checklist! The beach sand was so soft. On the way out we spotted something… can you see it?

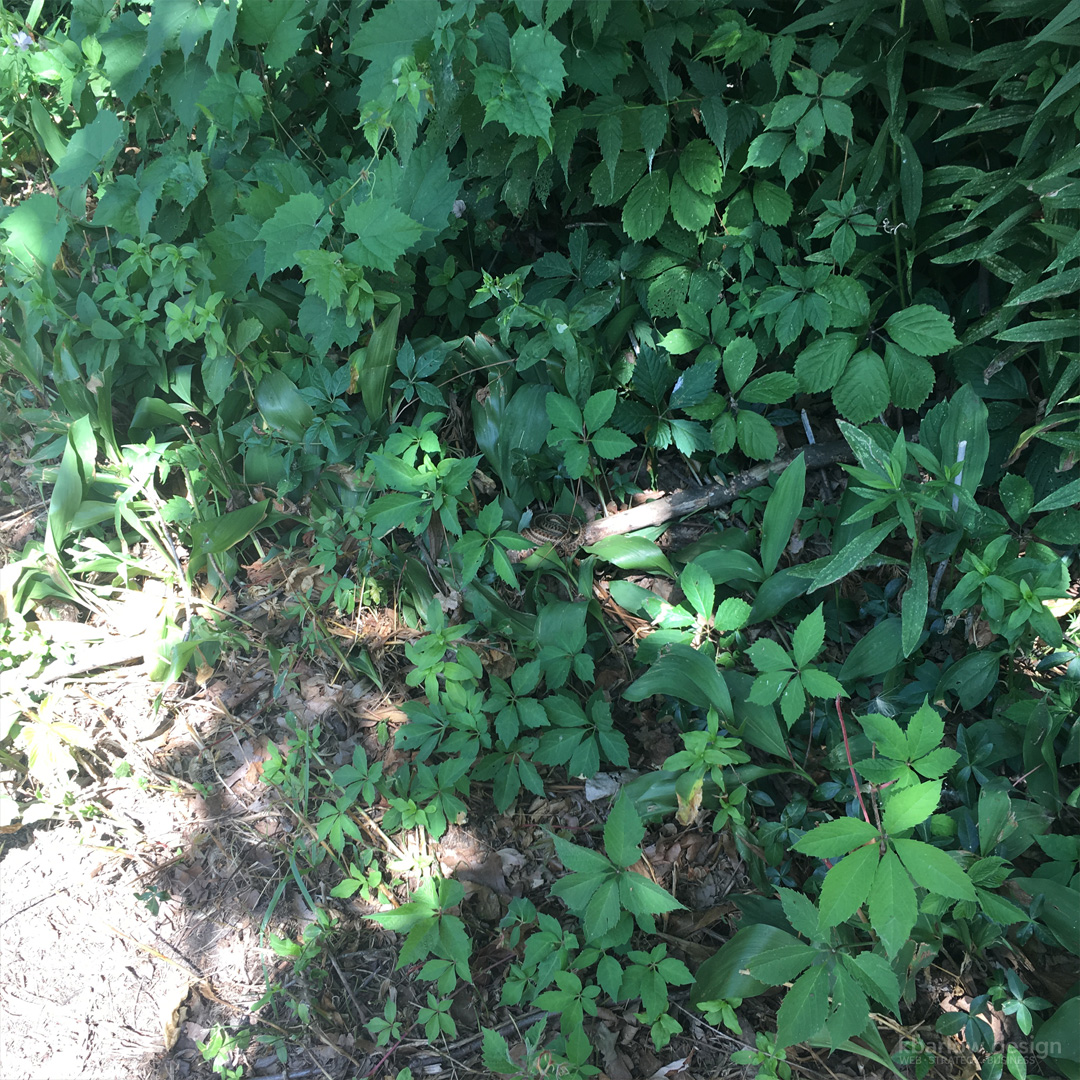
A garter snake! It was sunning itself, and quite small – I haven’t seen a beige one before!
Three down, plenty more to go – loving exploring our beautiful province!
Want to go through the posts in order? Click on the links below, and they’ll open in new windows so you can follow along chronologically!
Day 1 – 2: Day 1: Home to Lévis, Québec. Day 2: Lévis, Québec to Bathurst, NB.
Day 3: Bathurst, NB to Beresford, NB to Bouctouche, NB.
Day 4: Bouctouche, NB to Hopewell Rocks Park, NB, to Alma, NB through Fundy National Park to Saint John, NB.
Day 5, 6: Day 5: Saint John, NB to Rivière-du-Loup, Québec. Day 6: Rivière-du-Loup, Québec to Home!
Day 5: Saint John, NB to Rivière-du-Loup, Québec (490km)
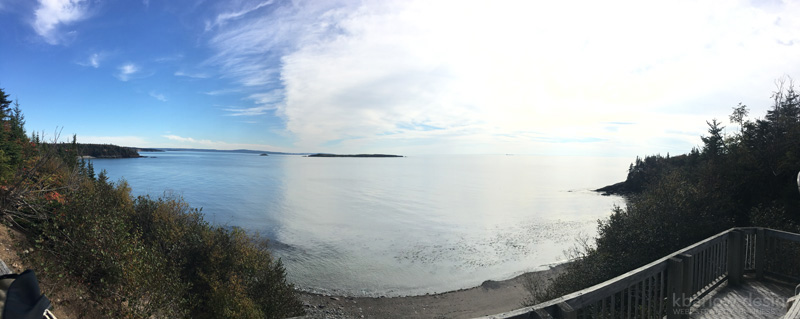
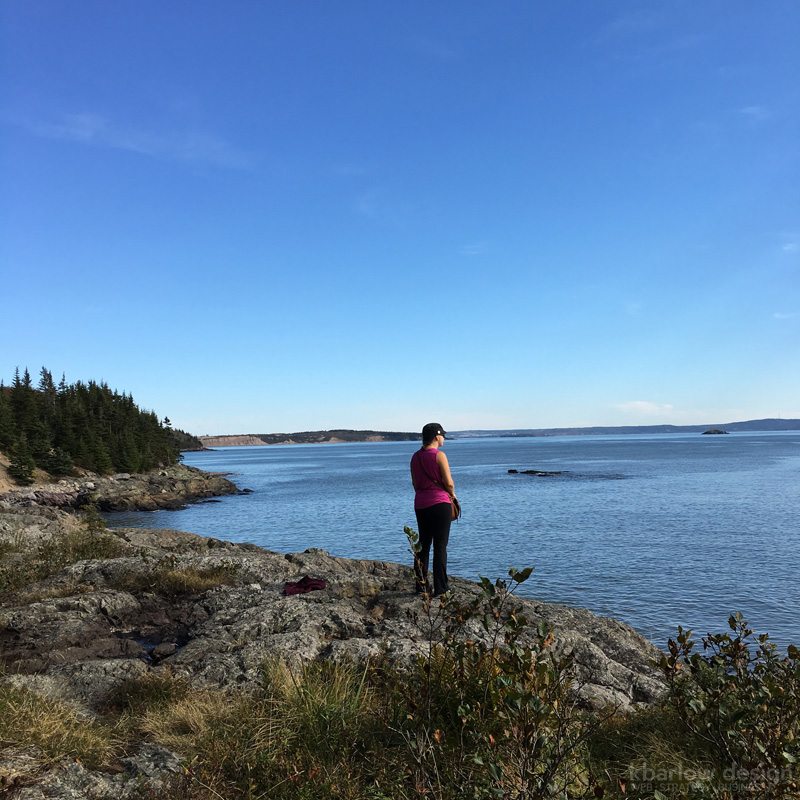
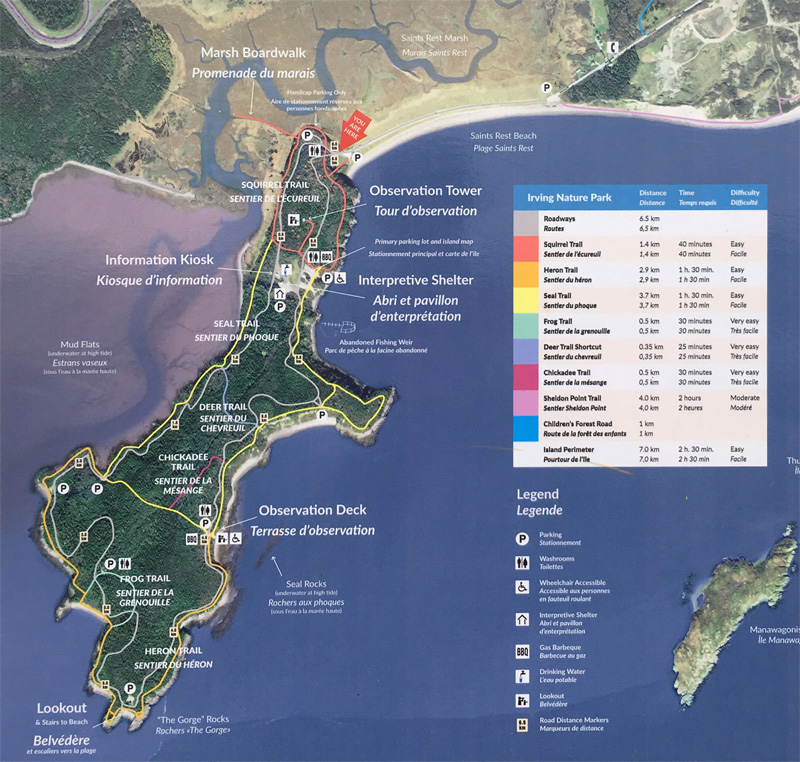
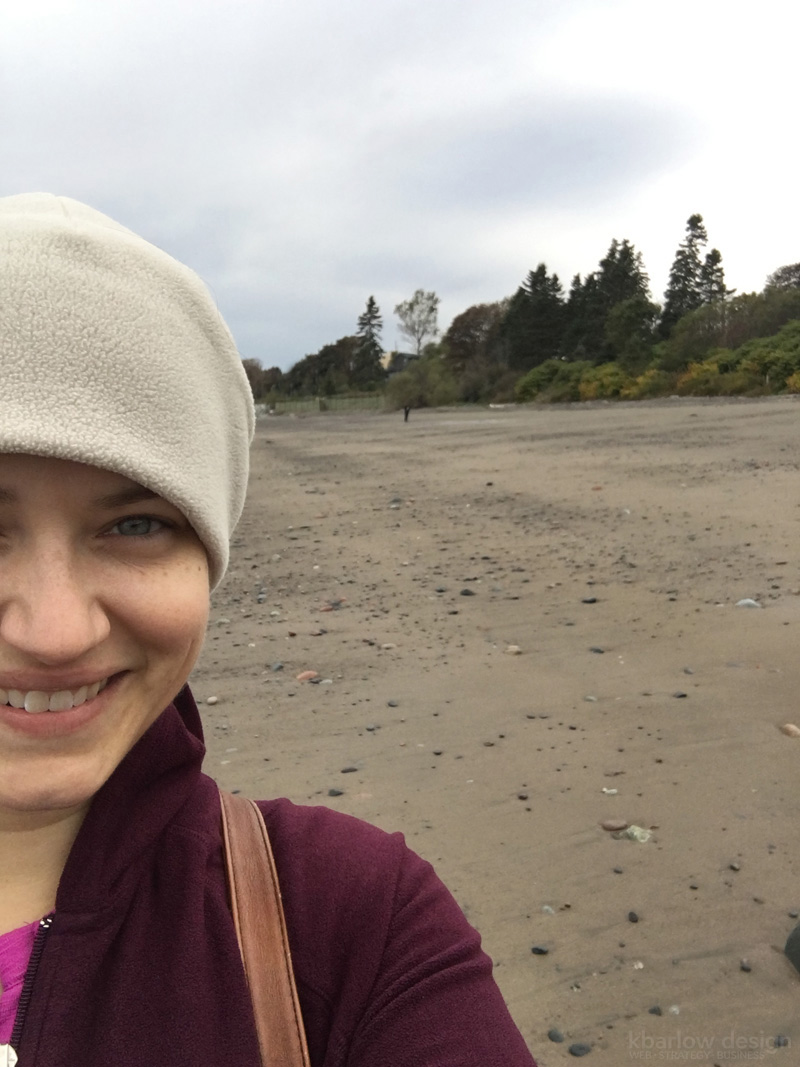
Started off the day by going to Irving Nature Park! We checked out this beautiful beach before heading up the trail to see what other beaches were there. We didn’t realize at the time you could drive to various points in the park… we also didn’t realize the trip around the entire park’s coast was an 8km hike.
Started off strong on the Squirrel Trail!
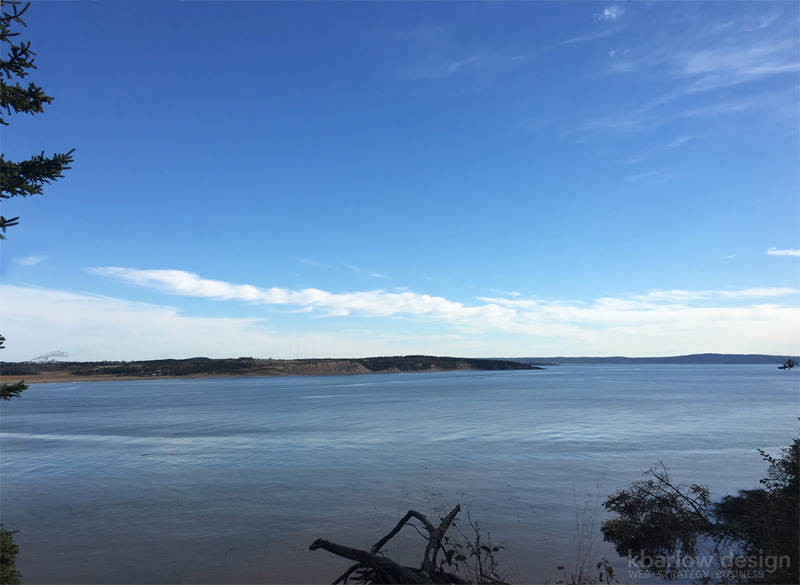

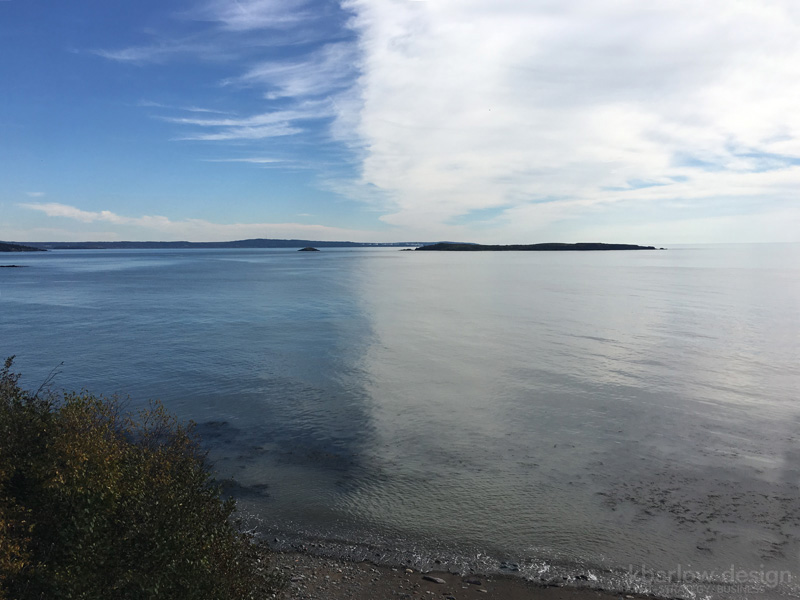
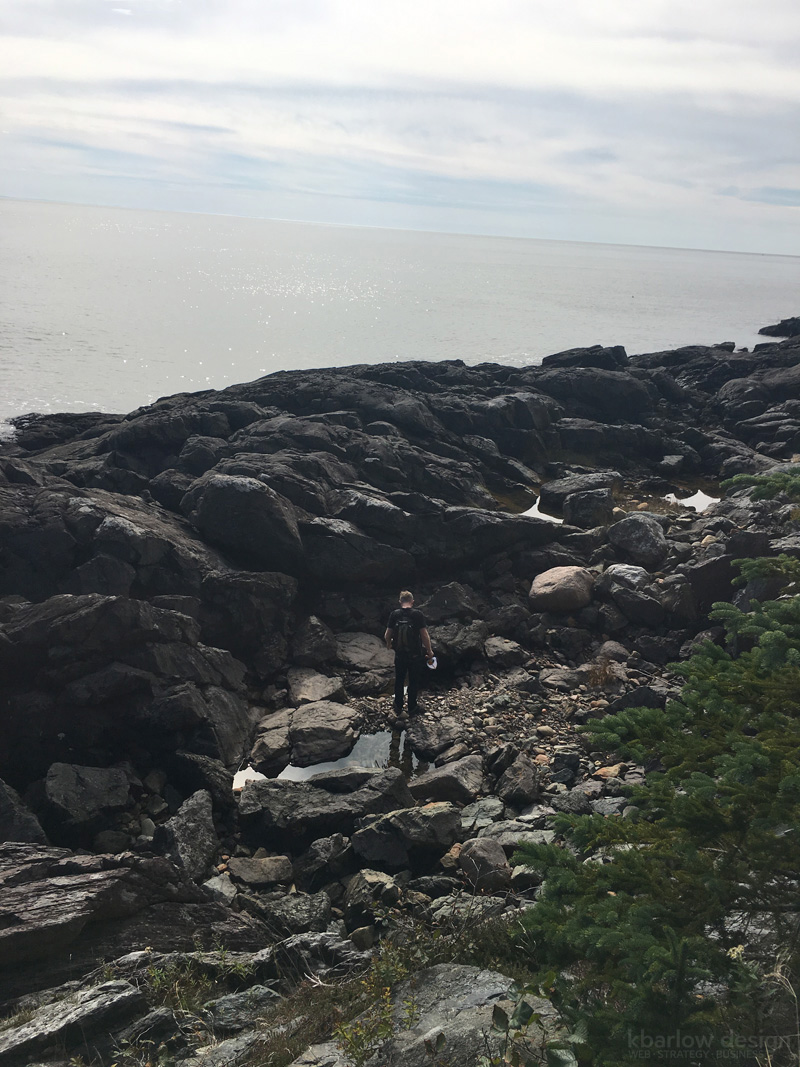
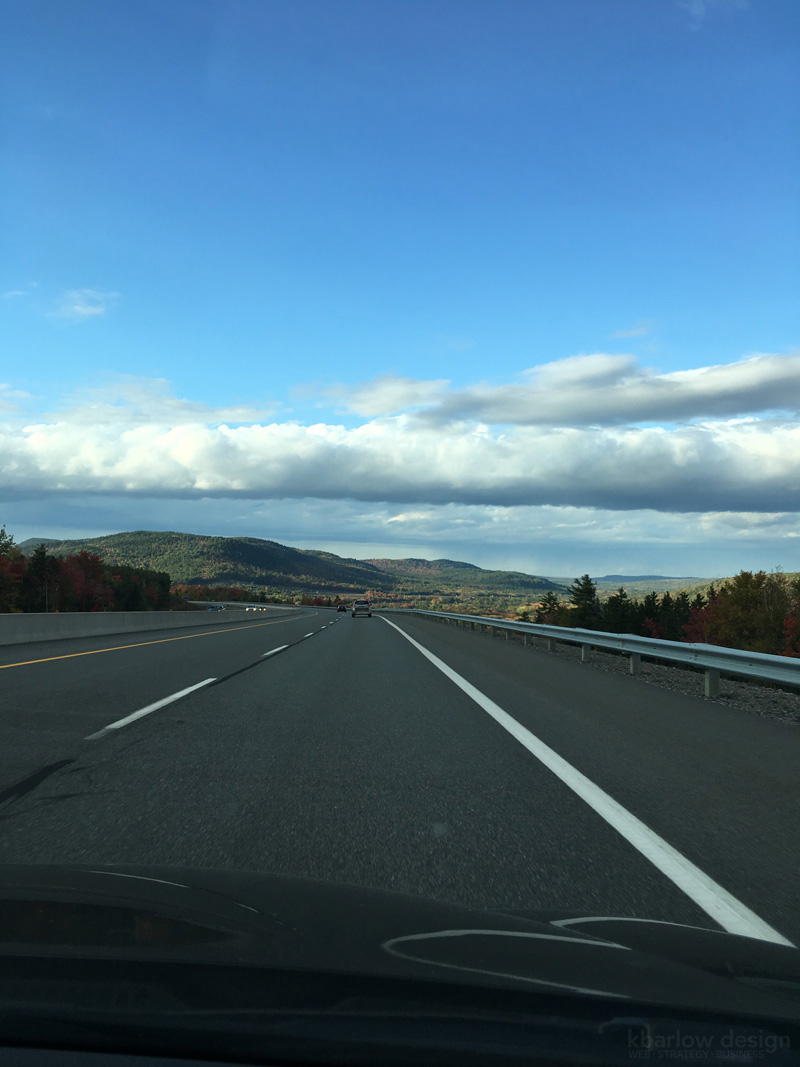
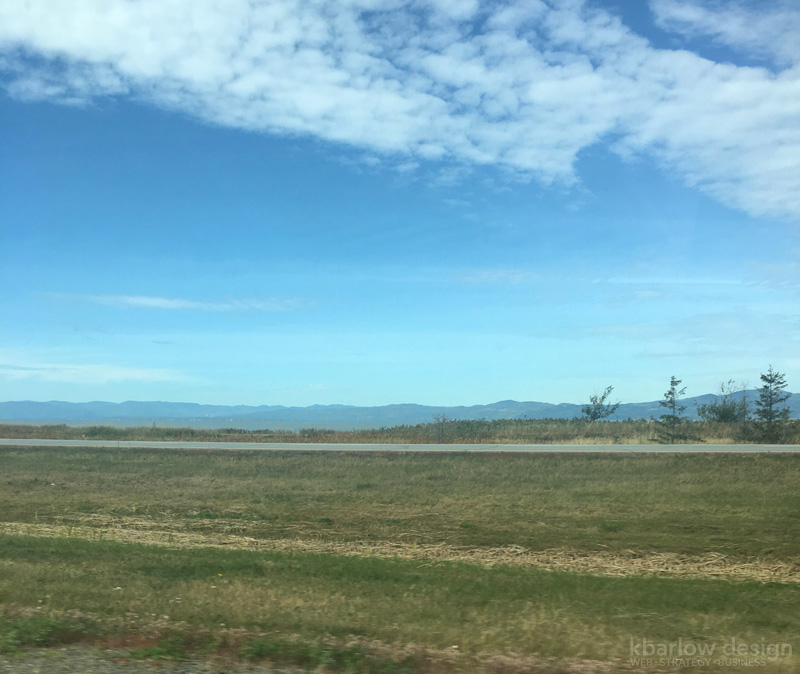
The sky was split in two with clouds forming an almost perfect line:
From the observation deck, we saw seals hanging out! The Seal Trail did not disappoint!
Can’t pass up checking out the tide pools…
We weren’t sure what these tracks were from, we’ll need to look it up!

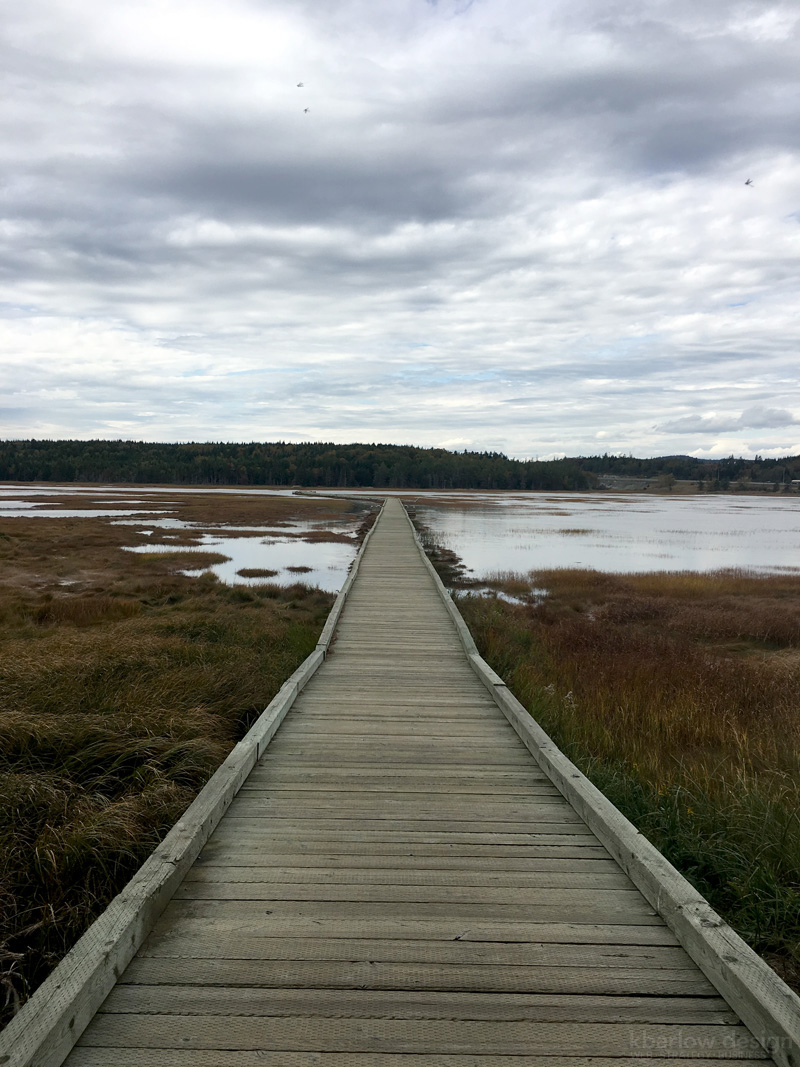
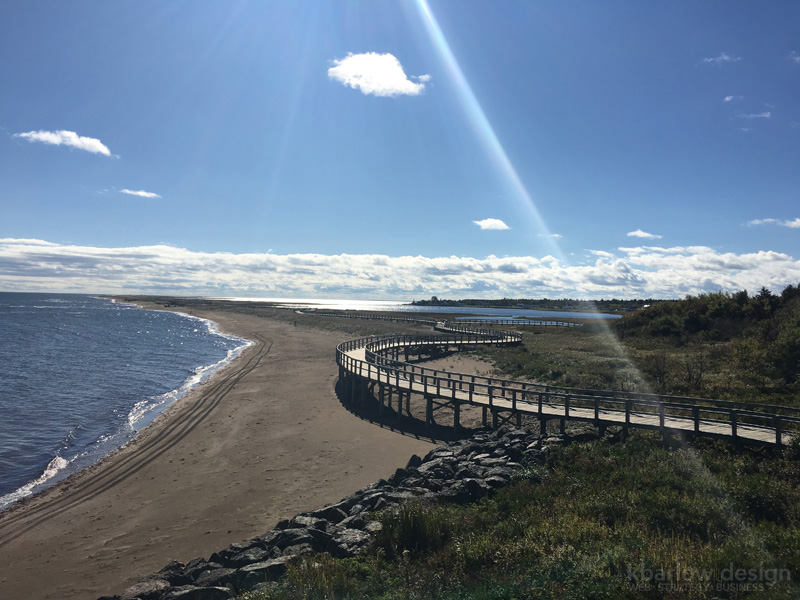
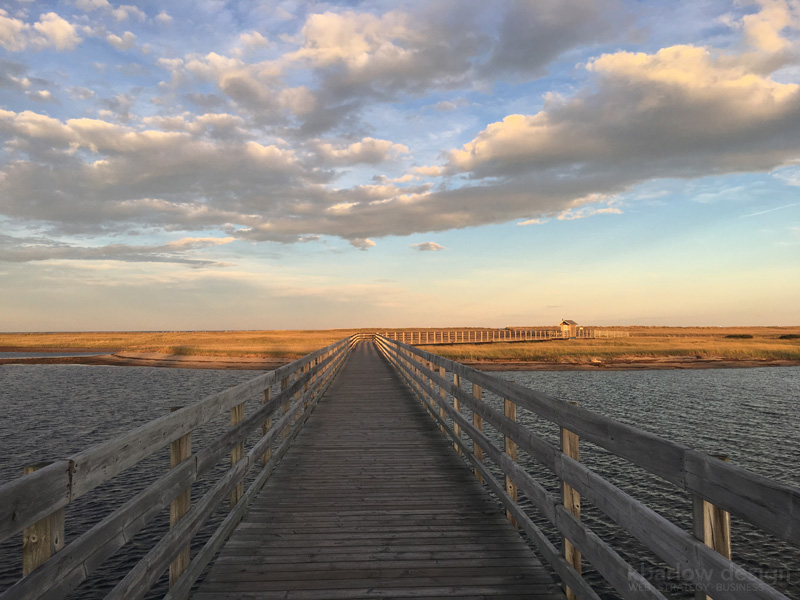
This boardwalk looked really nice… but we were already several hours into a hike we hadn’t intended on taking, so we skipped it.
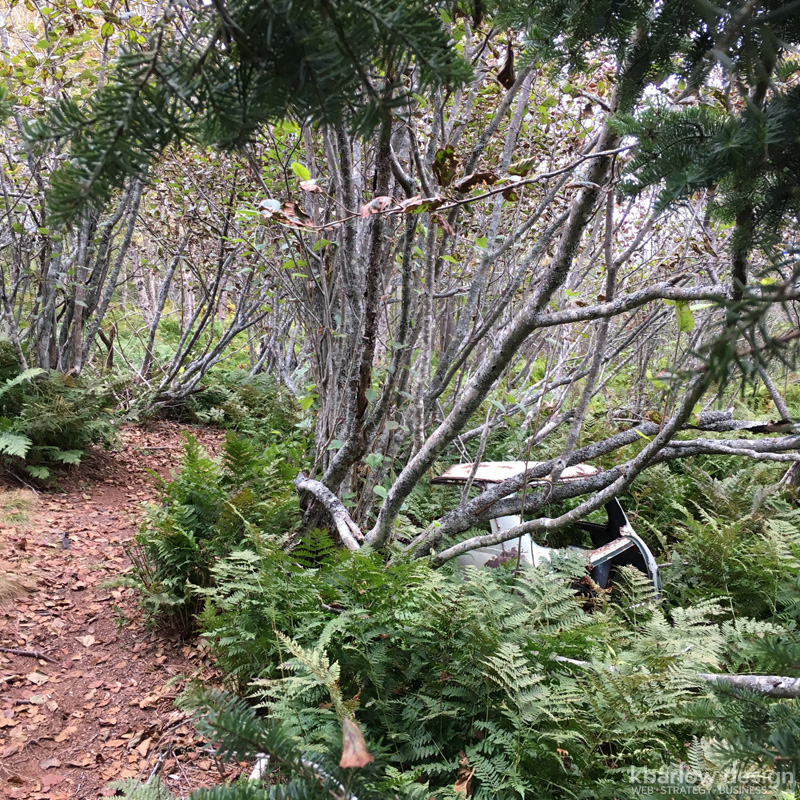
A few minutes later, we found a random car scrapyard of several Minis. It was totally weird and out of place, but the highlight of the hike for my other half, who identified them as Minis based off the rain catch tray from the dashboard, and the air intake. Then we found this one semi folded in half…
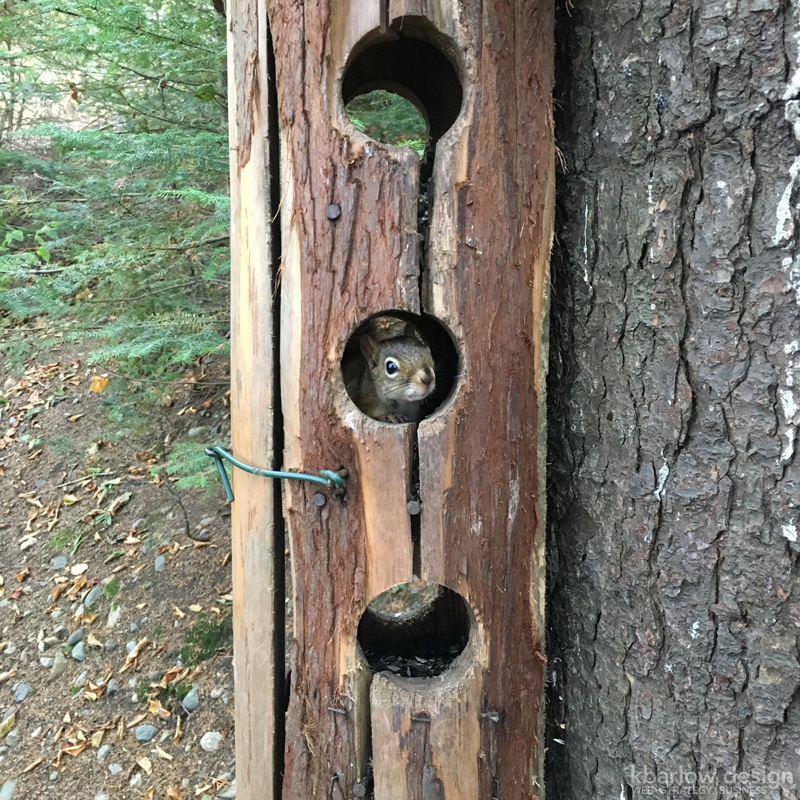
Angry red squirrels followed us around hoping for food. This guy had a stash of sunflower seeds in here and yelled at us when we grabbed a few to feed the chickadees that were flying around and happy to land on a friendly hand offering seeds!
Here’s a map of the park – too bad we didn’t look at it before we set out, but it was an excellent hike, especially with all the time we spent sitting in the car the past several days.
Couldn’t leave without stopping at more beaches as we passed by them! It was chilly and damp with some rain, but we stayed another few hours later having fun looking along the shore.
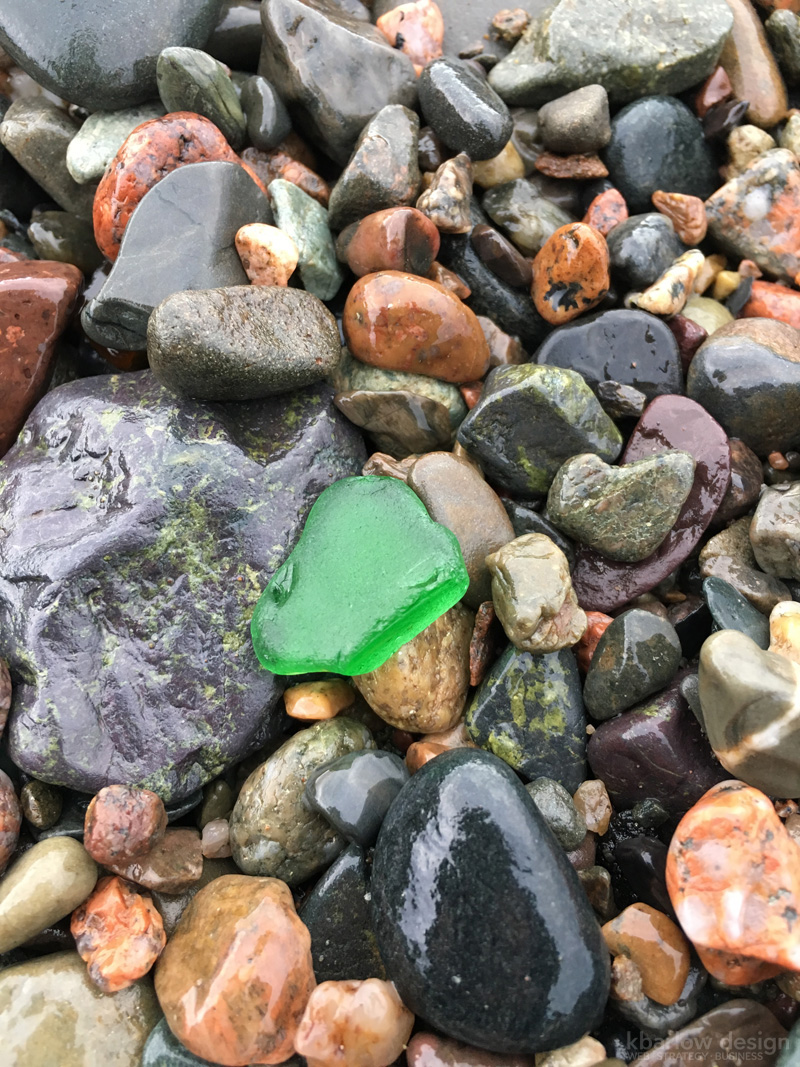
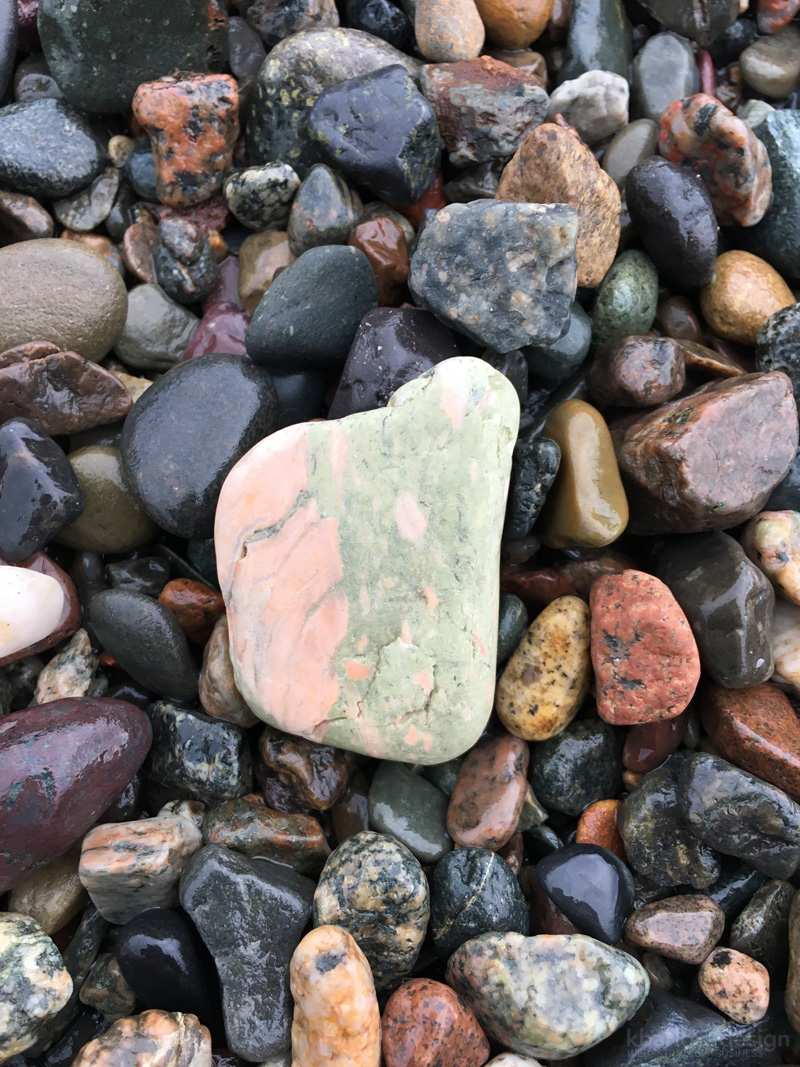
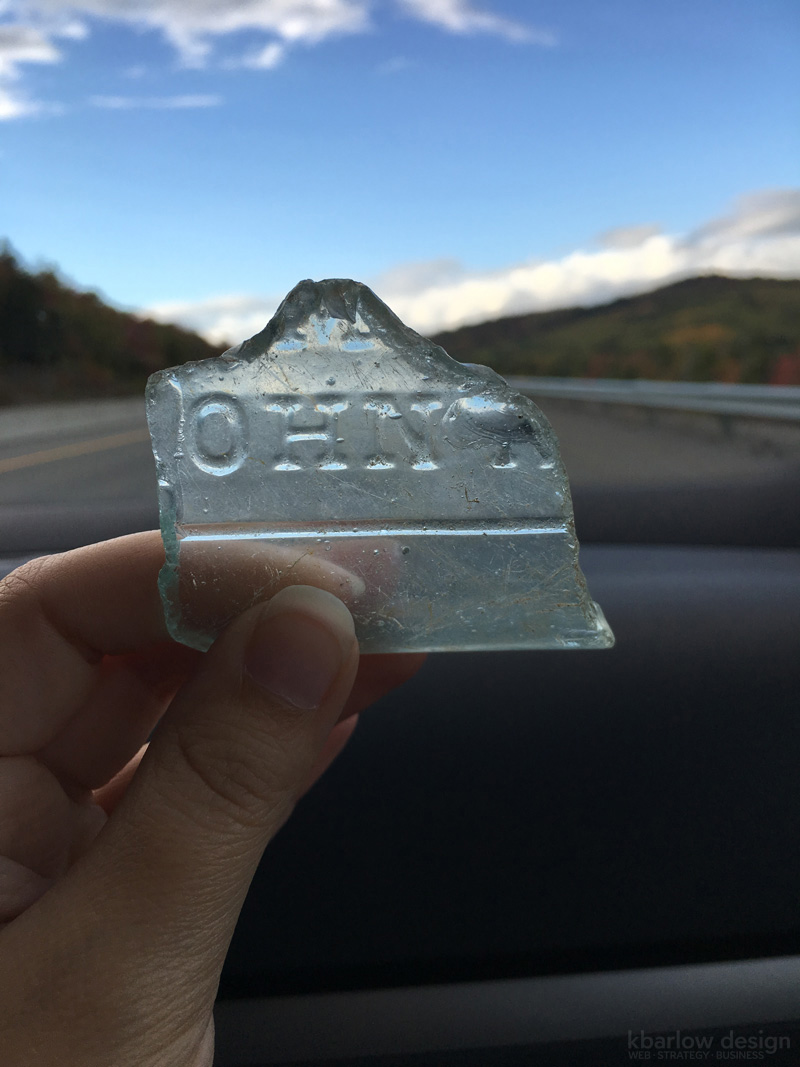
We have a competition any time we got out beach combing… and this was the winner, even though I found some pretty great pieces. This bottle was from a broken Fellows & Co Chemist – Saint John, NB bottle! It was fun to hang out in the hotel room that night and try to figure out where it was from.
Even though we left for Québec a lot later than expected, we had a very full and very fun day – definitely worth it. We stayed in Rivière-du-Loup when we were ready to stop driving for the night. Wish we could have explored it a bit too, but we needed to get an early start for our very long 10-11 hour drive home the next day.


Day 6: Rivière-du-Loup, Québec to Home! (1020km)
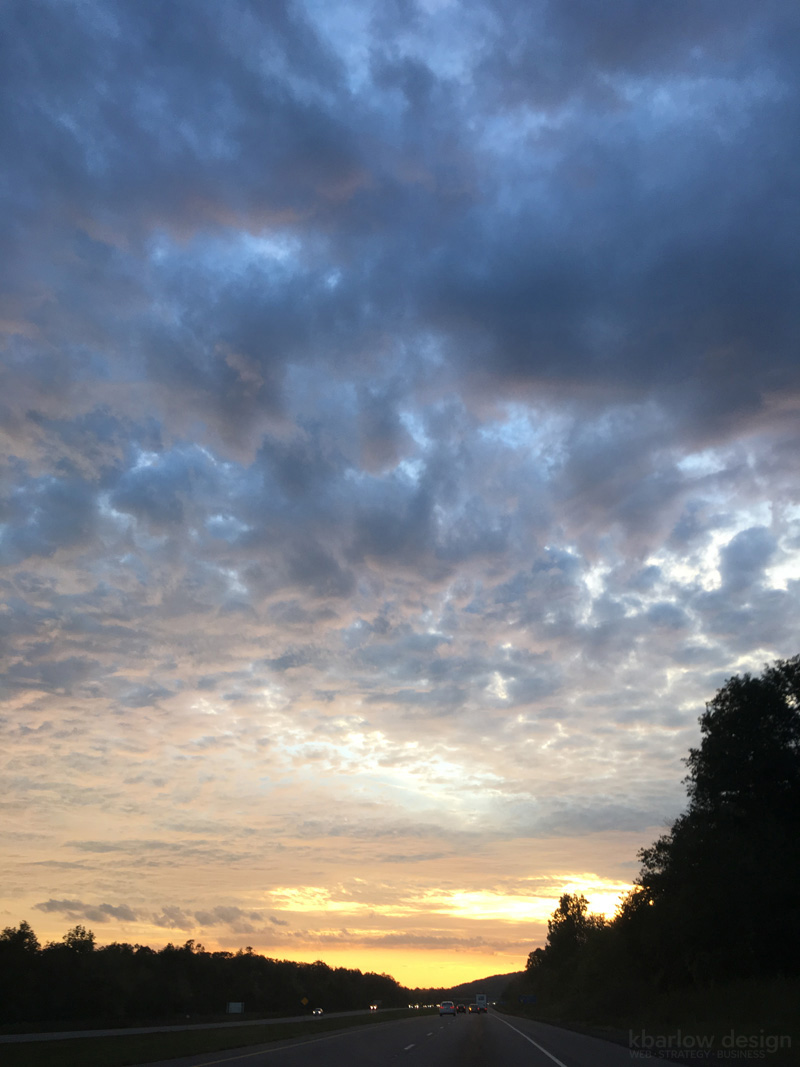
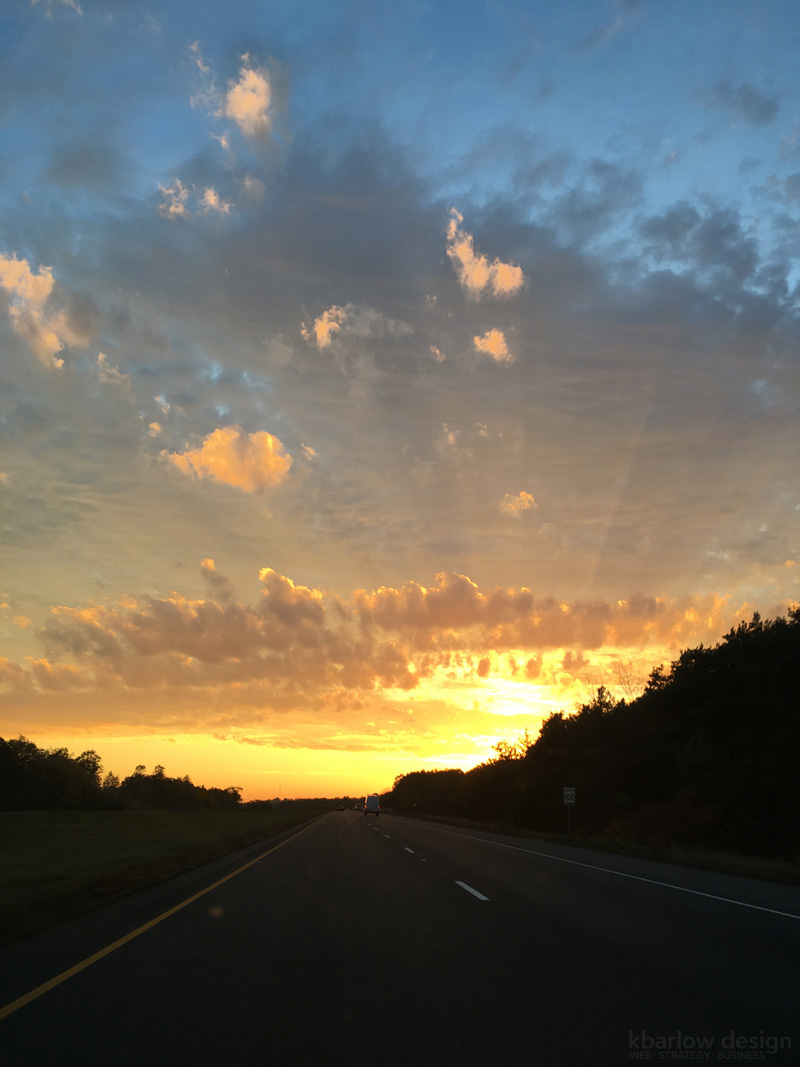
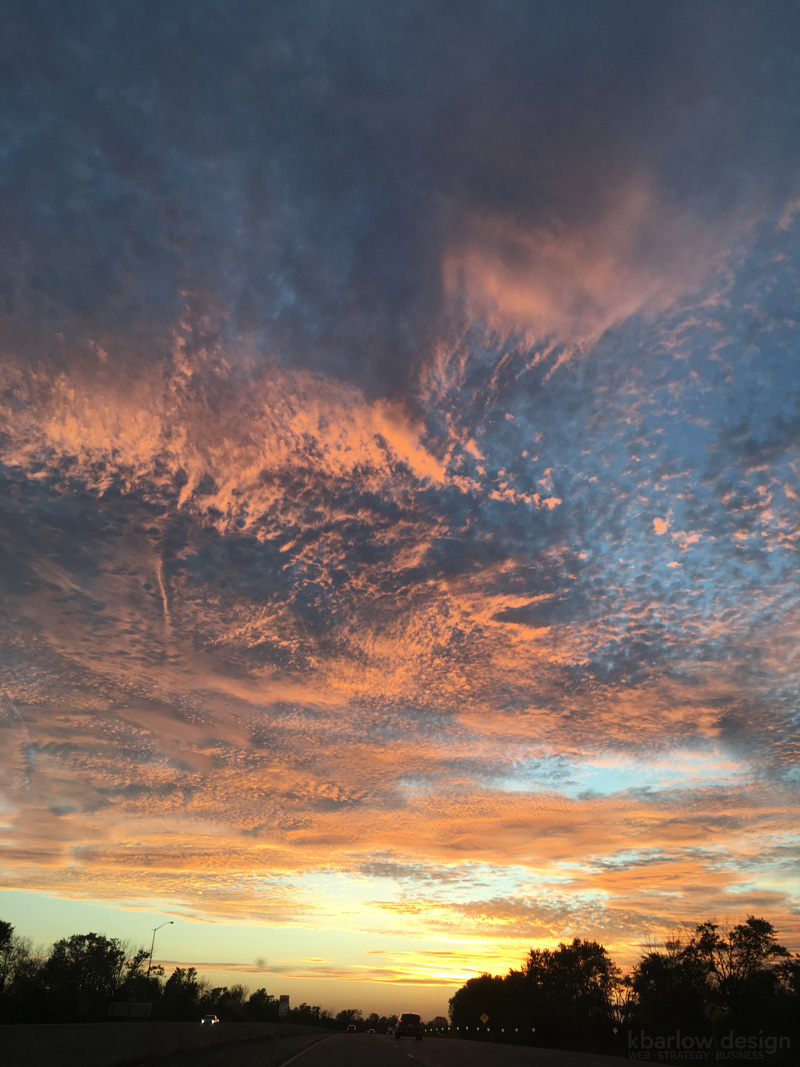
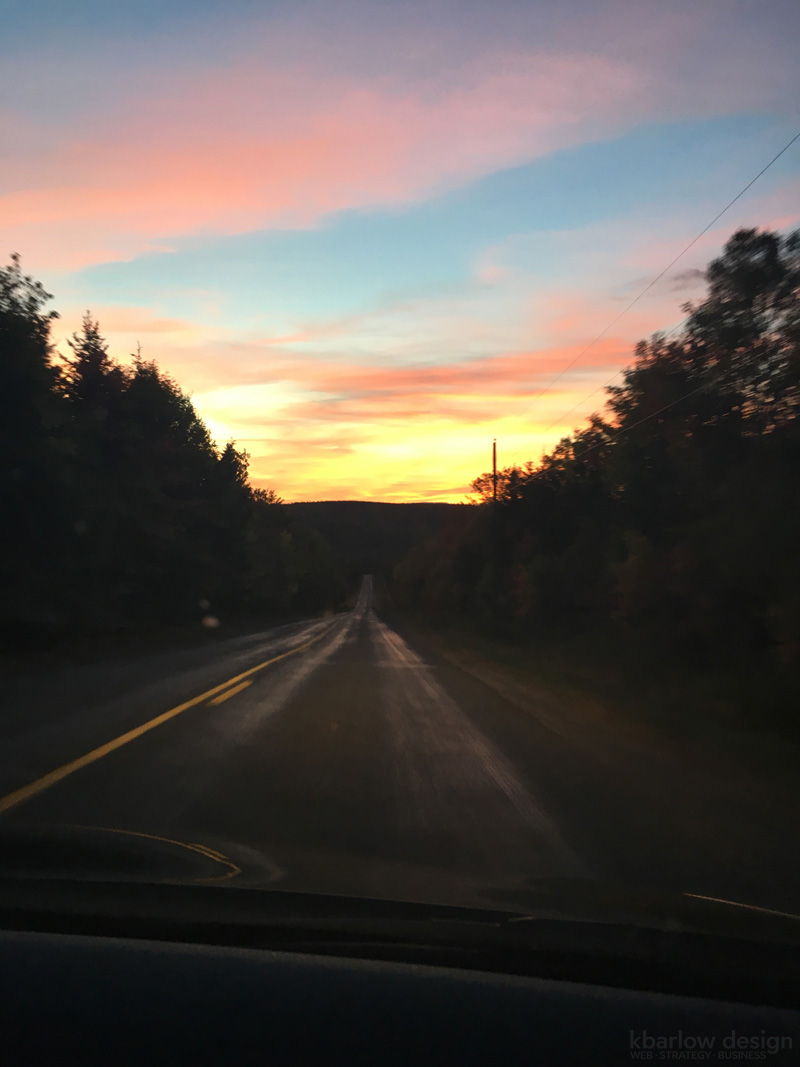
We spent a solid 10-11 hours driving today. It was long, but not as bad as I expected. We got this gorgeous sunset, and made it home safely – what more could you ask for!

Day 4: Bouctouche, NB to Hopewell Rocks Park, NB, to Alma, NB through Fundy National Park to Saint John, NB! (300km)
Over breakfast we met a gentleman from Germany that recommended we check out La Dune de Bouctouche! We’ve had incredible weather the whole week and have been so lucky!
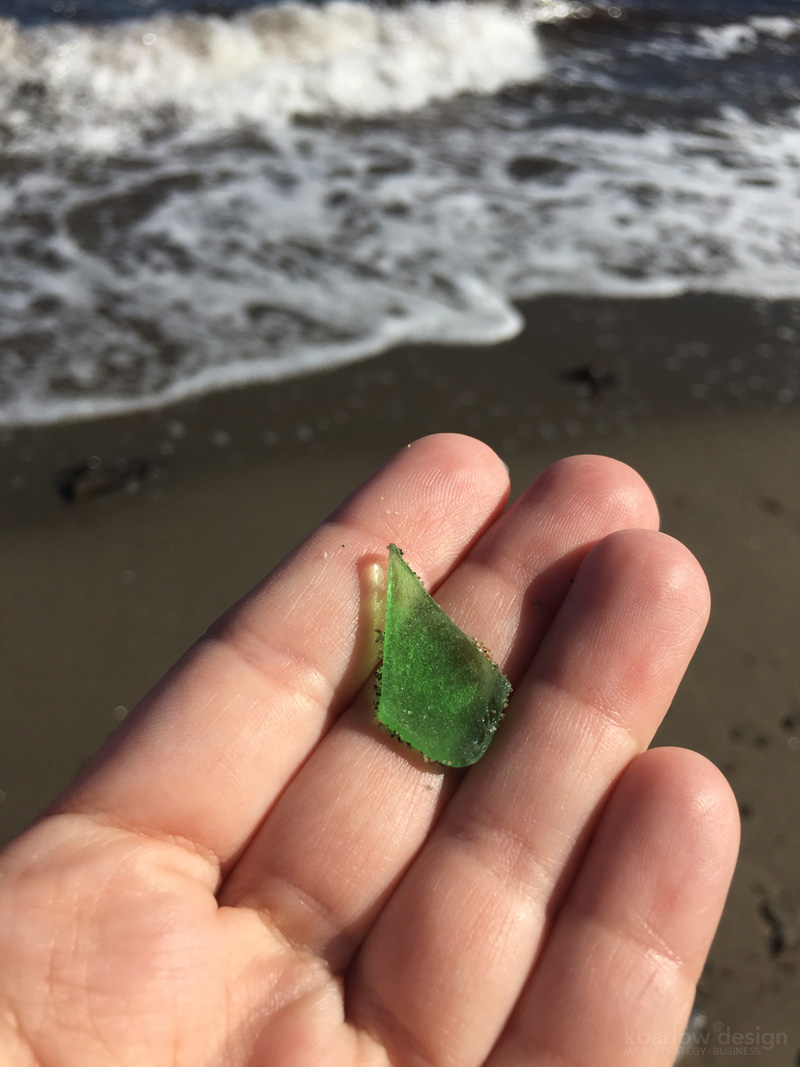
More treasure!
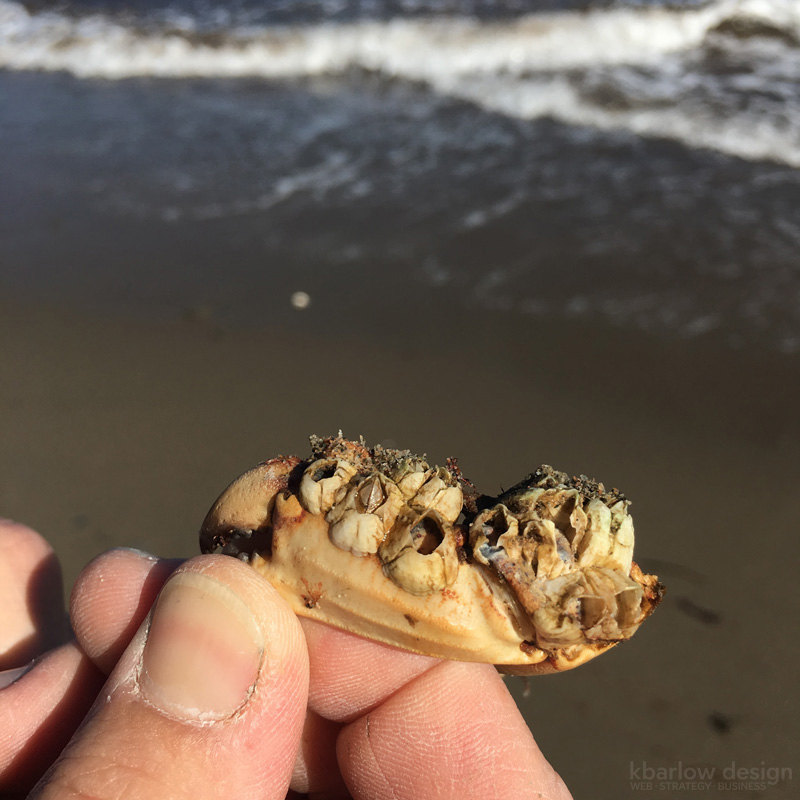
A barnacle:
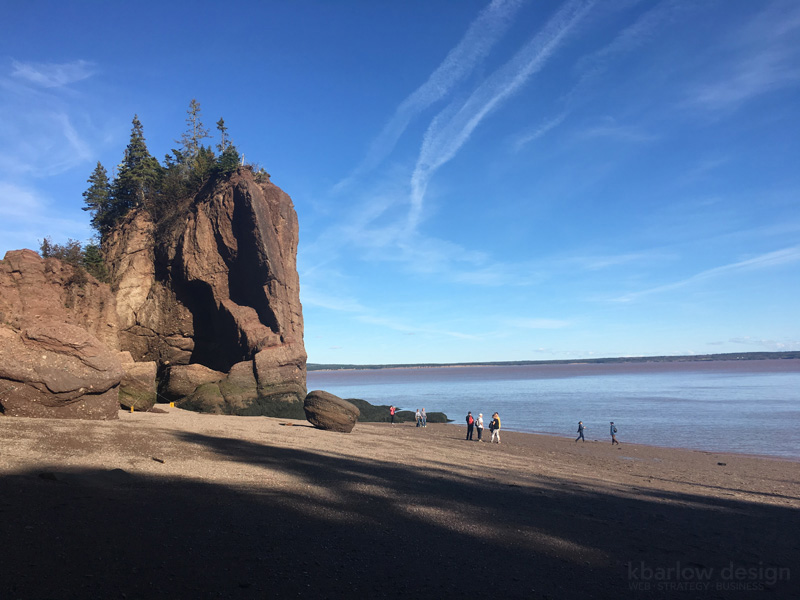
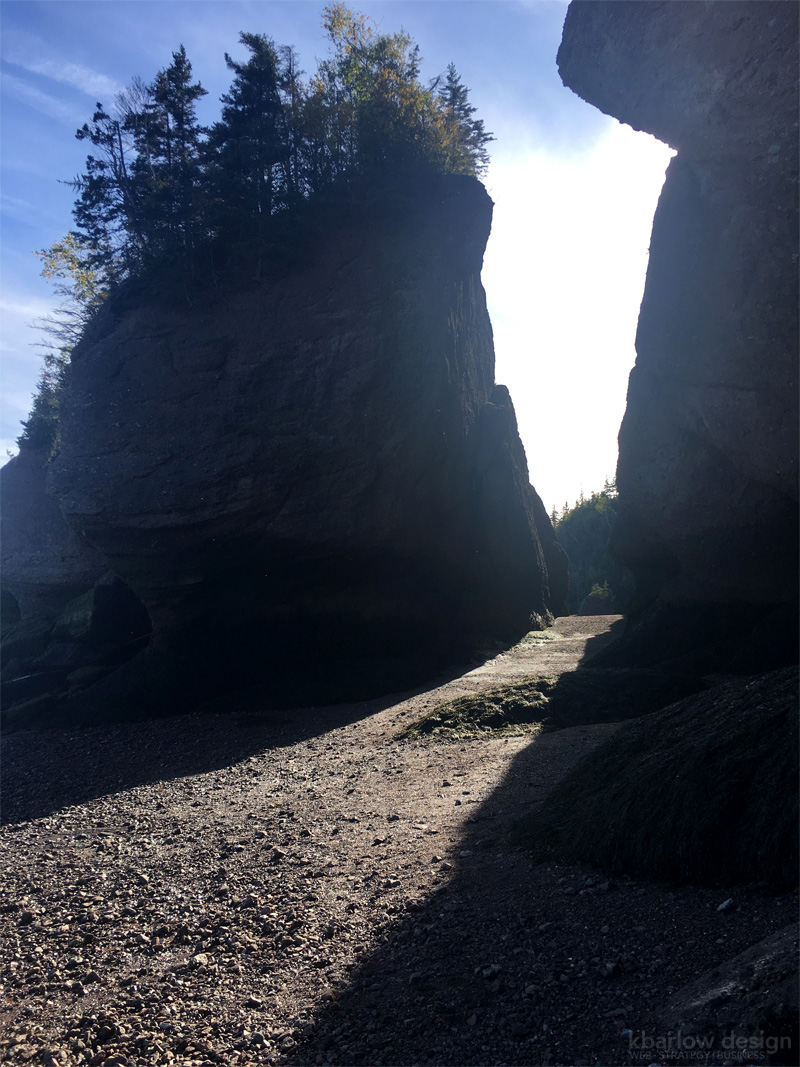
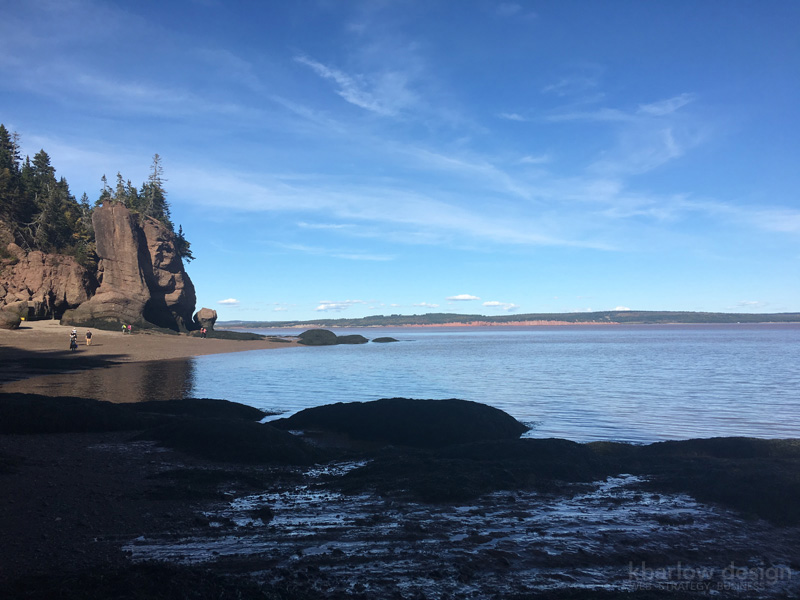
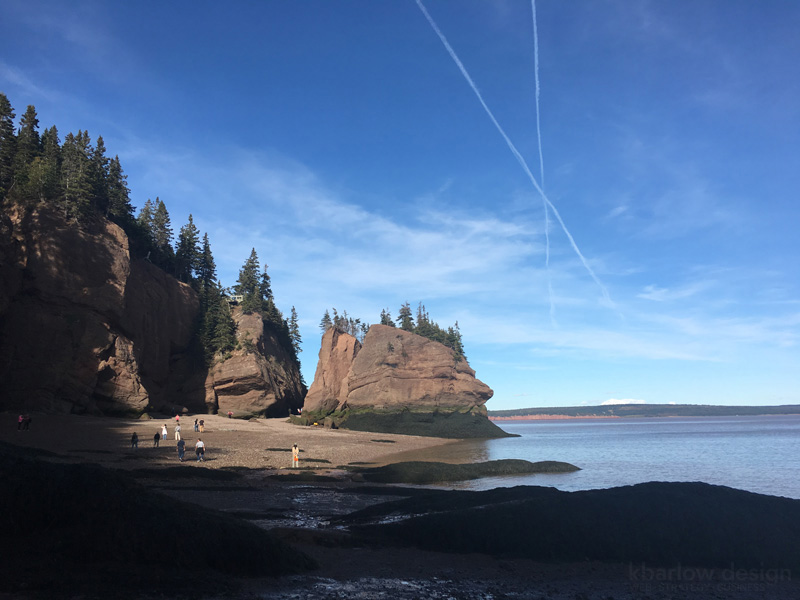
We checked the tide schedule so we’d know how much time we could spend on the beach before heading to Hopewell Rocks. I hadn’t been in several years, and it’s just as gorgeous as I remember!
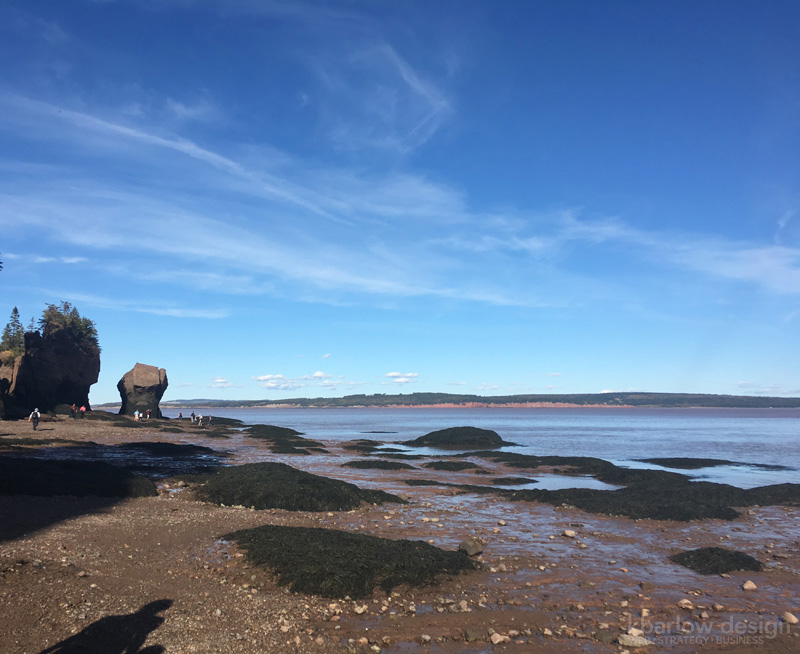
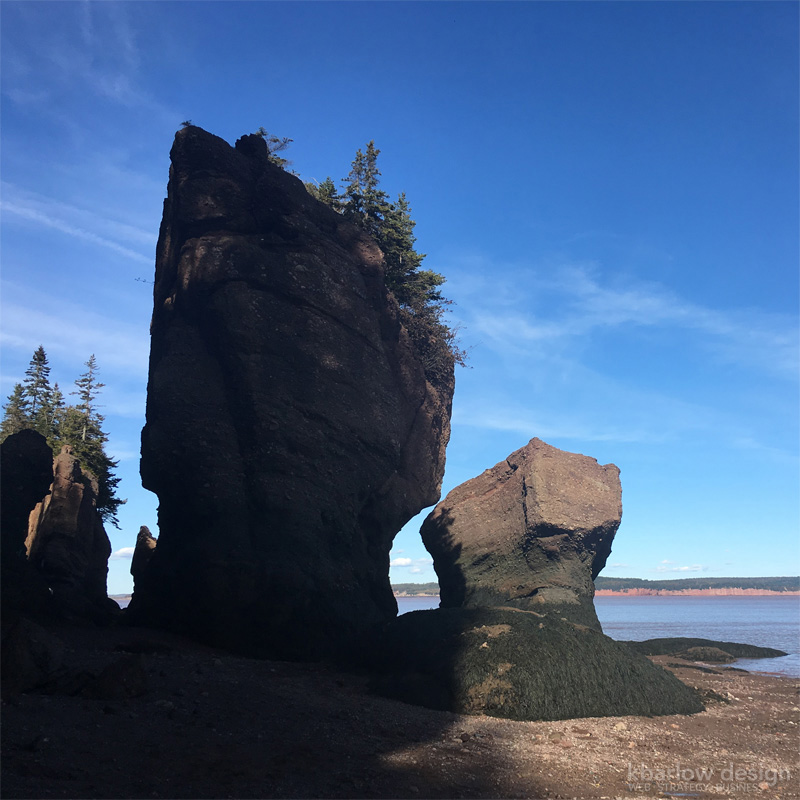
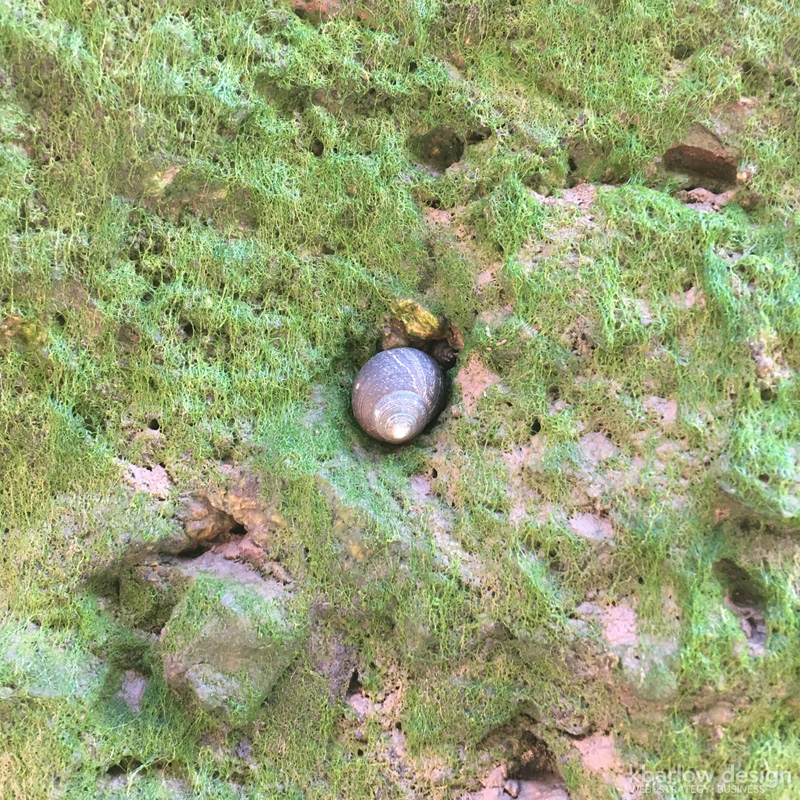
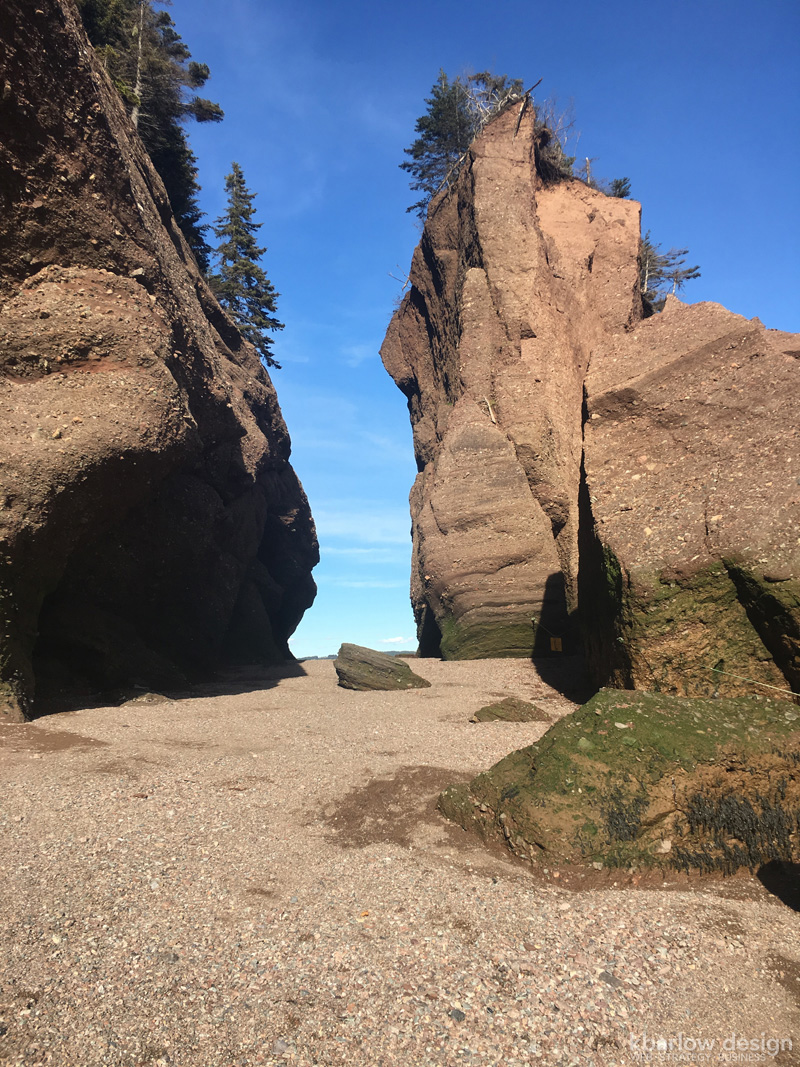
In almost every wall you could see snails in holes, patiently waiting for the tide to come back in.
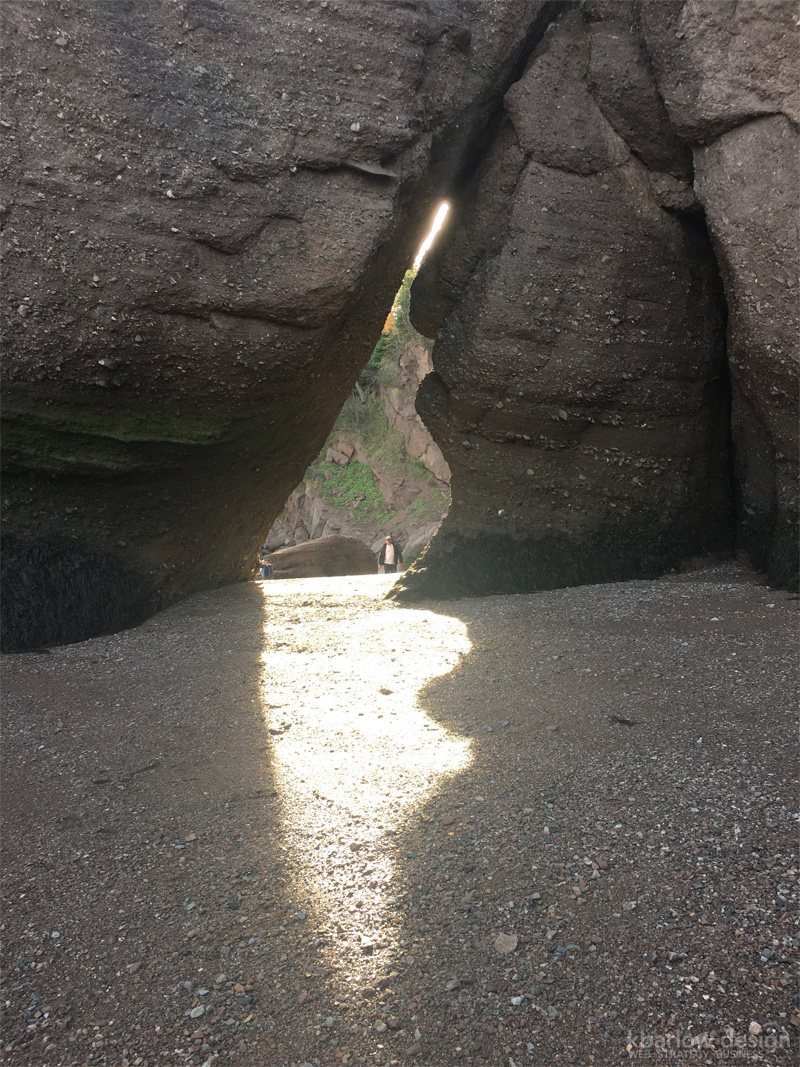
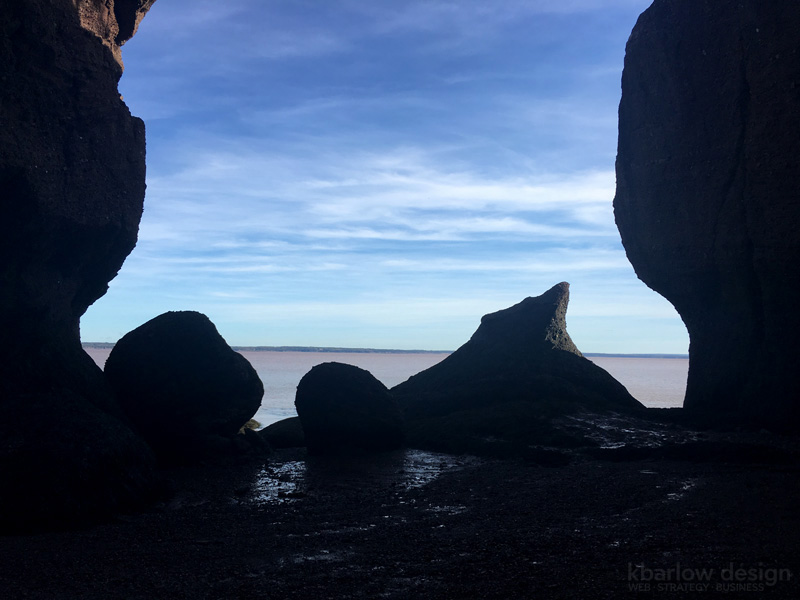
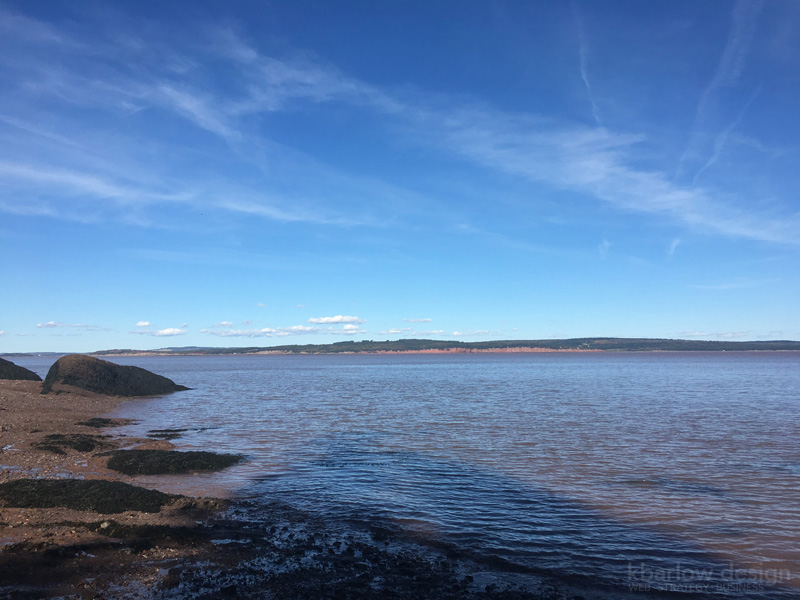
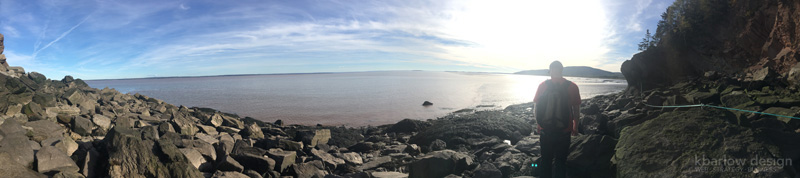
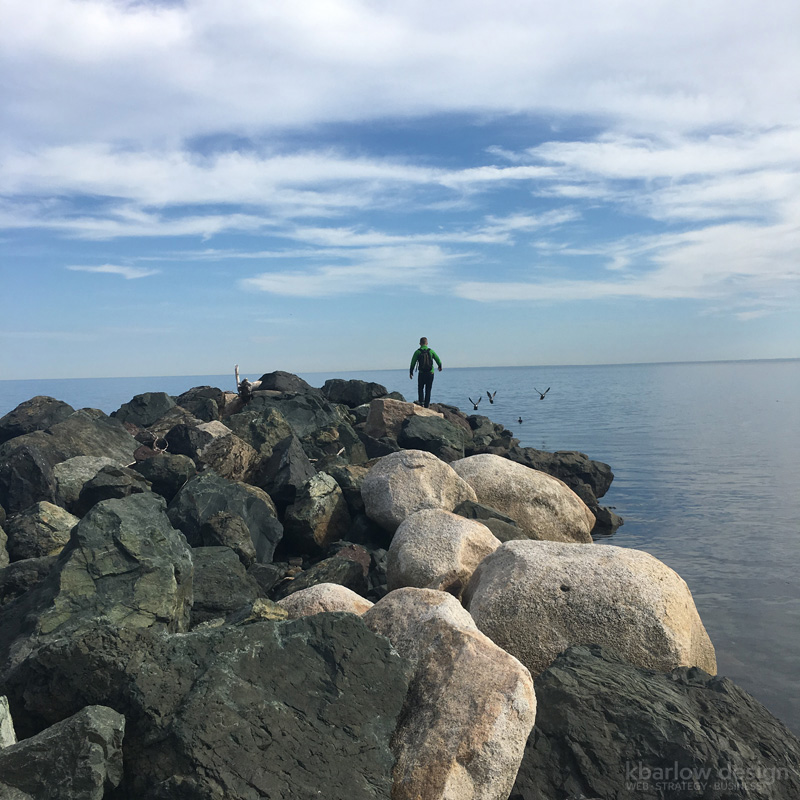
We decided to brave the huge, slippery boulders and rocks to get to Daniel Flats. It was quite a workout, but worth it to see the sun setting over the flats as they slowly drained.

We were making our next plans to decide where to go next, when one of the parks guys came by on a cart to let us know the park would be closing soon. He offered us a ride back up, and we took it. He absolutely gunned it. We both came very close to flying off the back, but it was really fun, and we realized how much of a hike he’d saved us! (uphill too!)
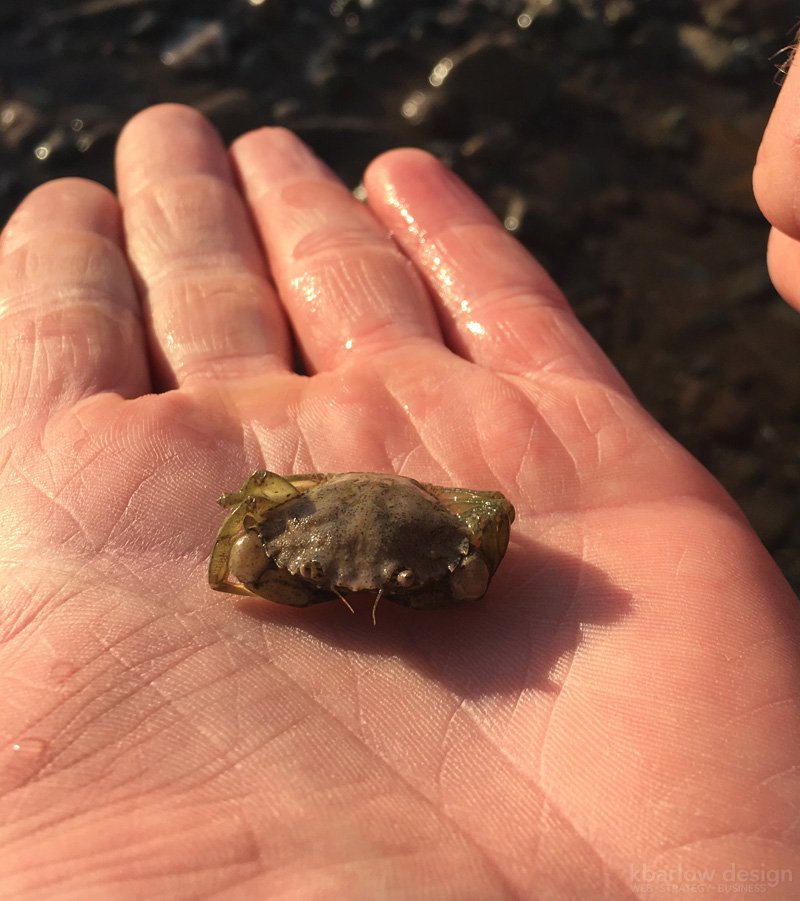
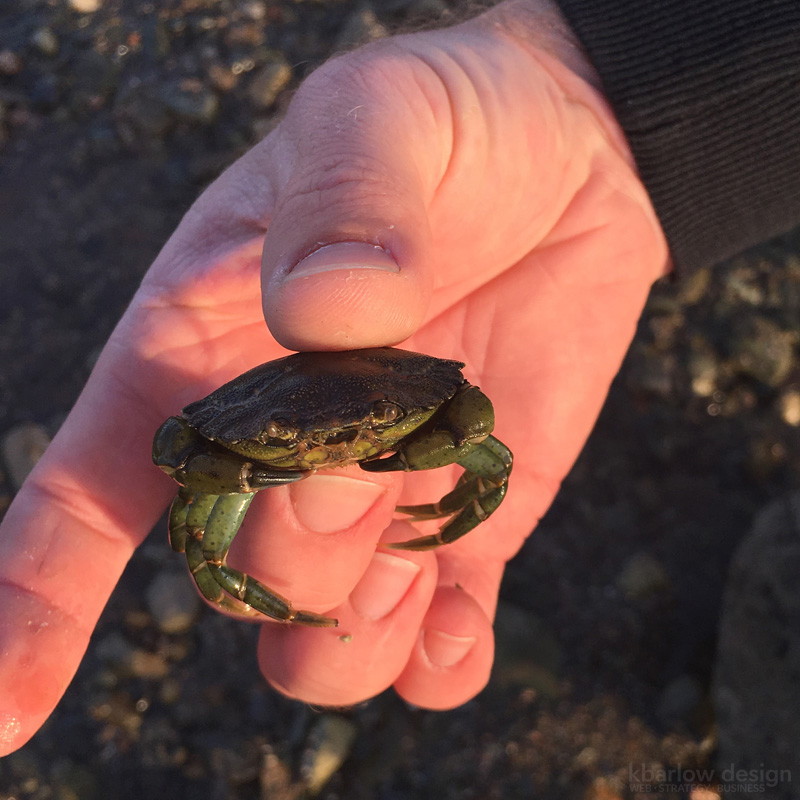
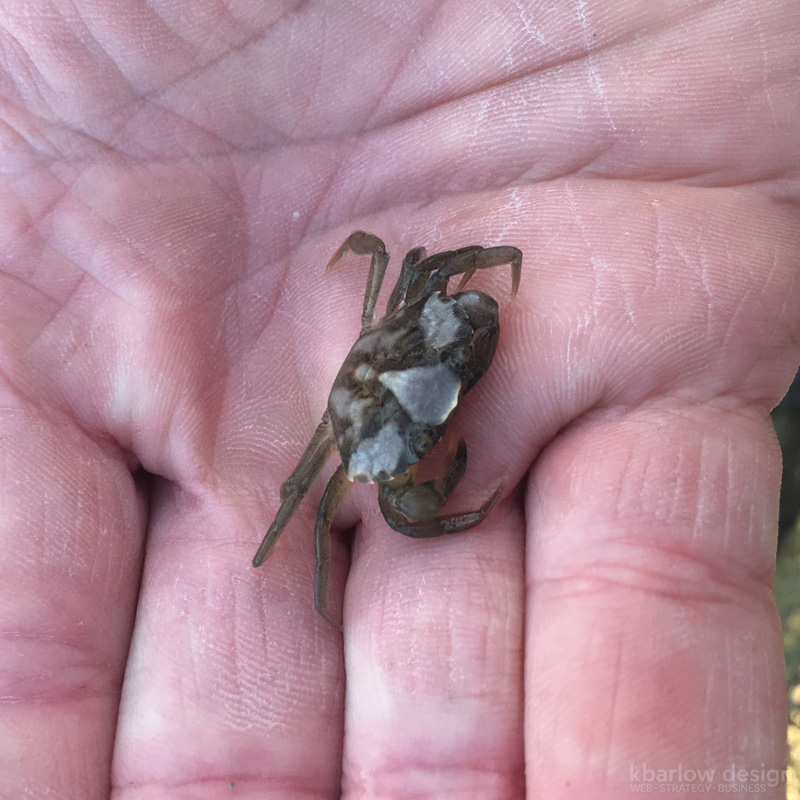
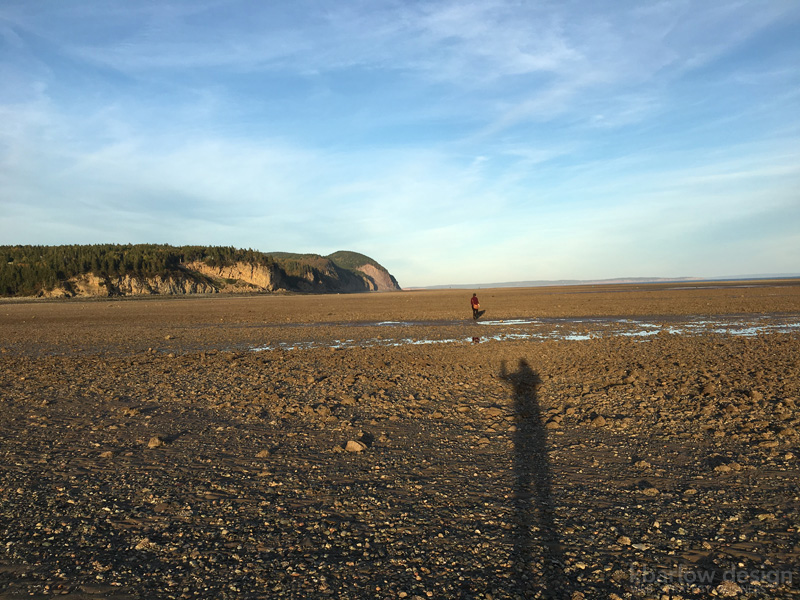
We paused in Alma when we saw this huge long beach where the tide was out as far as you could see. There was a couple playing tea party with their daughter around the middle as they looked in the tide pools and played.
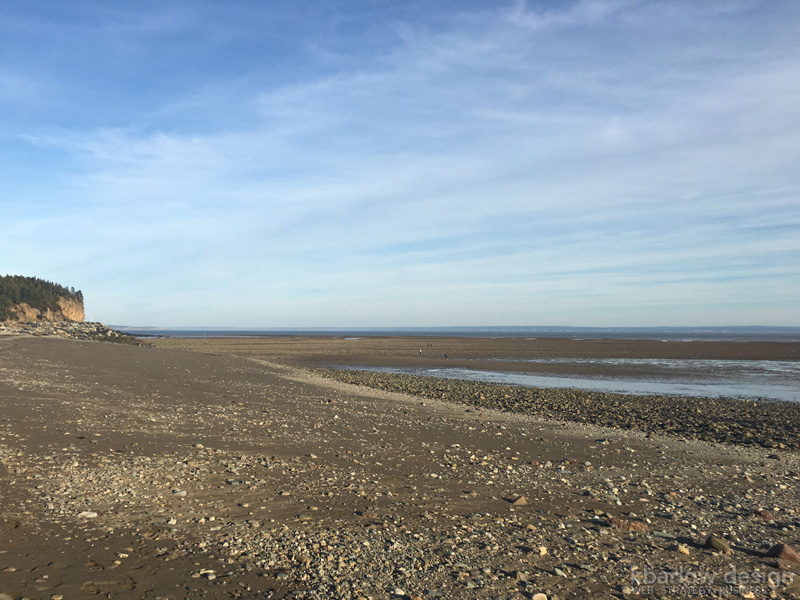
We looked in the tide pools too and found a few little crab friends!
We must have gone out at least a km or two before decided to head out to find some food and get to our next hotel for the night.
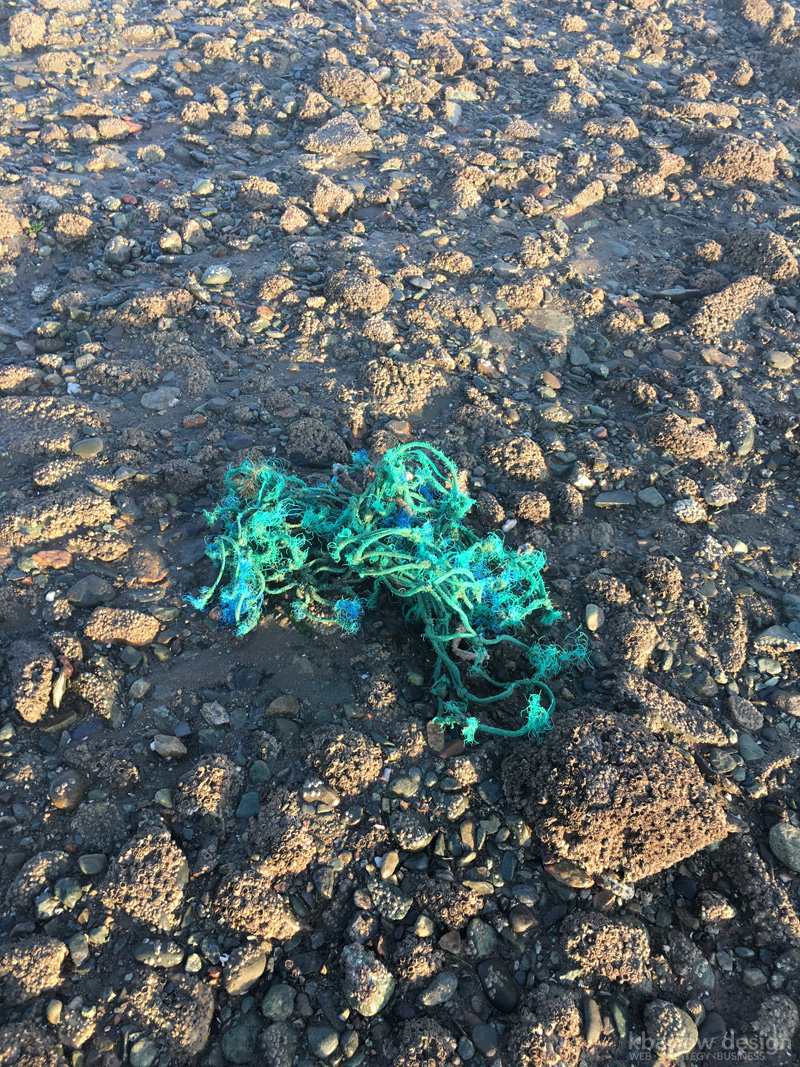
This brightly coloured rope stood out in the field of flat brown rocks, and it was worth the puddle I couldn’t avoid to see what it was.
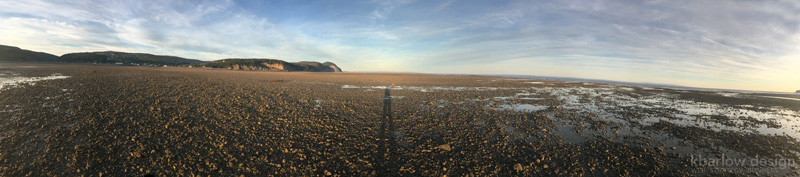
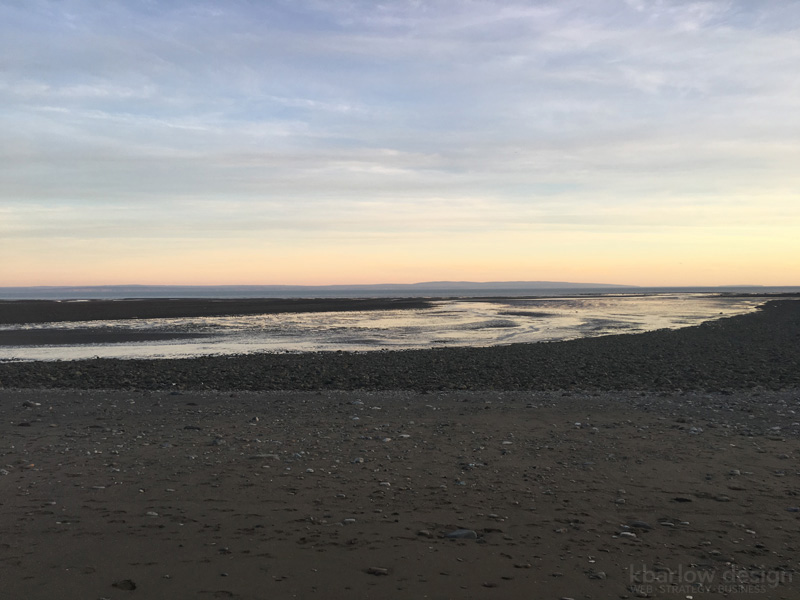
There were a few places like this where the ocean floor was lower and it created rivers.
Off to Saint John!
Day 3: Bathurst, NB to Beresford, NB to Bouctouche, NB! (200km)
Got up and explored the beaches around Bathurst and Beresford for the morning, found a few treasures too!


Always eager to explore tide pools and what critters might be hiding in them!
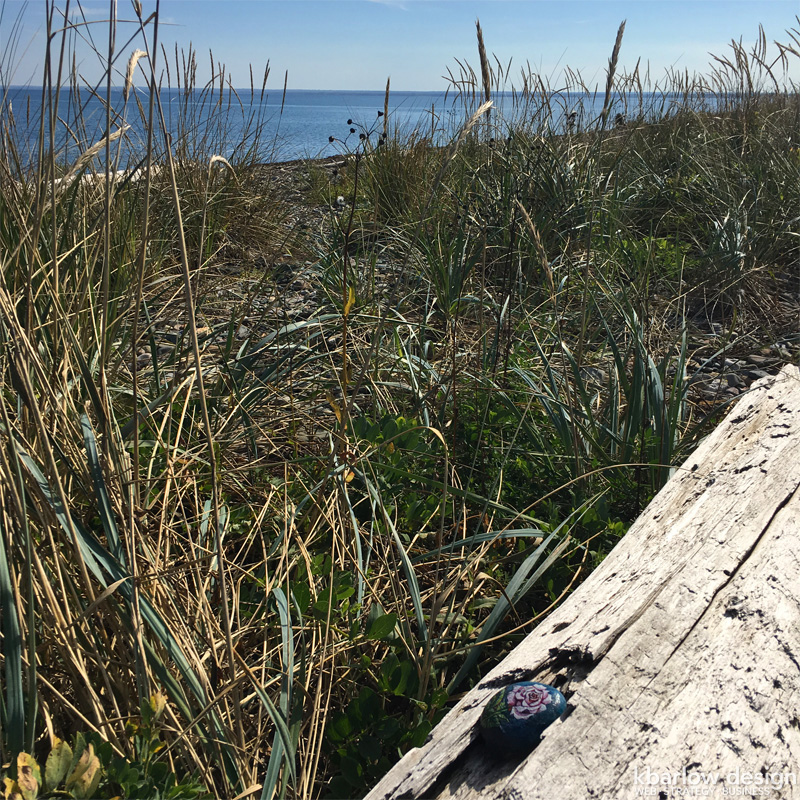
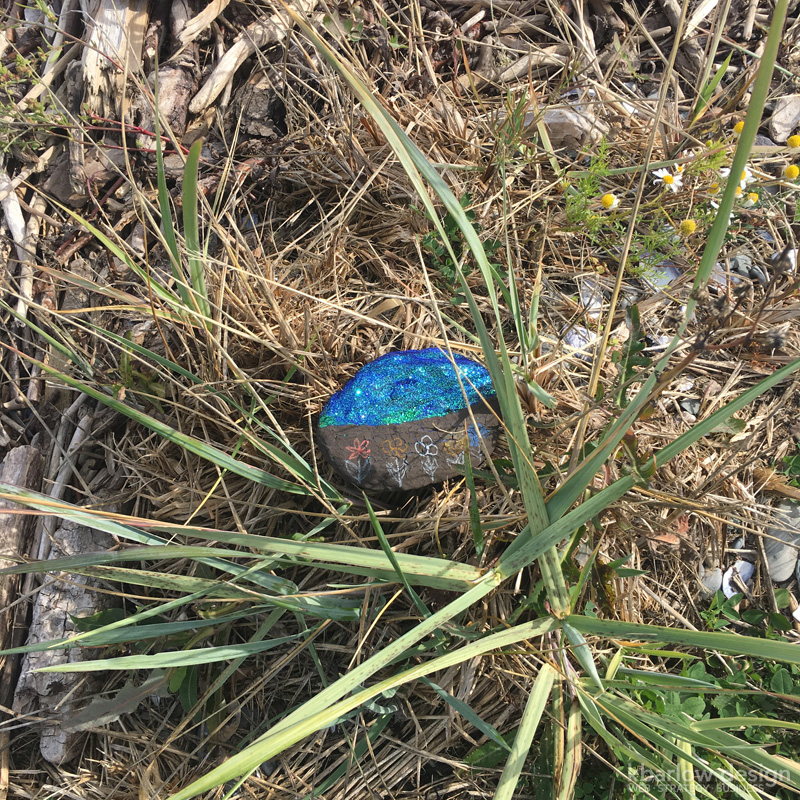
We found a few of these painted rocks! They were so fun to find just by chance! We left them exactly where they were so the next explorers could enjoy the surprise too!
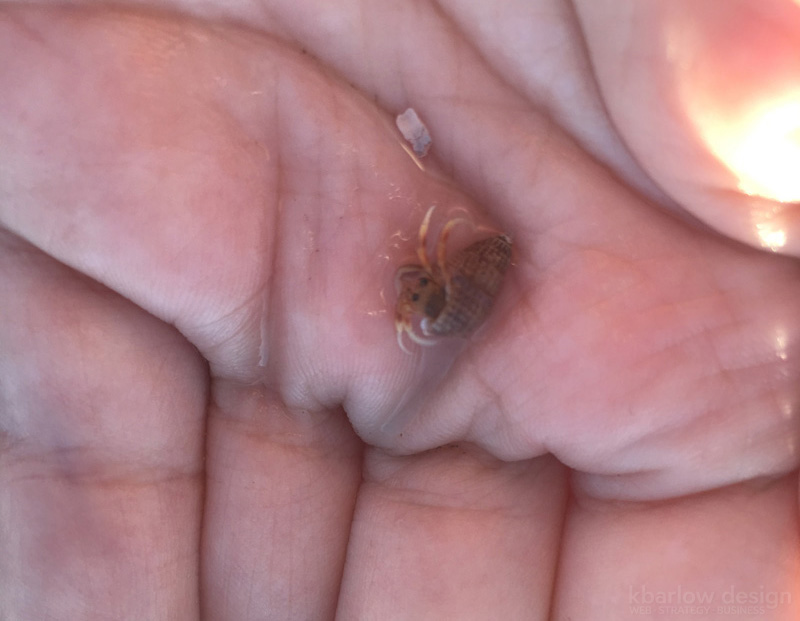
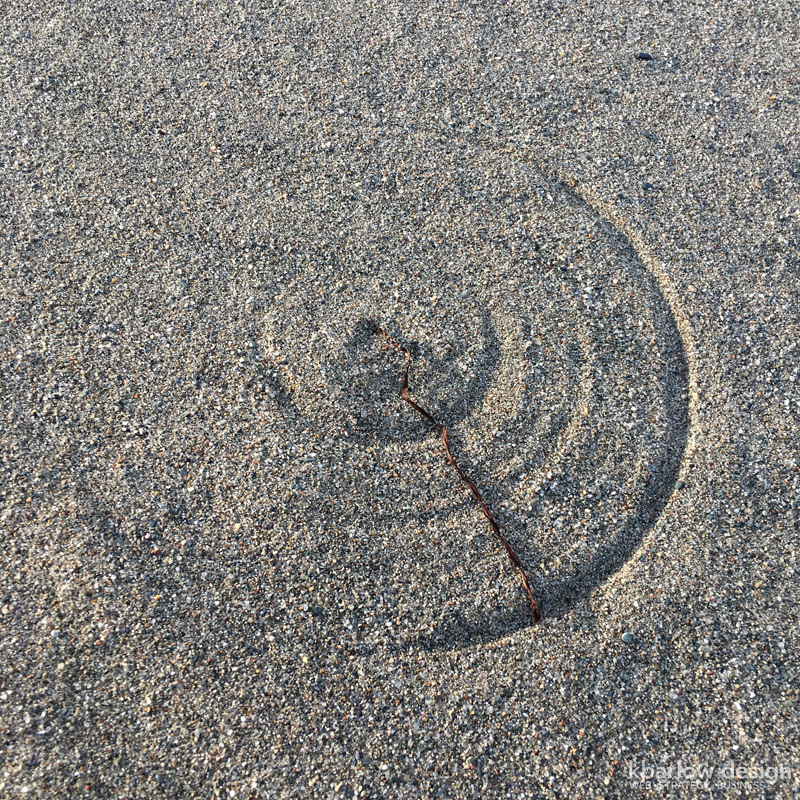
From Beresford, we drove down to Kouchibouguac National Park to look for hermit crabs on the beach!
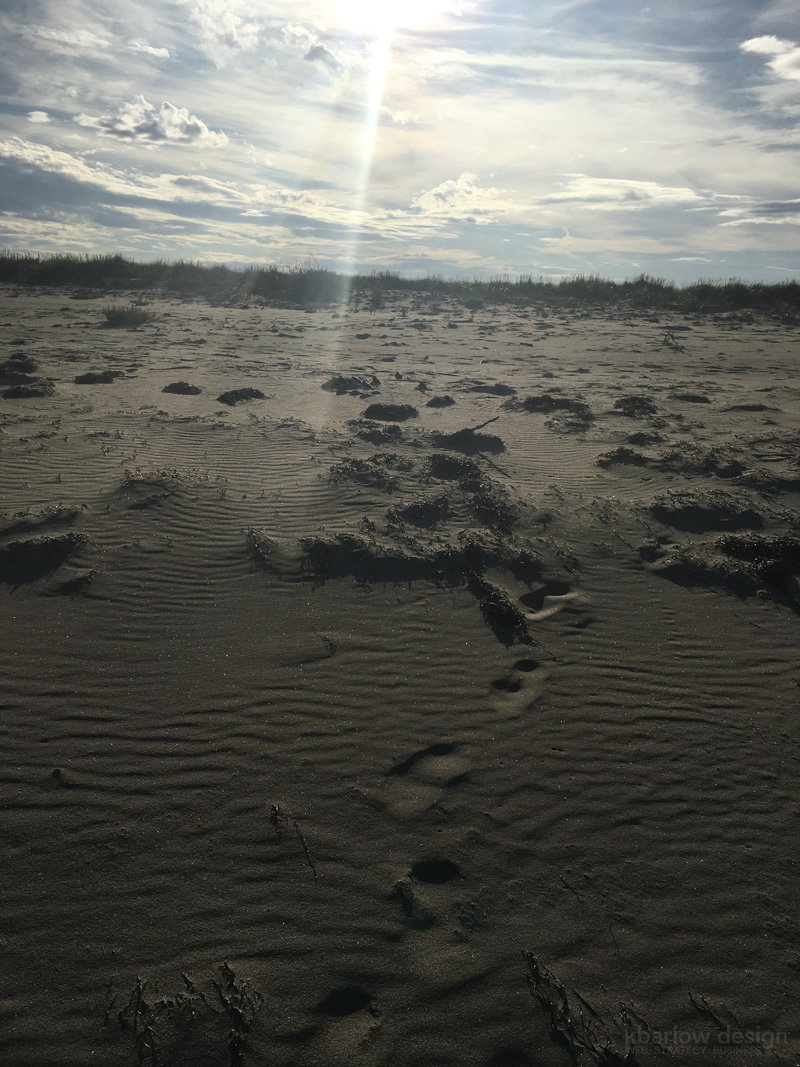
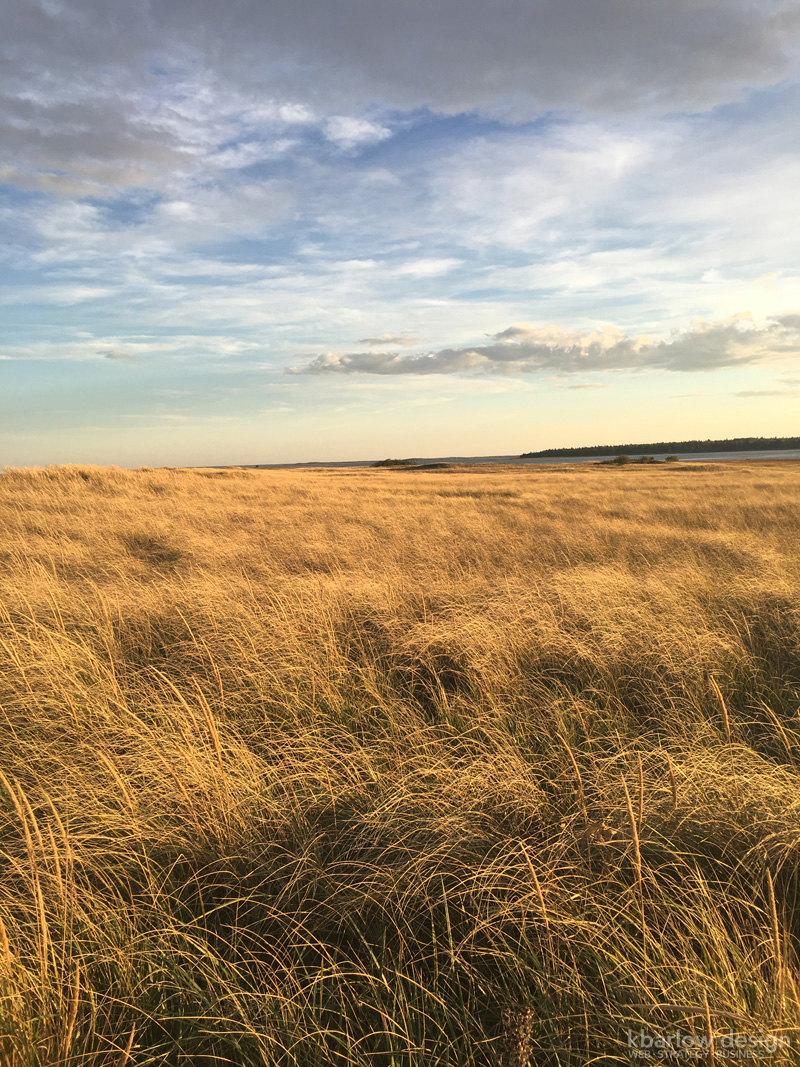
The wind whipped plants around on the beach, making these neat patterns all over the place:
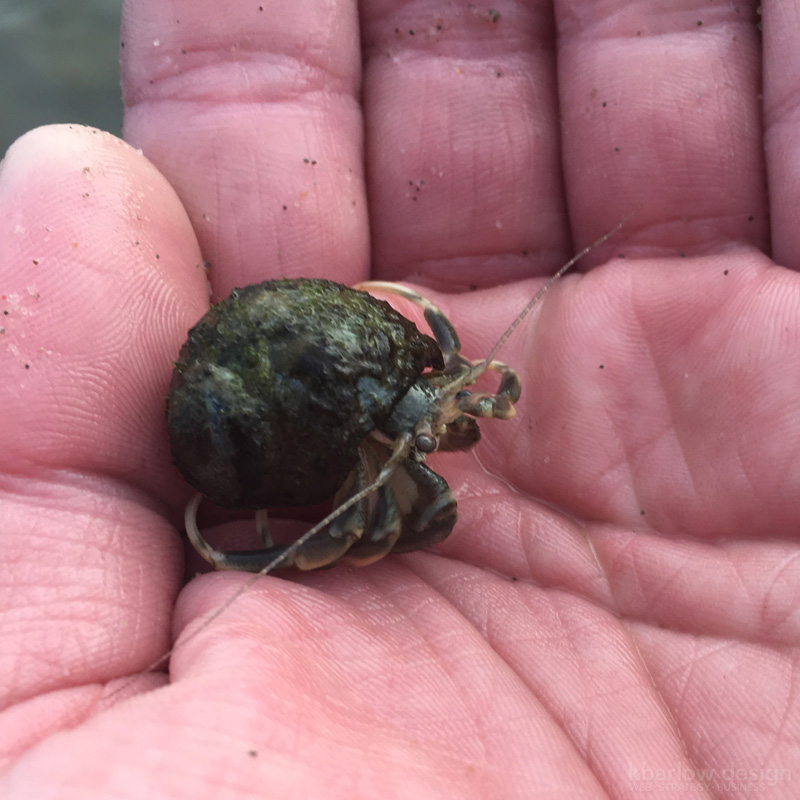
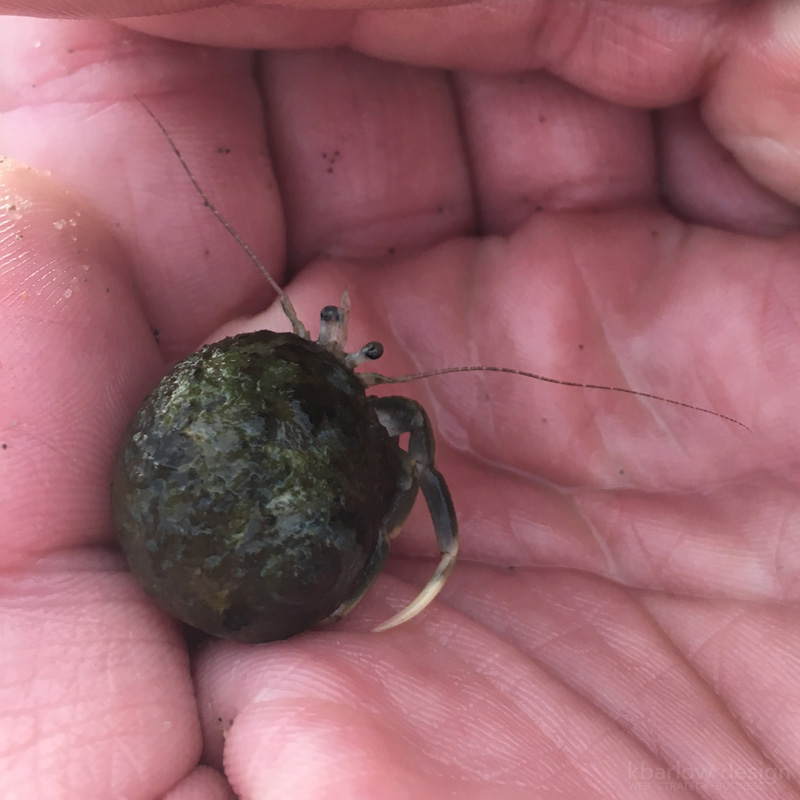
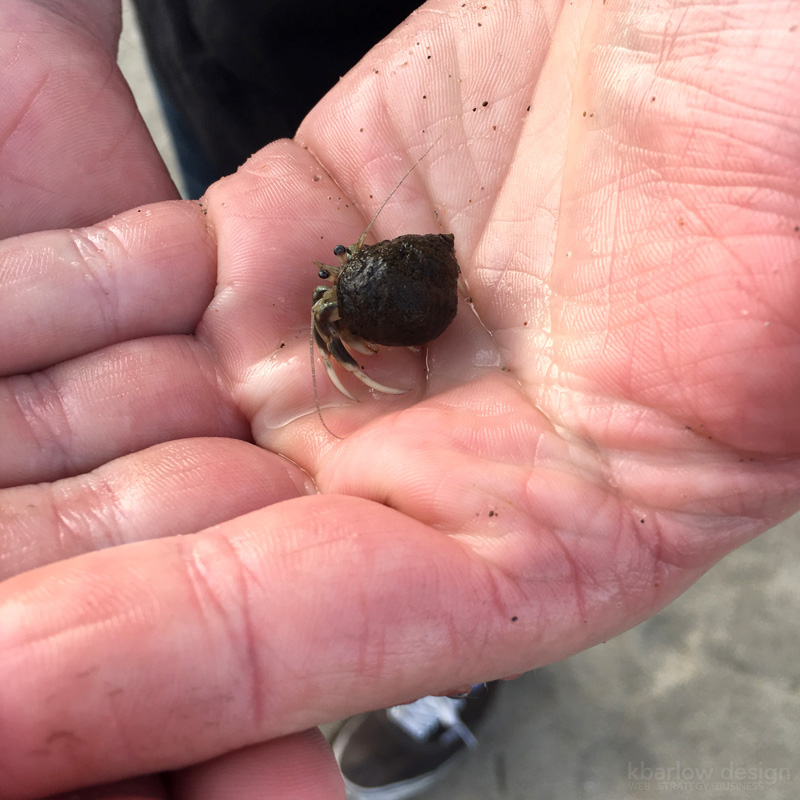
Hermit crab!
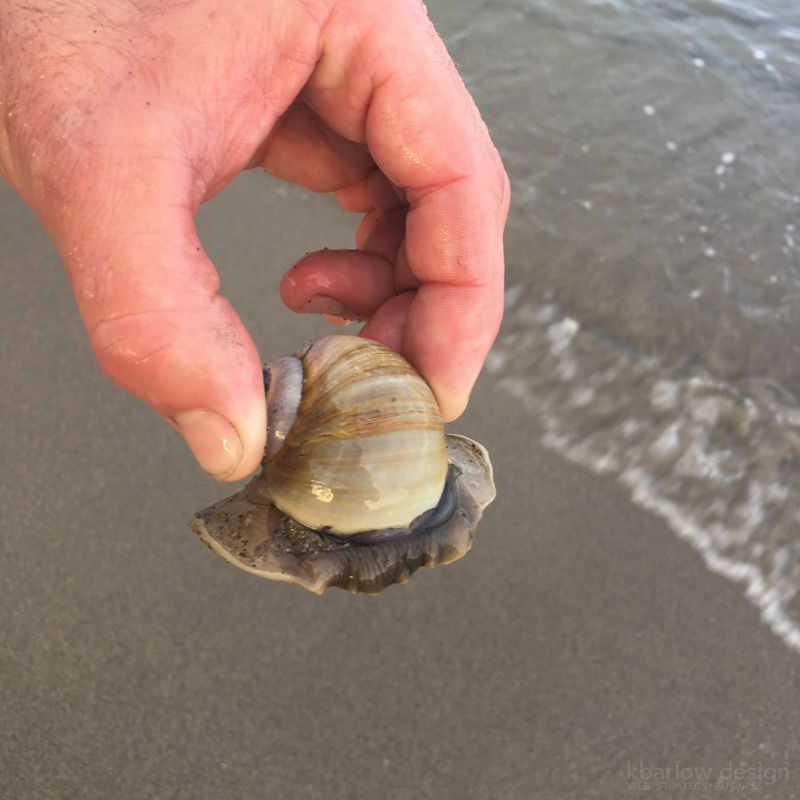
Here’s a moon snail – they’re really huge and beautiful. We saw them all along the beach. Their big footprint helped them stay grounded as the waves pushed them around.

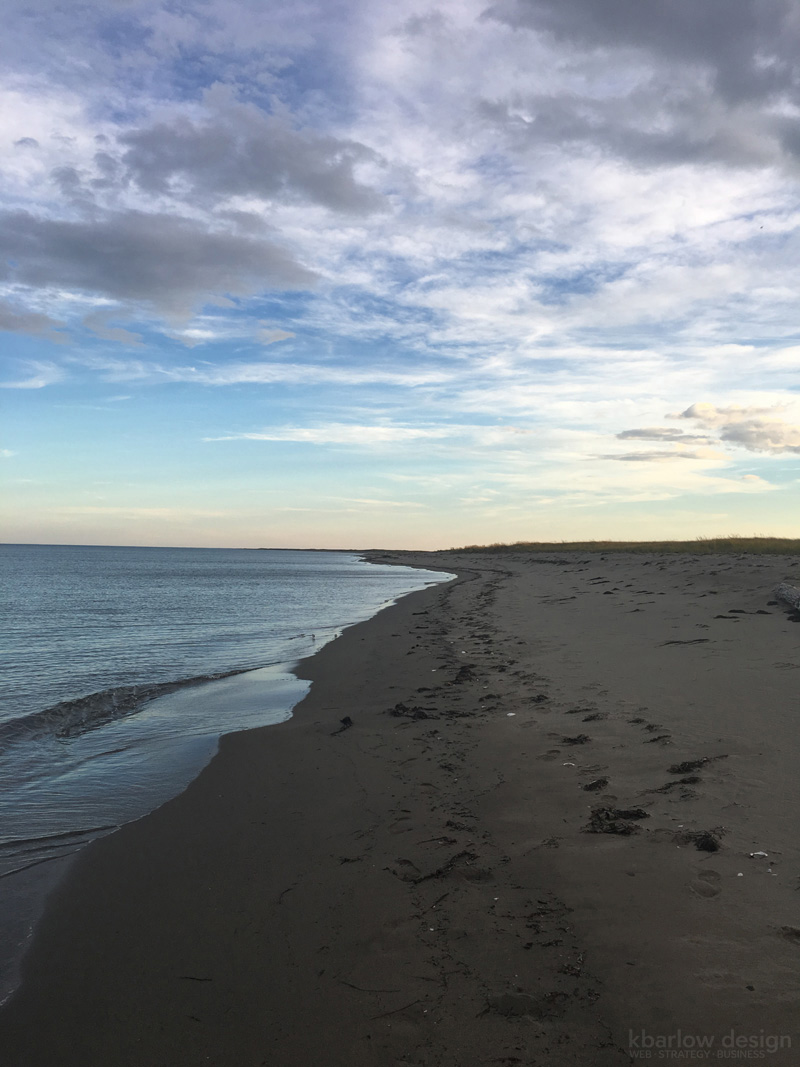
It took us a couple of hours to get to the end of the beach to where we’ve seen hermit crabs in the past, so walking back, the sun was starting to set and it was stunningly beautiful!
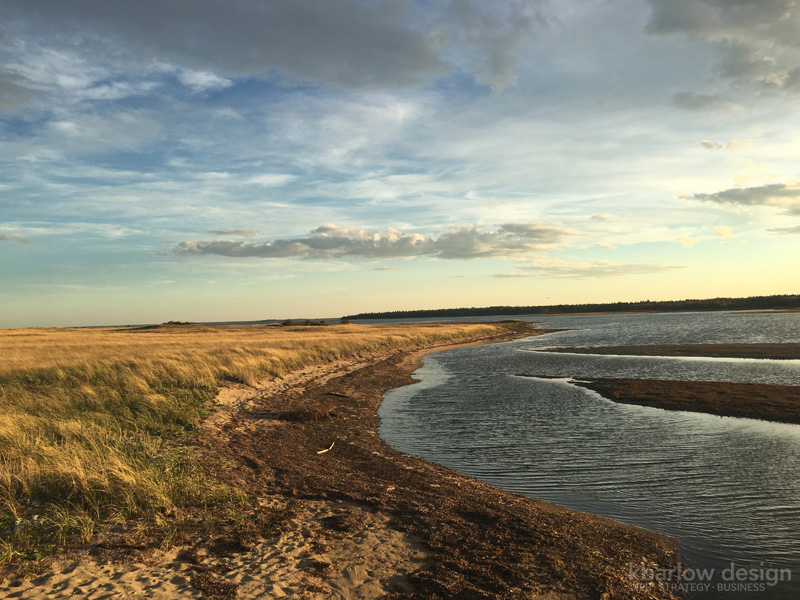
Off to Bouctouche as we make our way towards Hopewell Rocks and Fundy National Park tomorrow!
Day 1: Home to Lévis, Québec! (818km)
Nothing like a last minute decision to make use of a week off! We decided on Sunday that we’d head out for coast in New Brunswick the following morning. We ended up leaving closer to lunch, but not bad considering we decided less than 24 hours beforehand to head out!
Some nice scenery along the way, including taking the scenic 1000 islands parkway, and we ended up just outside of Lévis, Québec after a looooong drive and a lot of bugs on the windshield. Also – thank you to the lady at Tim Hortons that understood my rusty French while I clumsily ordered our coffees! Since we left late, it was too dark for photos, so we’ll start off with the morning of the next day!
Day 2: Lévis, Québec to Bathurst, NB! (565km)
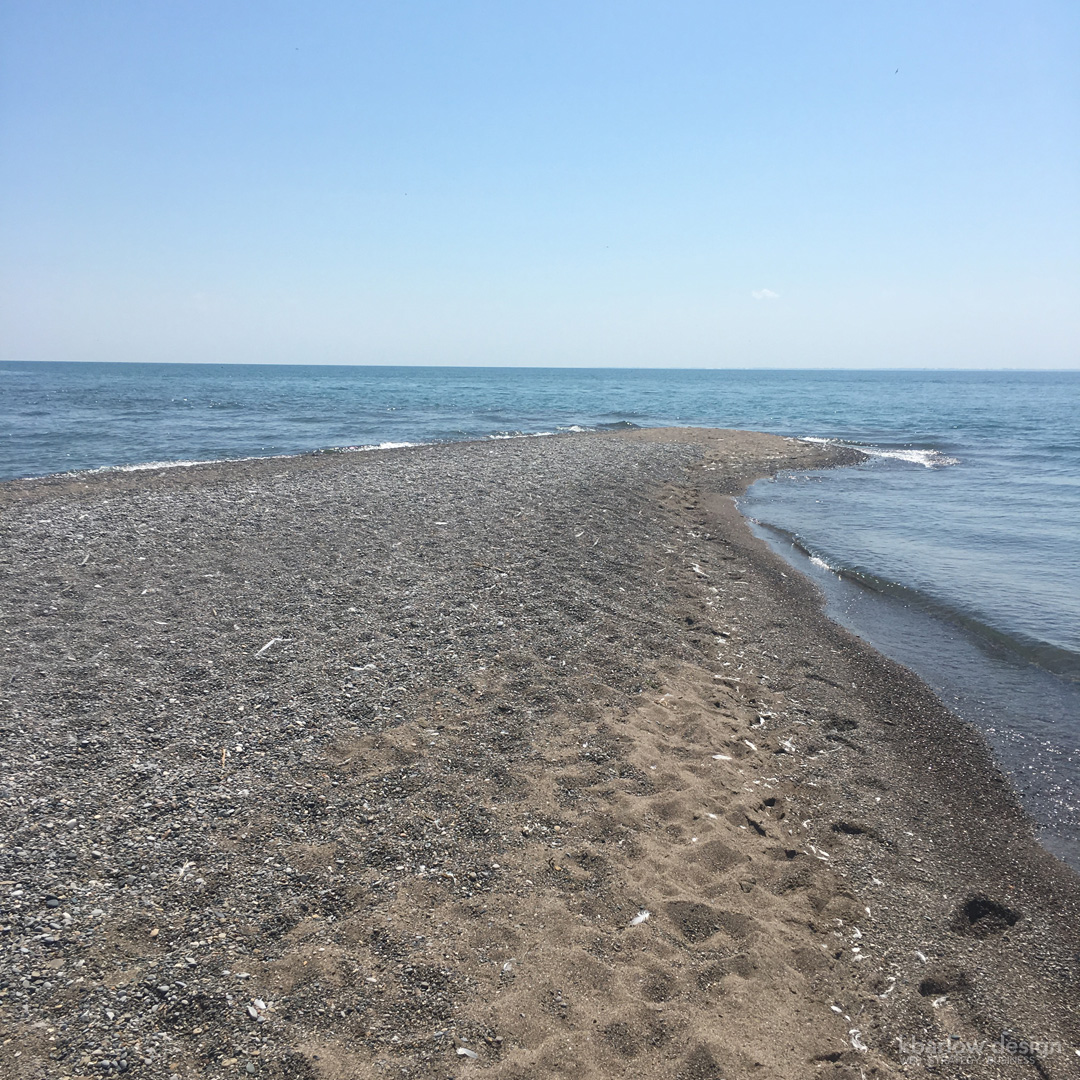
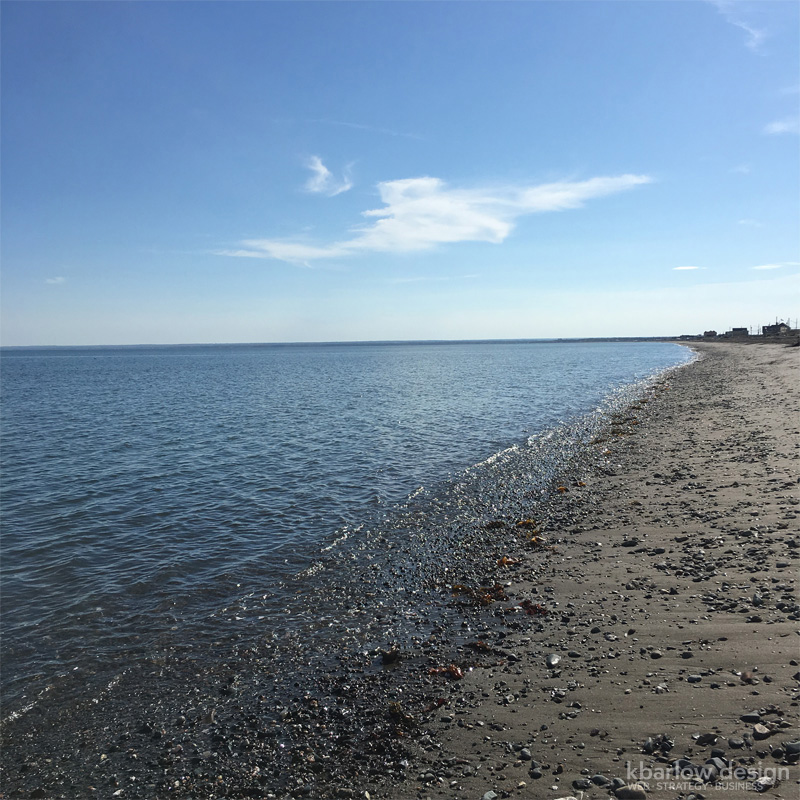
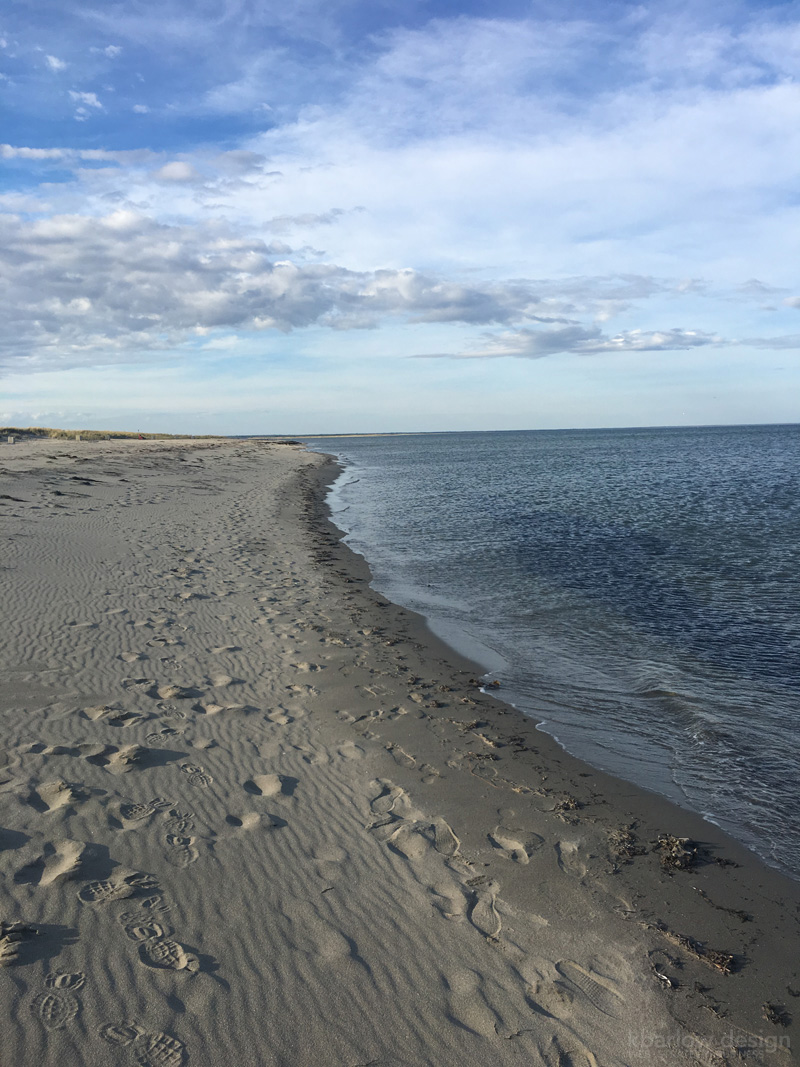
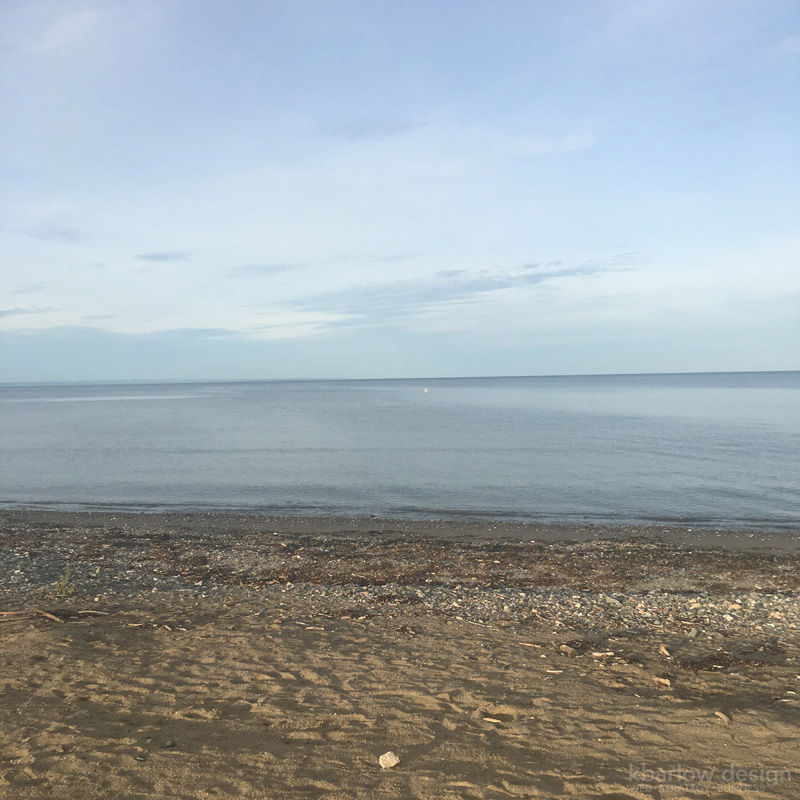
Yay! The beach… finally. The ocean has always been so calming to me, and just hearing the waves lap the shore was so welcome. We stayed on the beach looking for treasures and enjoying the view until we were both cold and hungry so off we went to find a place to stay for the night and a bite to eat!

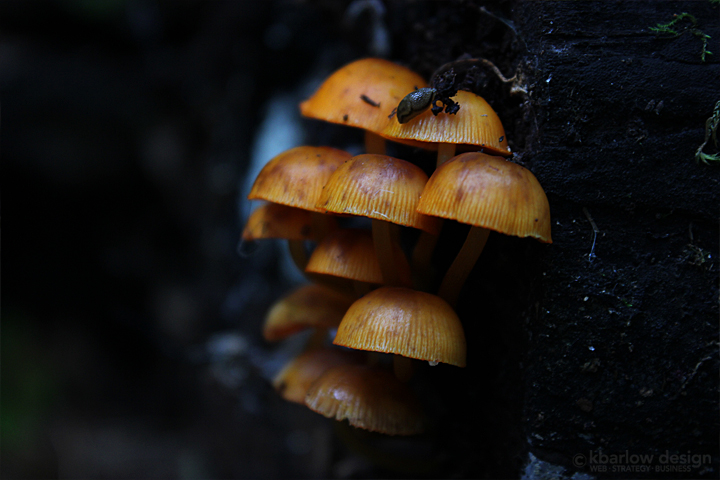
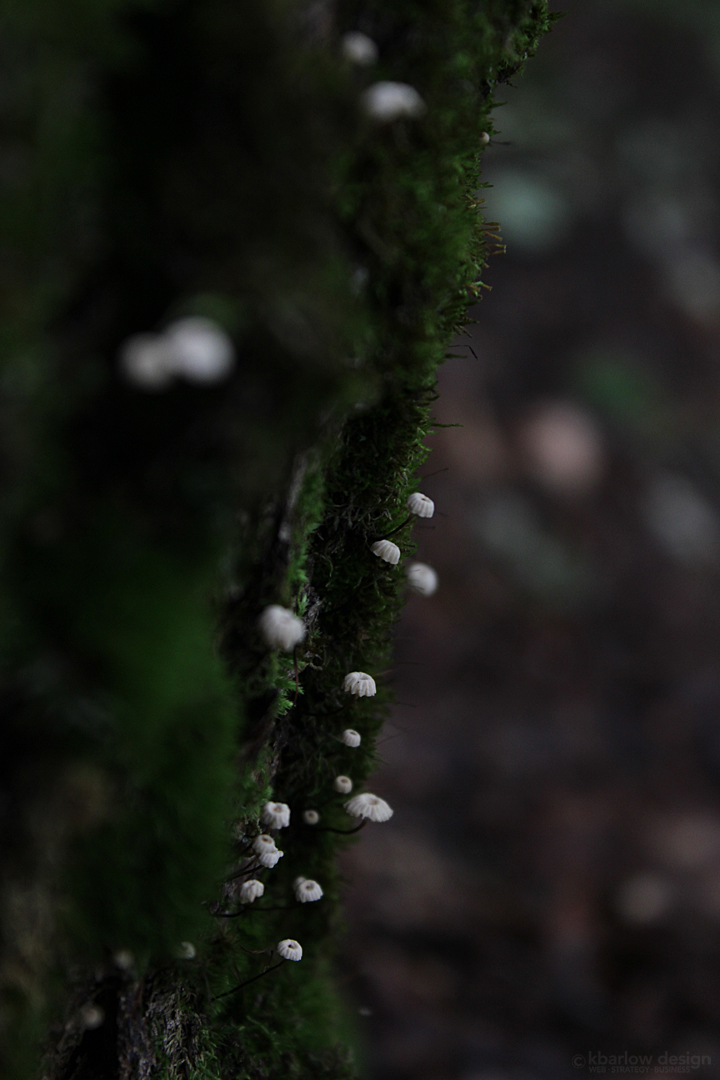
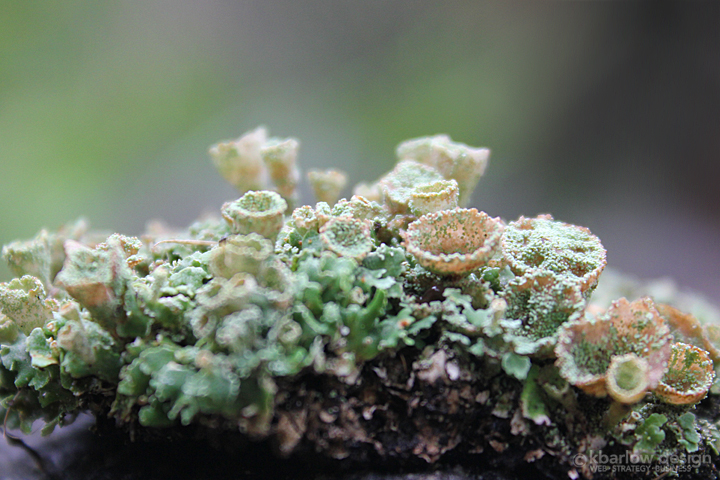
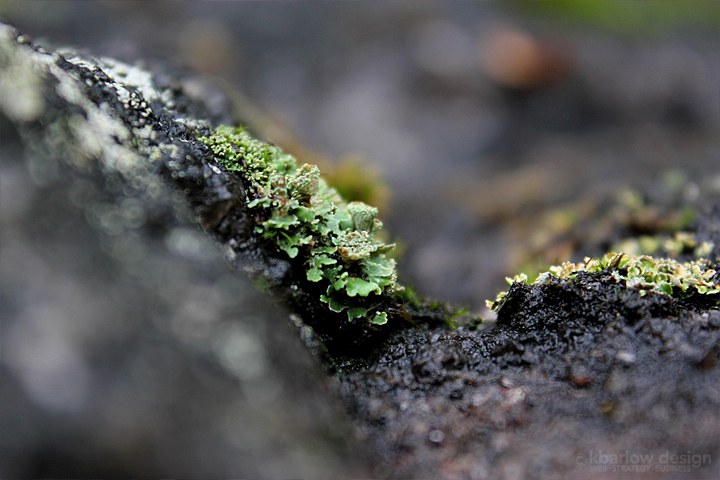
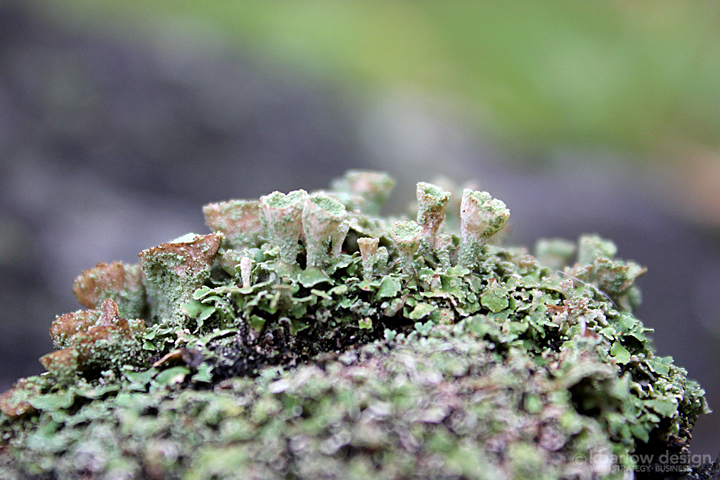
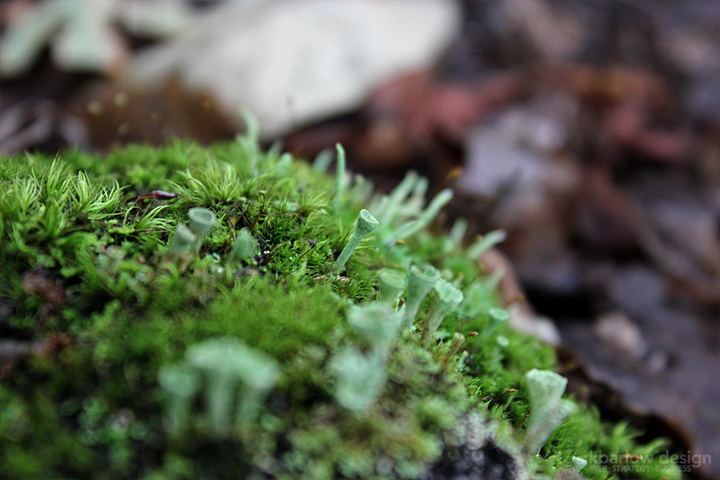
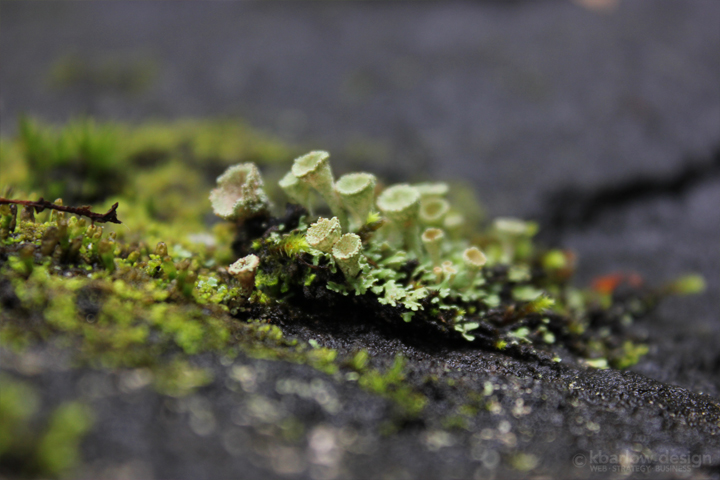
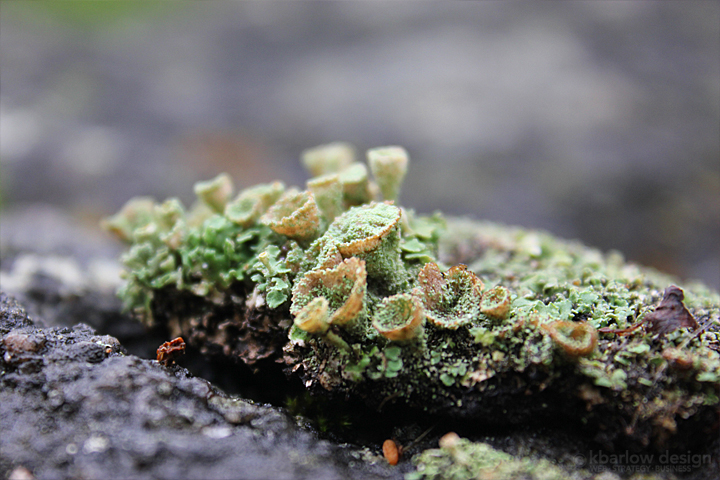
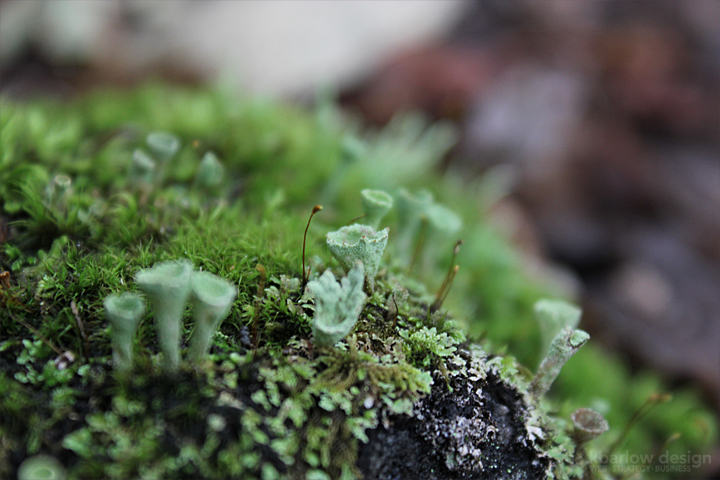
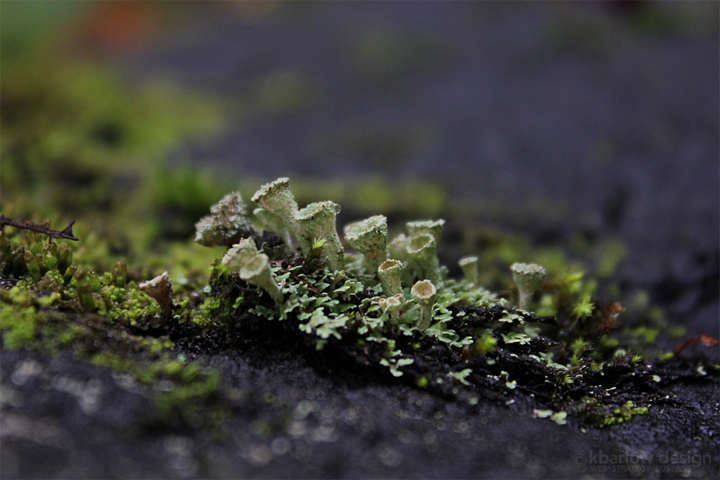
I decided on my week off to pull out my camera for more than just capturing day to day memories of what we were up to at the cottage, so off into the forest I went…
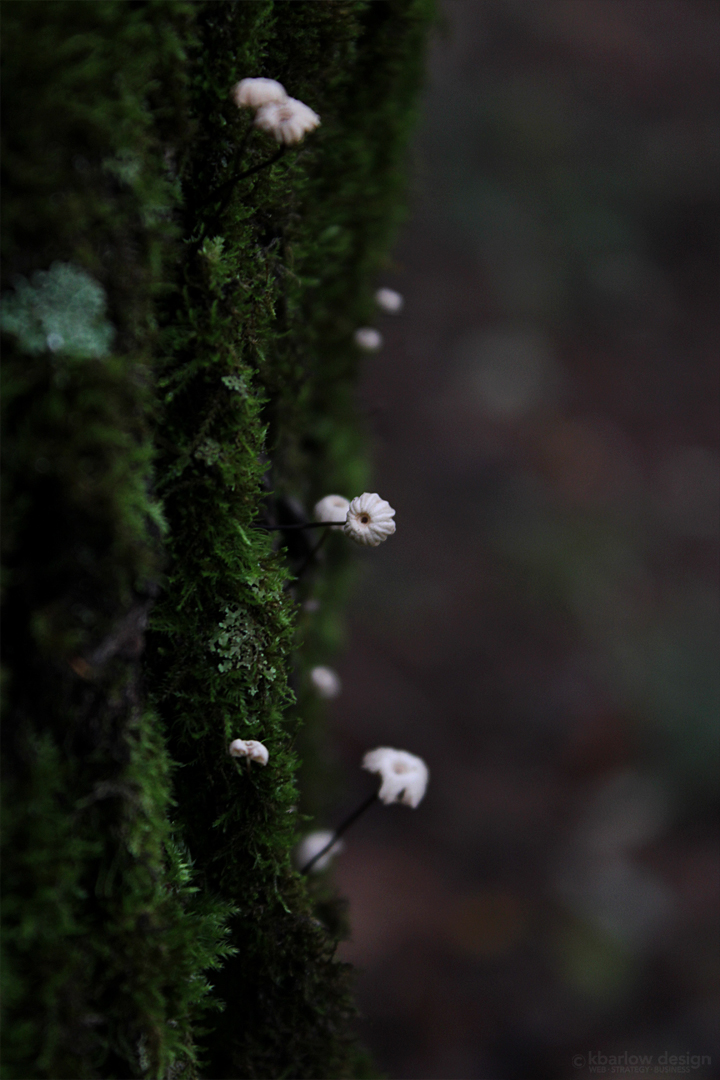
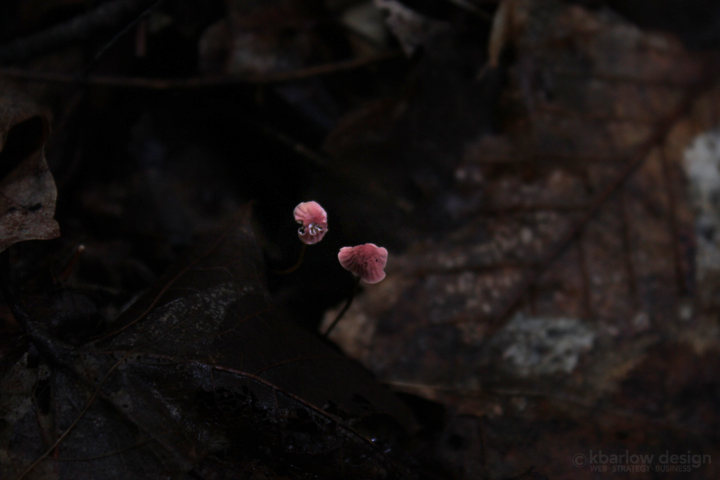
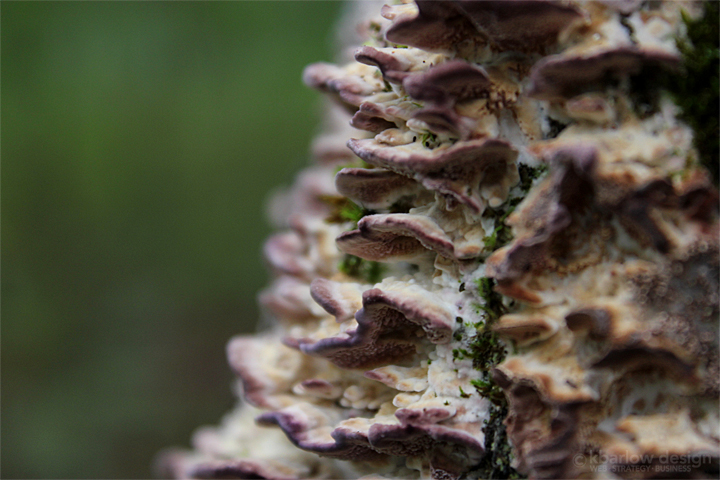
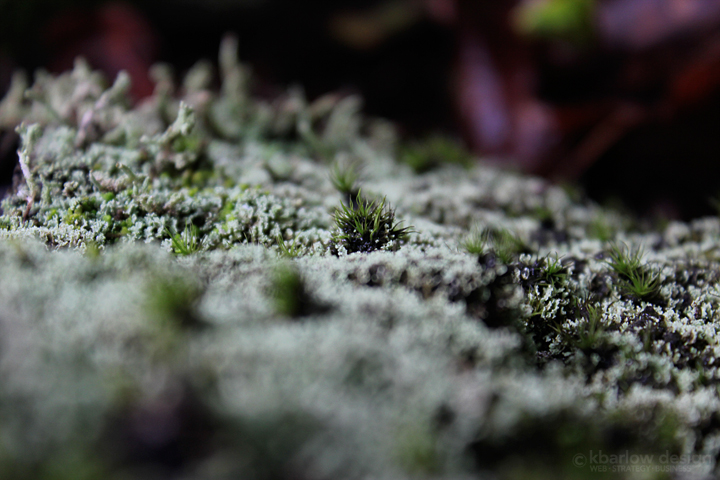
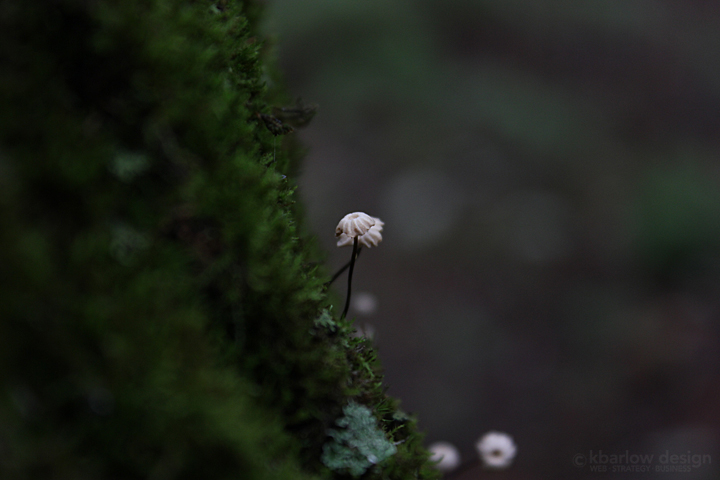
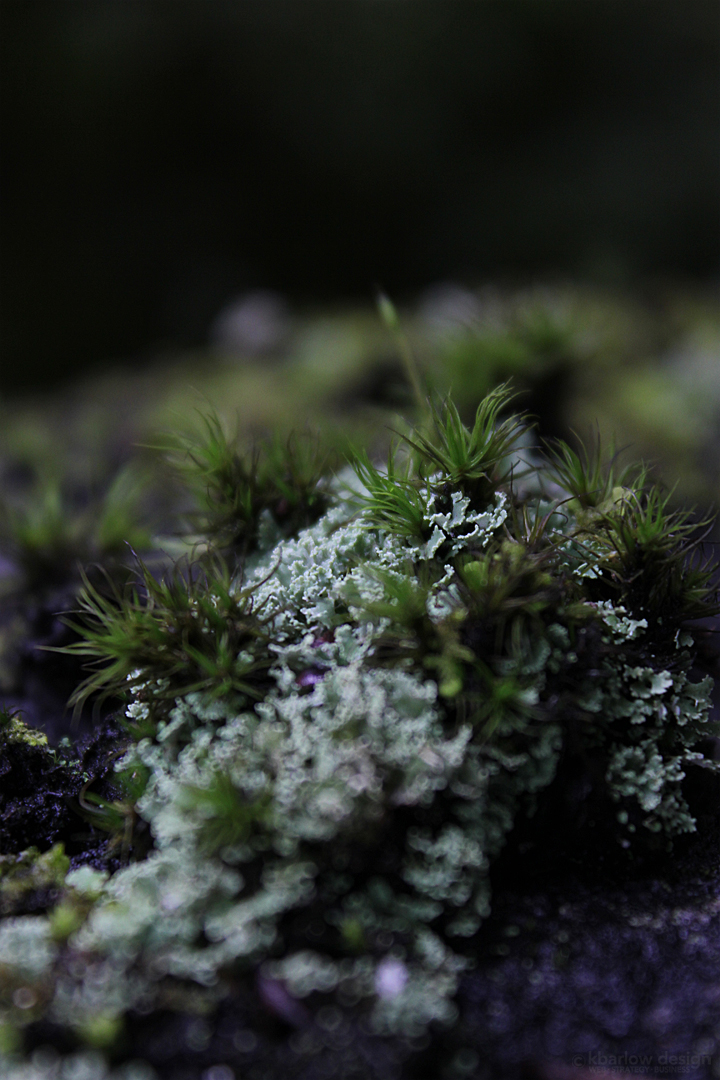
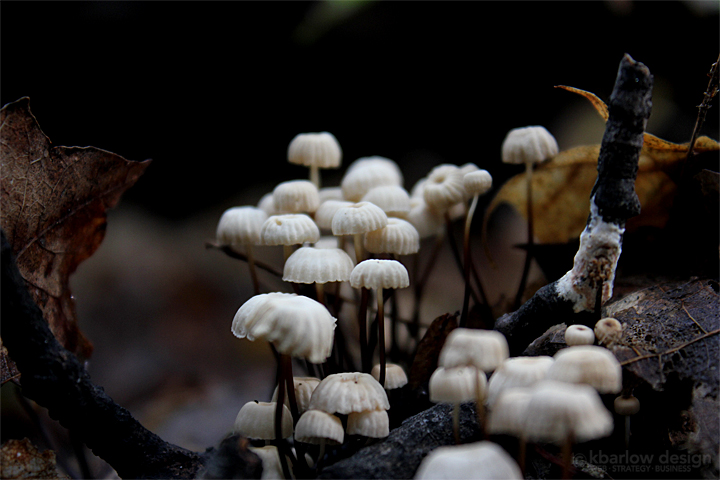
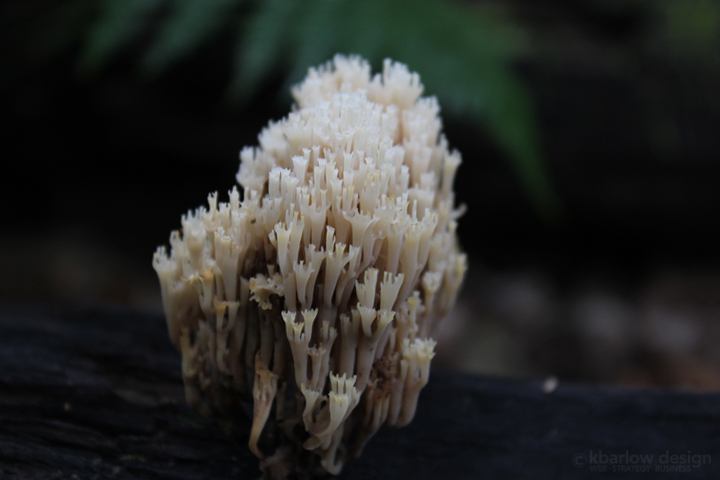
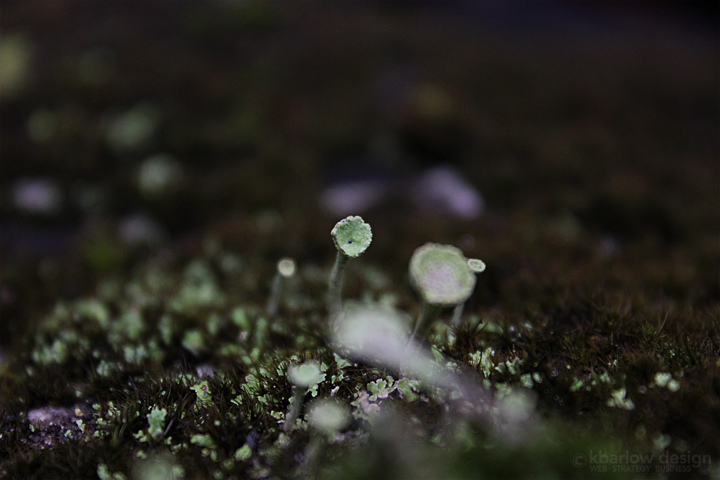
I love the perspective of looking down into a little world close up. These rocks were covered in a really neat lichen that looked like coral.

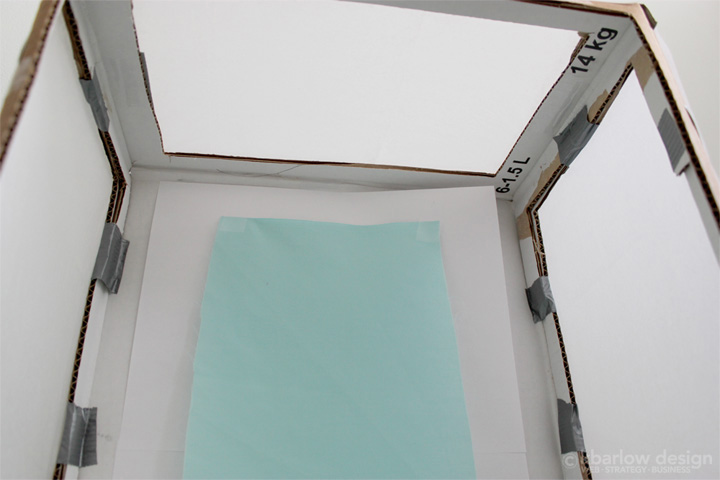
It may not look like much from the outside, but this little box has been a huge help when taking photos of felted friends over at Woodland Trail Studio!
It was so easy to make, it took less than an hour, and there aren’t even any instructions needed – get a good size box (this will depend on the size of product you create), cut a hole in two sides and the top, cut off the front, tape it together, tape some white tissue paper on the holes and voilà!
The best part of it being a freestanding box, is that you can move it around your house/studio/office until you find the right light, you can set up lights to point at it, and it can be complete and total chaos all around you… but all people will see is the background colour you have within the box, and nice, soft lighting.
I chose an aqua coloured piece of fabric, I preferred it to white as it can be a bit harsh, and it’s a favourite colour of mine (and part of the branding colours for Woodland Trail Studio!).
It’s not fancy – it’s not even ironed! It’s just taped up to the back of the box so I can easily change the position if I need to, or swap out for a different piece of fabric or paper. I have a piece of printer paper behind it just to help give it a bit of structure for the curve of where it falls, but it’s not necessary.
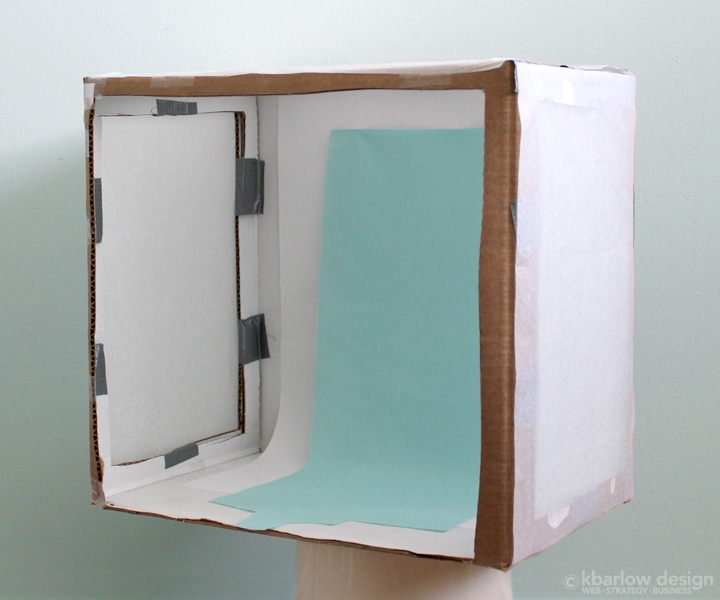
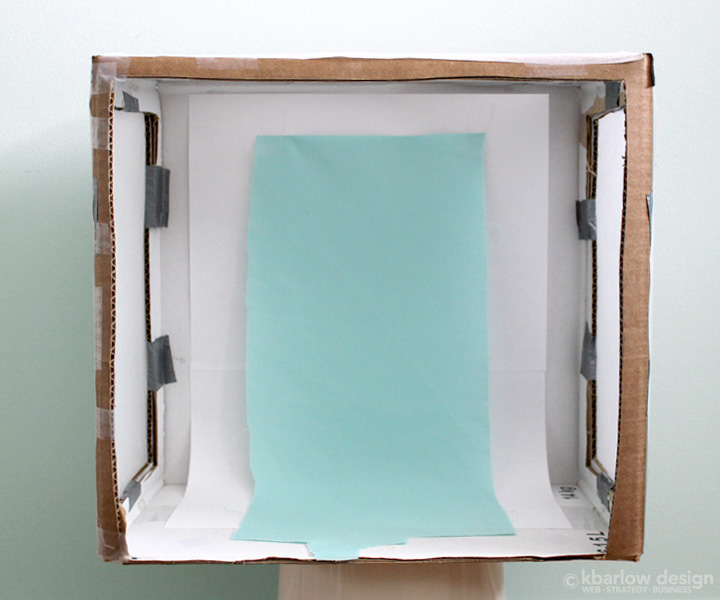
Here you can see the difference between the left and right – where I changed the outside lighting, so the shadows would be less harsh. I like to use natural light where possible, so I set up the lightbox on a side table by my sliding glass doors. The image on the left was the first test, the image on the right was when I pulled the sheer curtain to make the light less direct. I could have also moved away from the window to help, but the sheer worked great. Even if I didn’t have sheers, I could have temporarily taped some tissue paper to the glass, and added layers until the light was how I wanted, or simply moved it to a different window to test the light there.

If you’re a maker and you’d like to get more tips to make your life easier – sign up on our resources page for handy little tips and tricks delivered right to your inbox!